
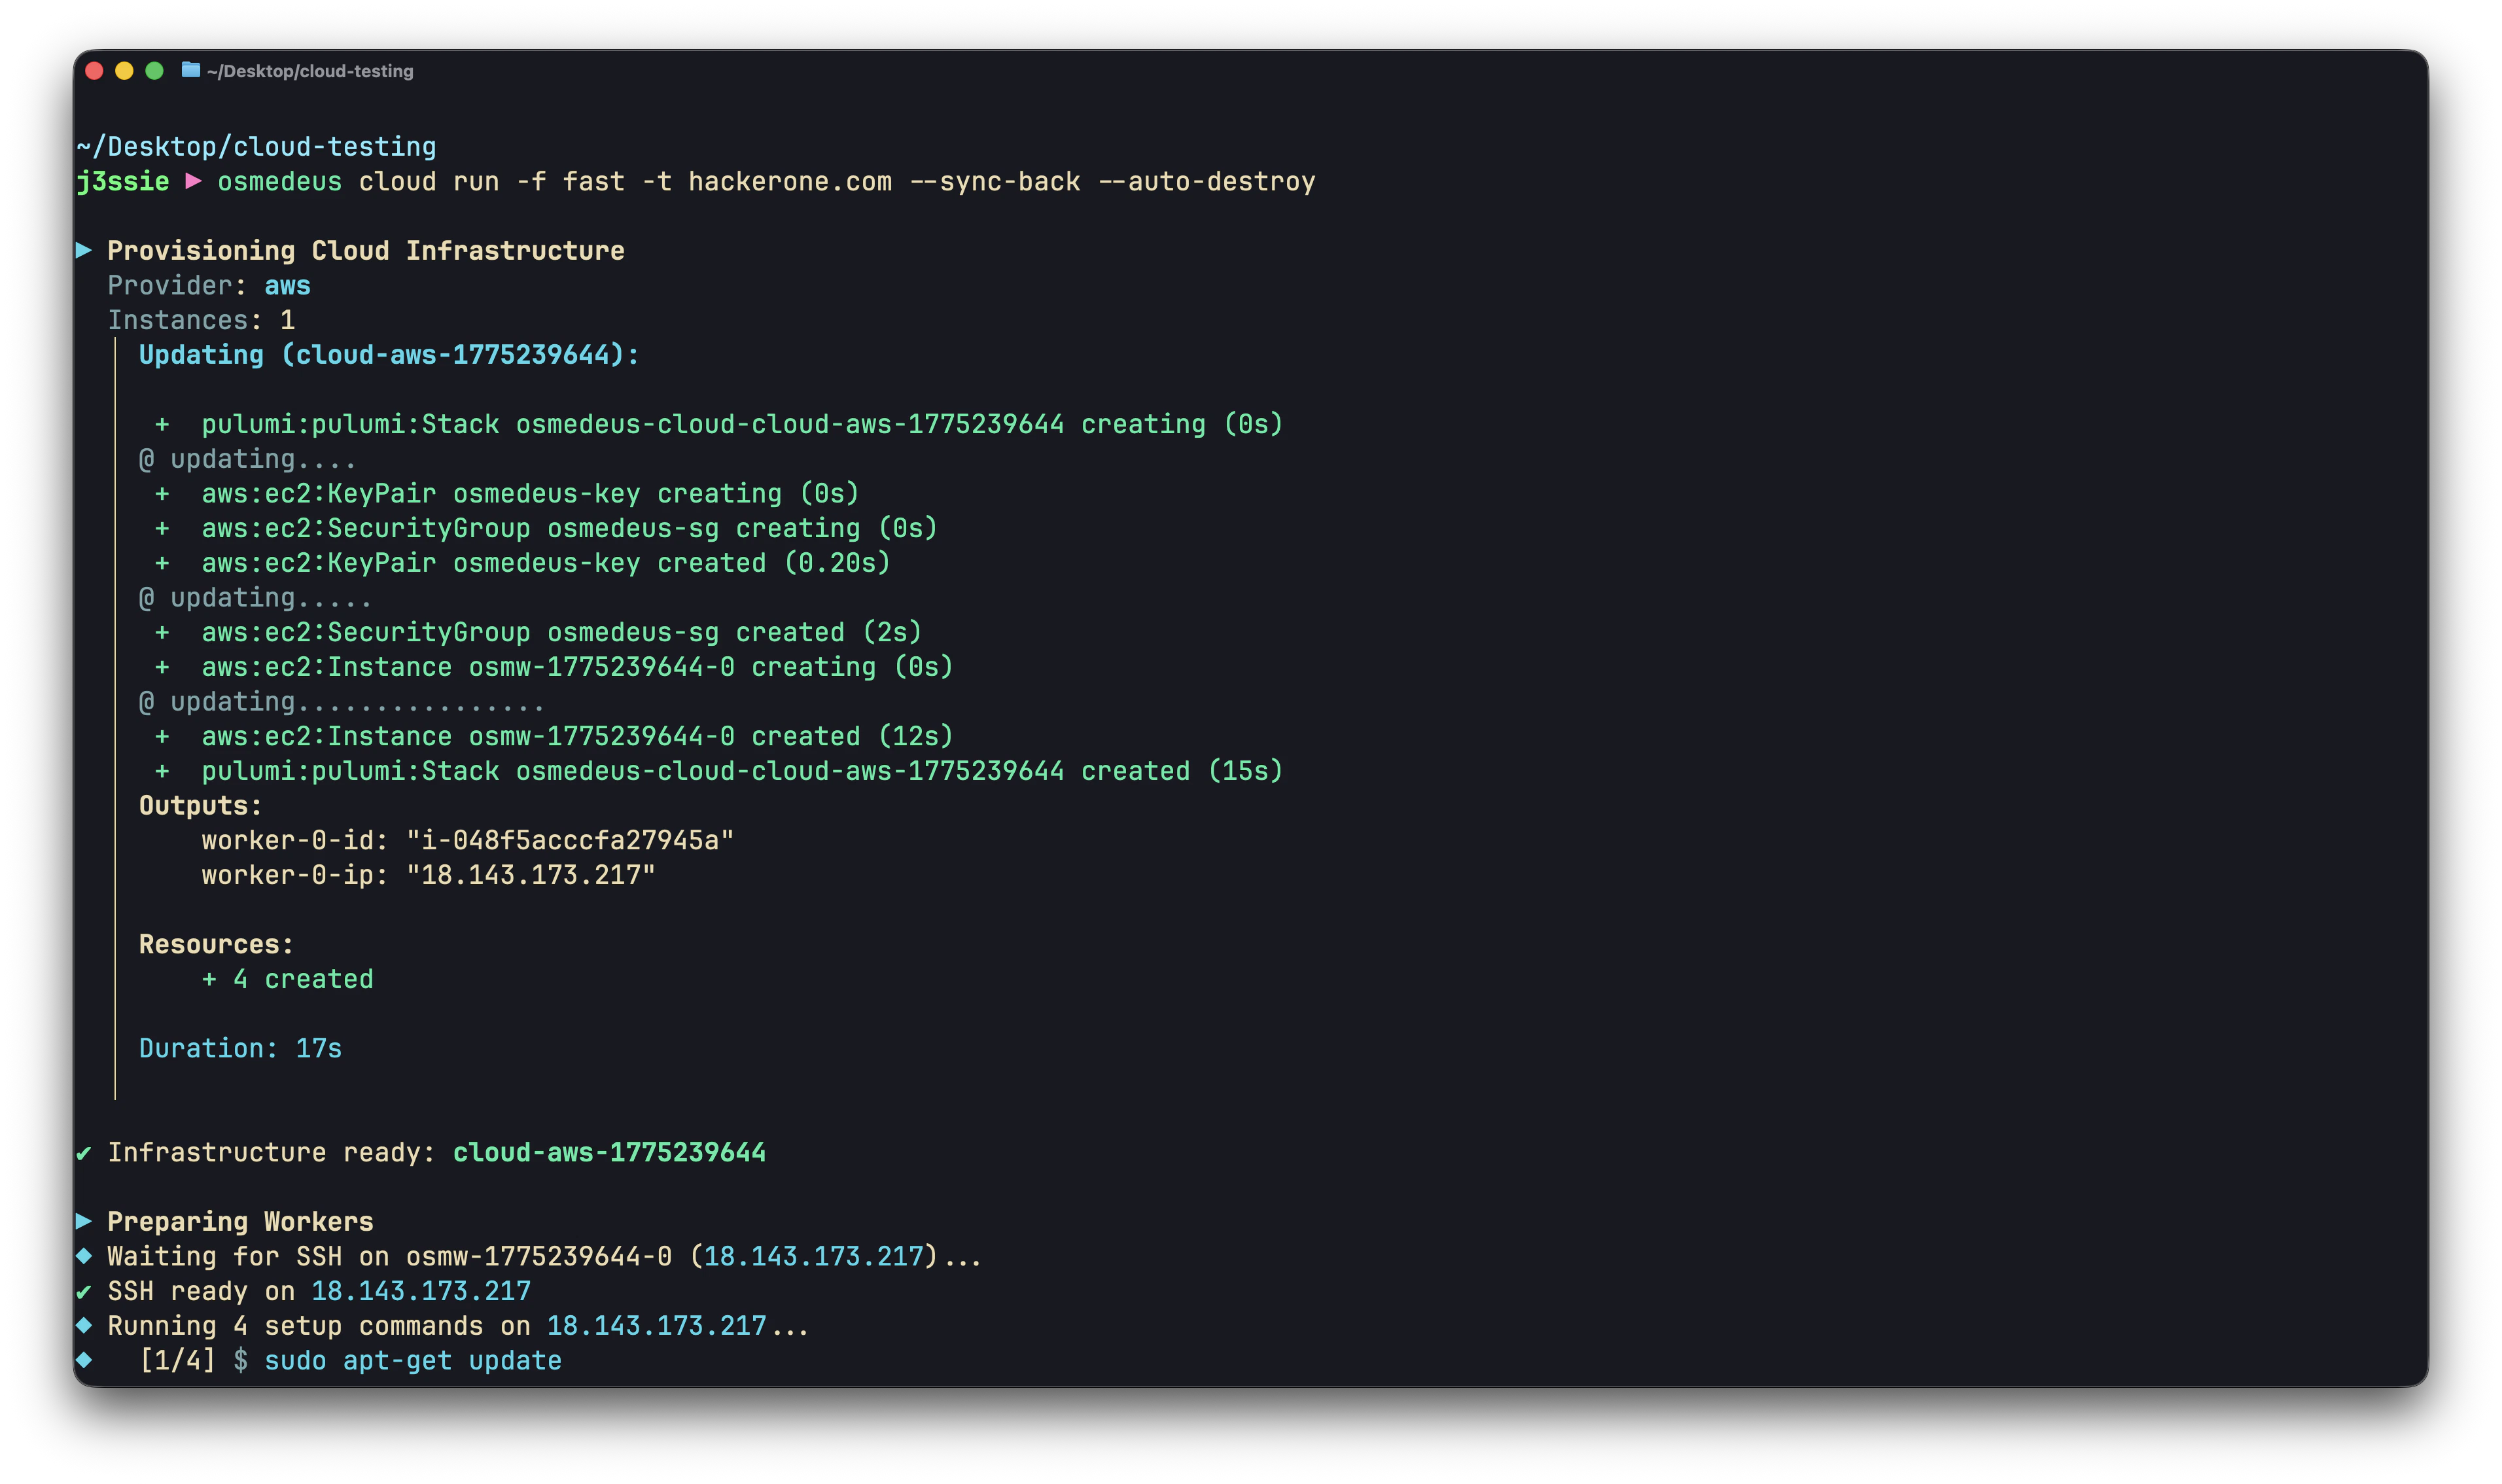
Start a Cloud Scan
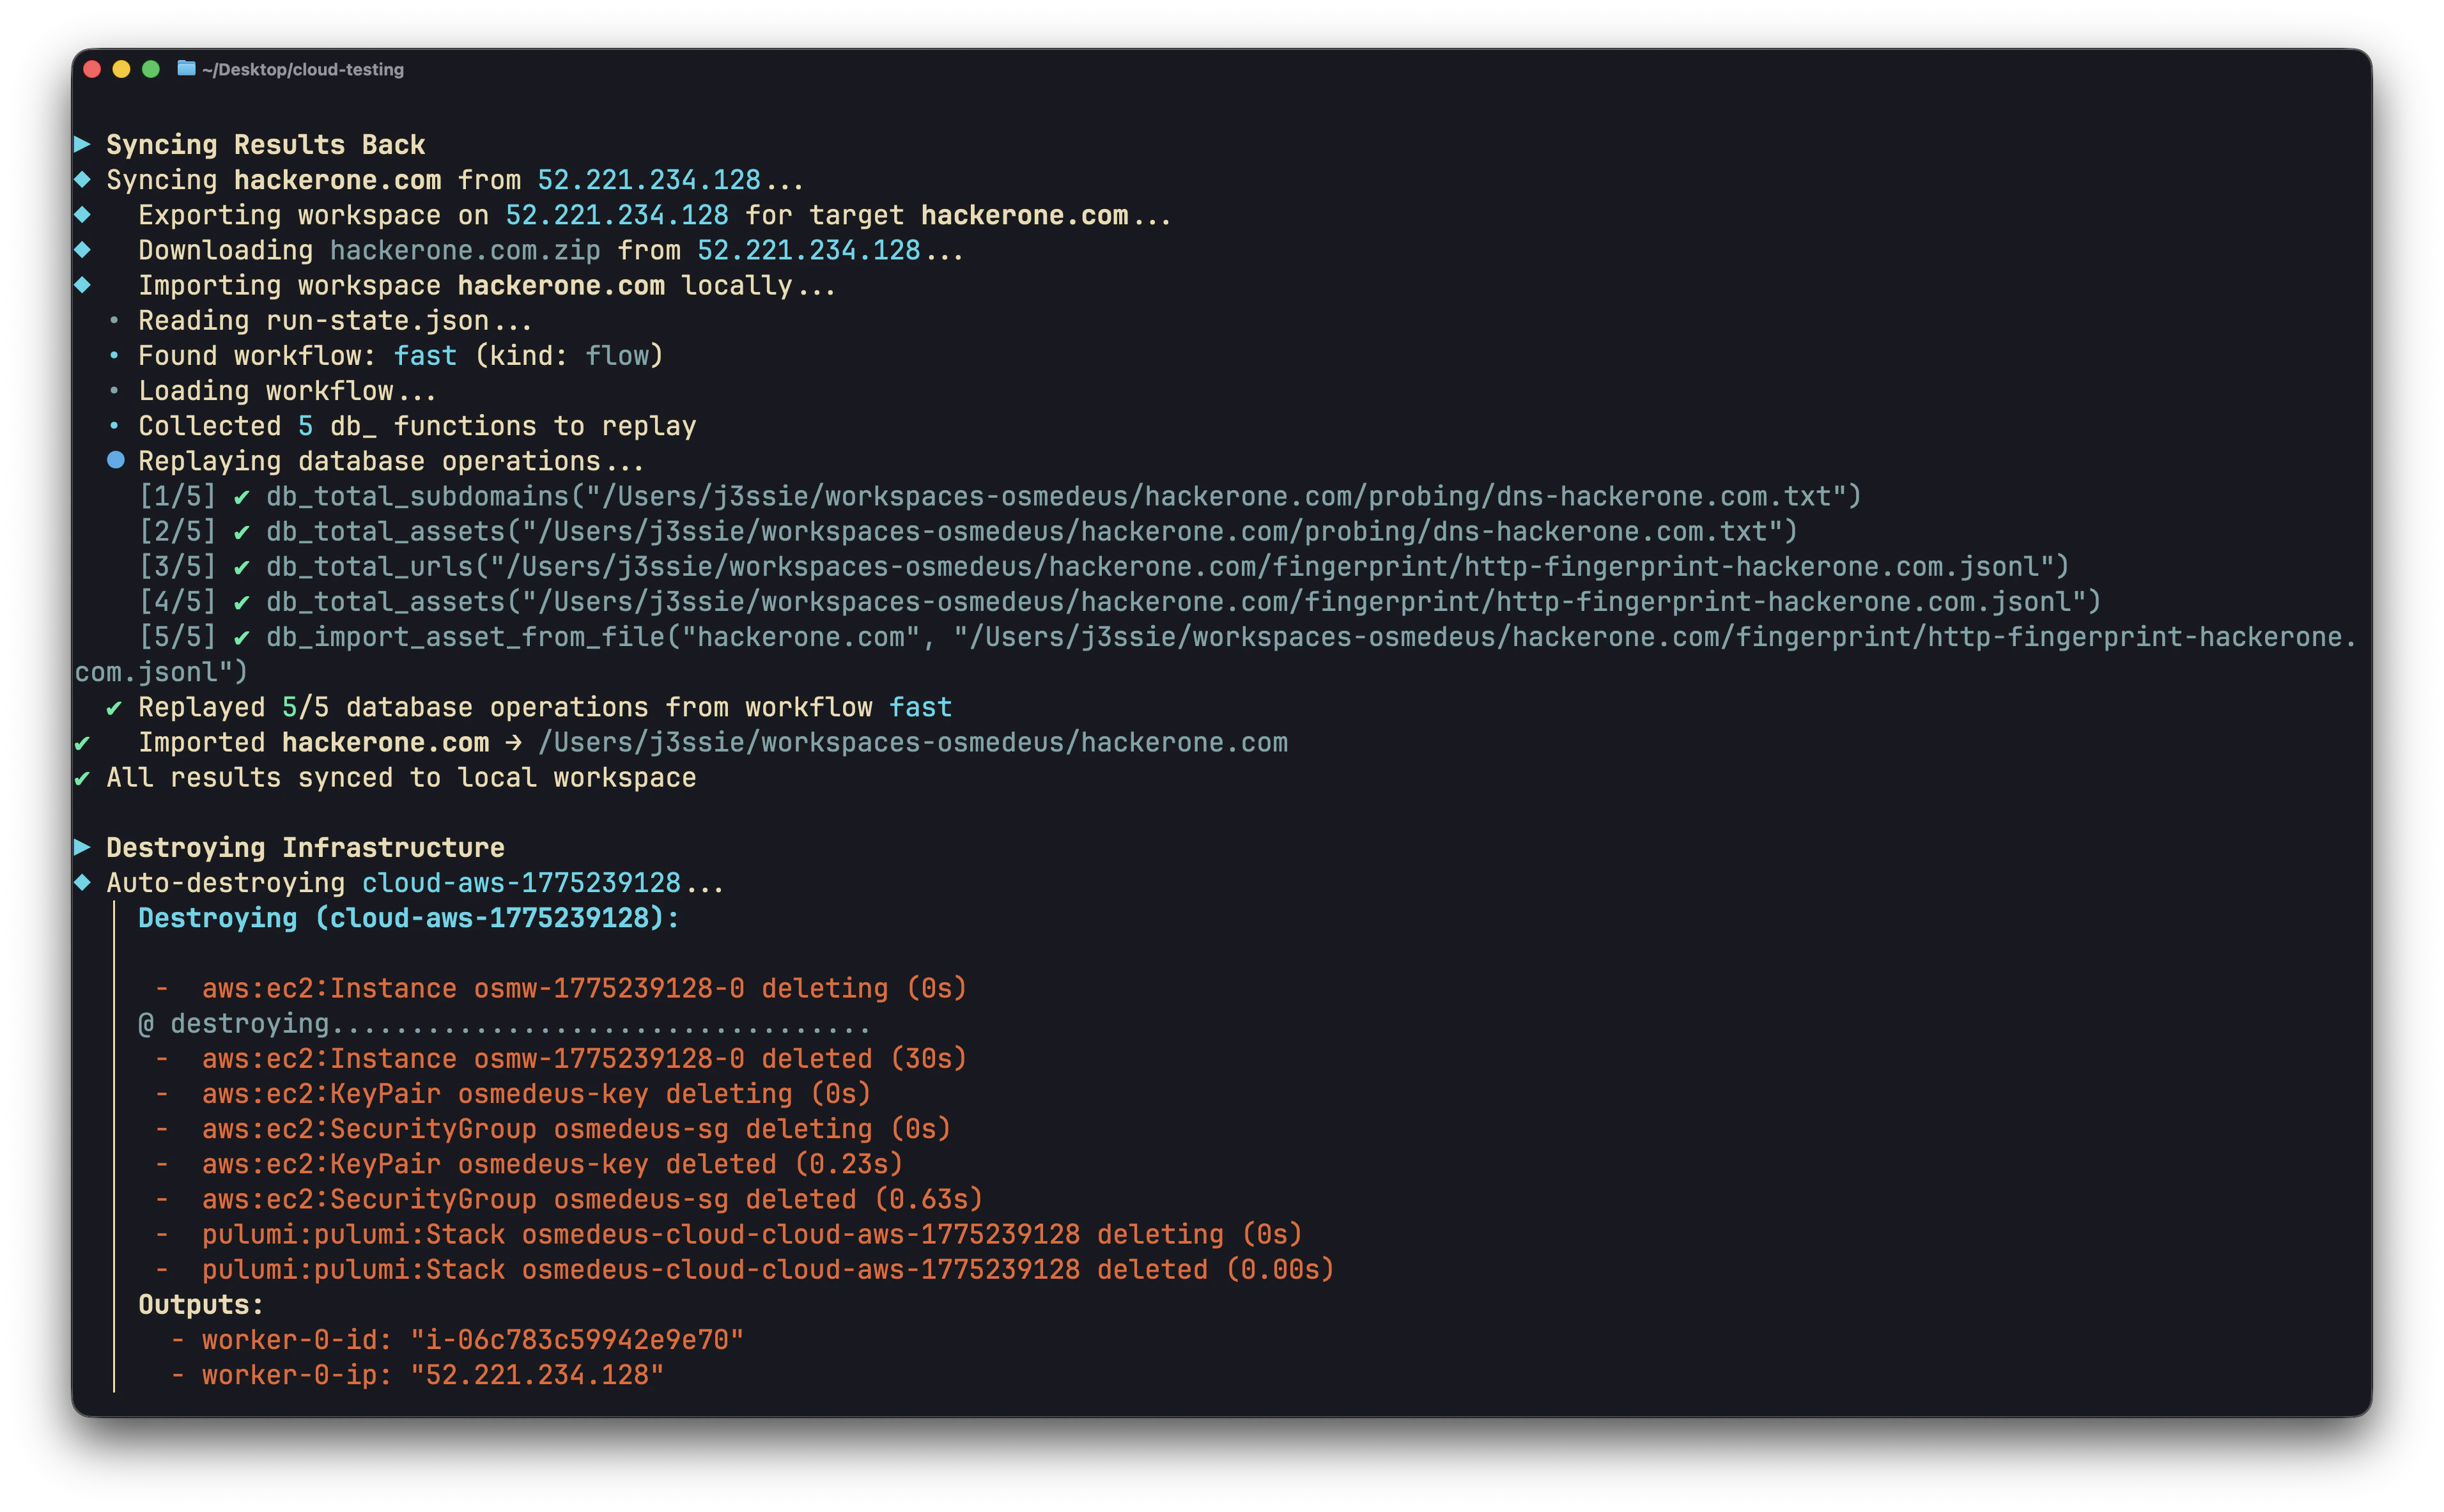
Auto-sync results after scan
How It Works
- Provision — Create VMs via Pulumi (or reuse existing ones)
- Setup — SSH into each worker, run setup commands (install osmedeus, tools, etc.)
- Execute — Run workflow or custom commands, stream output back in real time
- Sync — Download results to local machine (optional)
- Destroy — Tear down infrastructure (optional, can be automatic)
Supported Providers
Configuration
Cloud config lives in~/.osmedeus/cloud/cloud-settings.yaml. Manage it with:
Required Configuration
Every provider needs four things: cloud enabled, credentials, SSH keys, and setup commands.Optional Configuration
Post-Setup Commands
Post-setup commands run per-worker after the main setup, with template variables expanded:{{public_ip}}, {{private_ip}}, {{worker_name}}, {{worker_id}}, {{infra_id}}, {{provider}}, {{ssh_user}}, {{index}}
Two Execution Modes
Workflow Mode (default)
Runs an osmedeus flow or module on remote workers:Custom Command Mode
Runs arbitrary shell commands on remote workers — no osmedeus workflow required:--custom-cmd is mutually exclusive with -f/-m. See Custom Command Mode below.
Infrastructure Management
Provisioning
Listing
Reusing Existing Infrastructure
Destroying
Target Distribution
When scanning multiple targets across multiple workers, osmedeus splits the target list into chunks:/tmp/osm-targets-{i}.txt on the remote machine.
Custom Command Mode Details
Run any commands on cloud instances without using osmedeus workflows. Commands run in/tmp/osm-custom/ on the remote.
Flags
Template Variables
All commands and sync paths support these variables:Execution Rules
- Custom-cmds run sequentially on each worker, but in parallel across workers
- If any
--custom-cmdfails (non-zero exit), remaining commands and all--custom-post-cmdare skipped for that worker - Post-cmd failures are logged but do not affect other workers
Sync-Back
Downloaded files are placed at:<sync-dest>/<worker_name>-<ip>/<remote_path>
For example, --sync-path /tmp/osm-custom/results.txt from worker osmw-0 at 1.2.3.4:
Examples
Syncing Results
Workflow Mode: --sync-back
Exports osmedeus workspaces (including database state) from remote workers and imports them locally:
Custom Mode: --sync-path
Downloads specific files or directories via SFTP:
Cost Management
Pre-Provisioning Estimates
Costs are estimated before provisioning. Set limits to prevent overspending:Spot/Preemptible Instances
Save 70-80% on instance costs:Cost Reference
Example: 5 DigitalOcean s-2vcpu-4gb instances for 2 hours = 5 x $0.02232 x 2 = **$0.22**
Worker Setup
Workers are set up via SSH after provisioning. The setup flow:- Cloud-init (automatic): Installs SSH keys, basic packages
- Setup commands (
setup.commands): Install osmedeus, tools, base data - Post-setup commands (
setup.post_commands): Per-worker configuration with template variables
Ansible Alternative
For complex setups, use Ansible instead of SSH commands:Setup on Existing Machines
Troubleshooting
Workers Not Connecting
Infrastructure Stuck
Cost Exceeded
If cost limits are hit, provisioning is blocked. Adjust limits:Best Practices
- Always set cost limits before running large-scale scans
- Use
--auto-destroyto avoid forgotten instances accruing charges - Use spot instances for non-critical scans (70-80% savings)
- Use
--reuseto avoid re-provisioning for iterative work - Start small — test with 1 instance before scaling up
- Use custom snapshots with tools pre-installed to cut setup time from 5min to 30s
- Check
cloud listregularly to verify no orphaned infrastructure