> ## Documentation Index
> Fetch the complete documentation index at: https://docs.osmedeus.org/llms.txt
> Use this file to discover all available pages before exploring further.
# Web UI
> Server and Web UI for Osmedeus
This document describes the web UI for Osmedeus which is the main entry point for running workflows and modules and some other utilities.
The Osmedeus server also acts as an event receiver, processing events from other runs and handling scheduled scans. See [Event-Driven](/advanced/event-driven) for more details.
Start the web UI by running the following command:
```bash theme={null}
osmedeus serve
```
then open your browser and go to `https://localhost:8002`.
## How to Login into Web UI
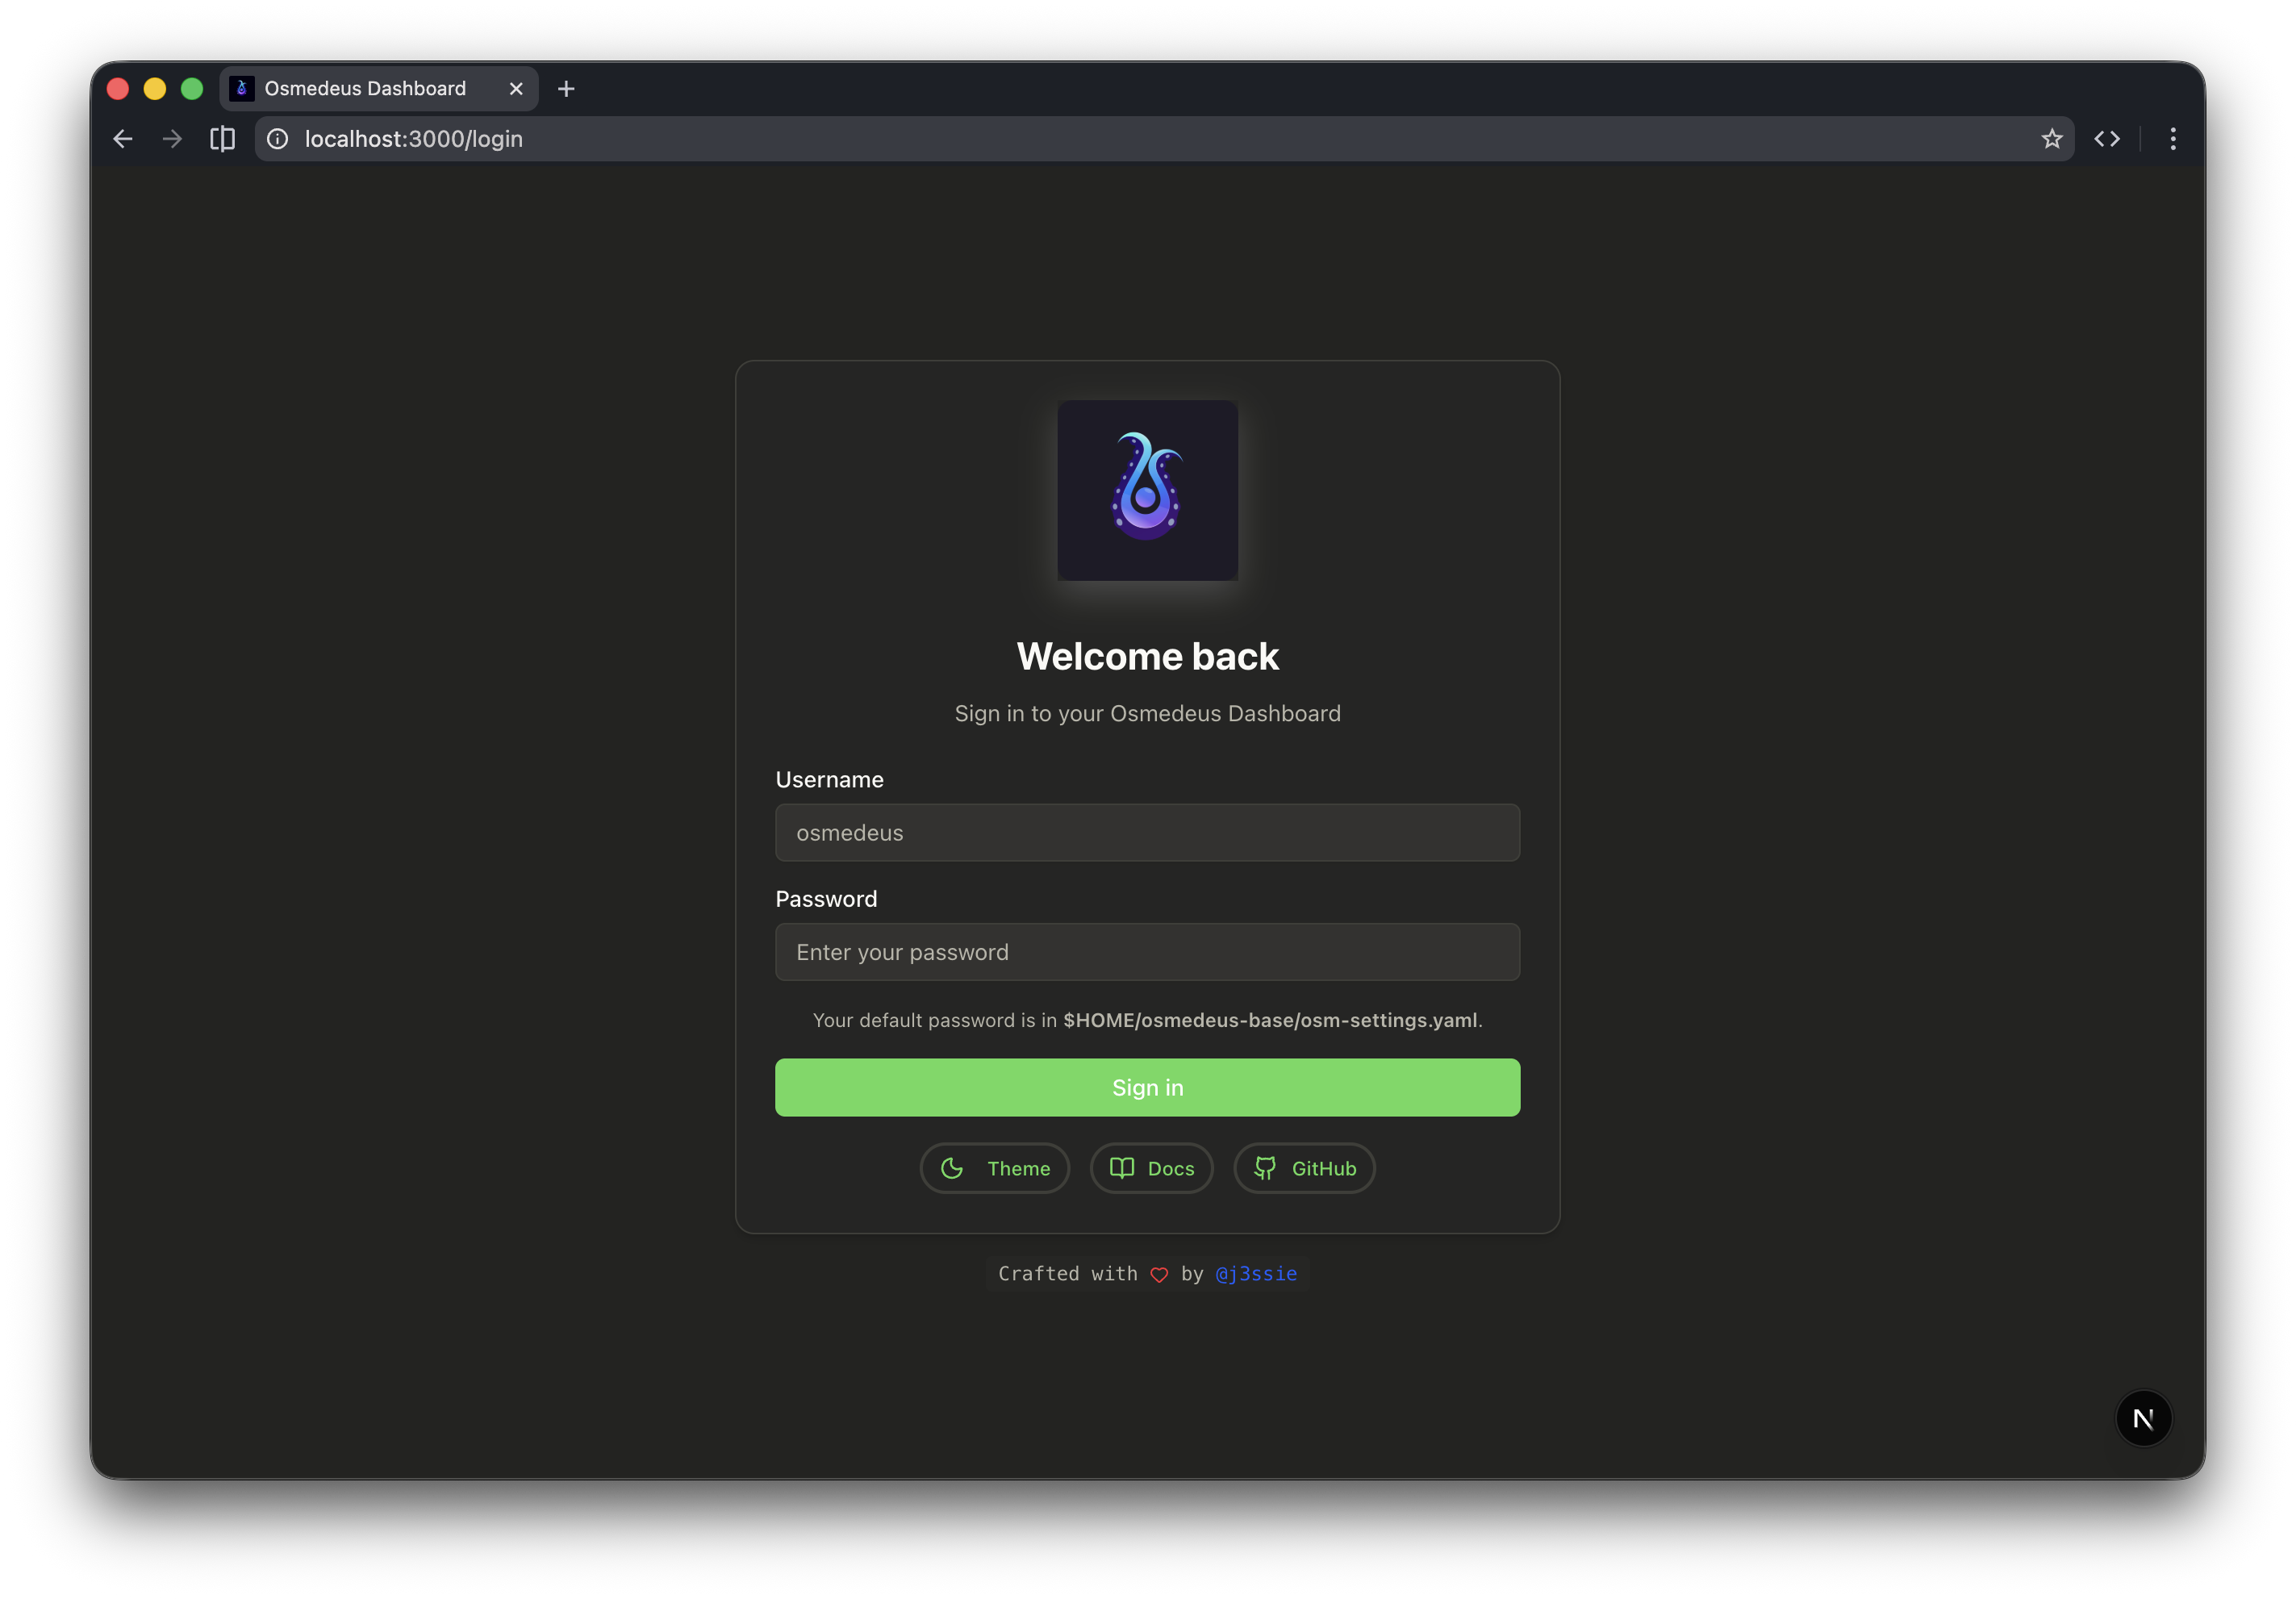 Your default password is in `$HOME/osmedeus-base/osm-settings.yaml`
You can view the default credentials by running the following command as it is auto-generated:
```bash theme={null}
osmedeus config view server.username
osmedeus config view server.password
```
Many API endpoints are intentionally designed to execute code on your machine, so ensure your web UI and API endpoints are protected with strong credentials. See [security-warning](/others/security-warning) for more details
You can also change the default password and set API key authentication by running the following command:
```bash theme={null}
osmedeus config set server.username "osmedeus"
osmedeus config set server.password "$(openssl rand -hex 12)"
# api key auth requires a jwt secret signing key
osmedeus config set server.jwt.secret_signing_key "$(openssl rand -hex 32)"
osmedeus config set server.enabled_auth_api true
osmedeus config set server.auth_api_key "$(openssl rand -hex 24)"
## API Key Authentication Settings
# server:
# enabled_auth_api: true
# auth_api_key: "your-secure-api-key"
```
***
## All Web UI Pages
The web UI consists of the following pages that allow you to view and manage your assets, workspaces, vulnerabilities, and other utilities.
### 1. Assets and Workspace
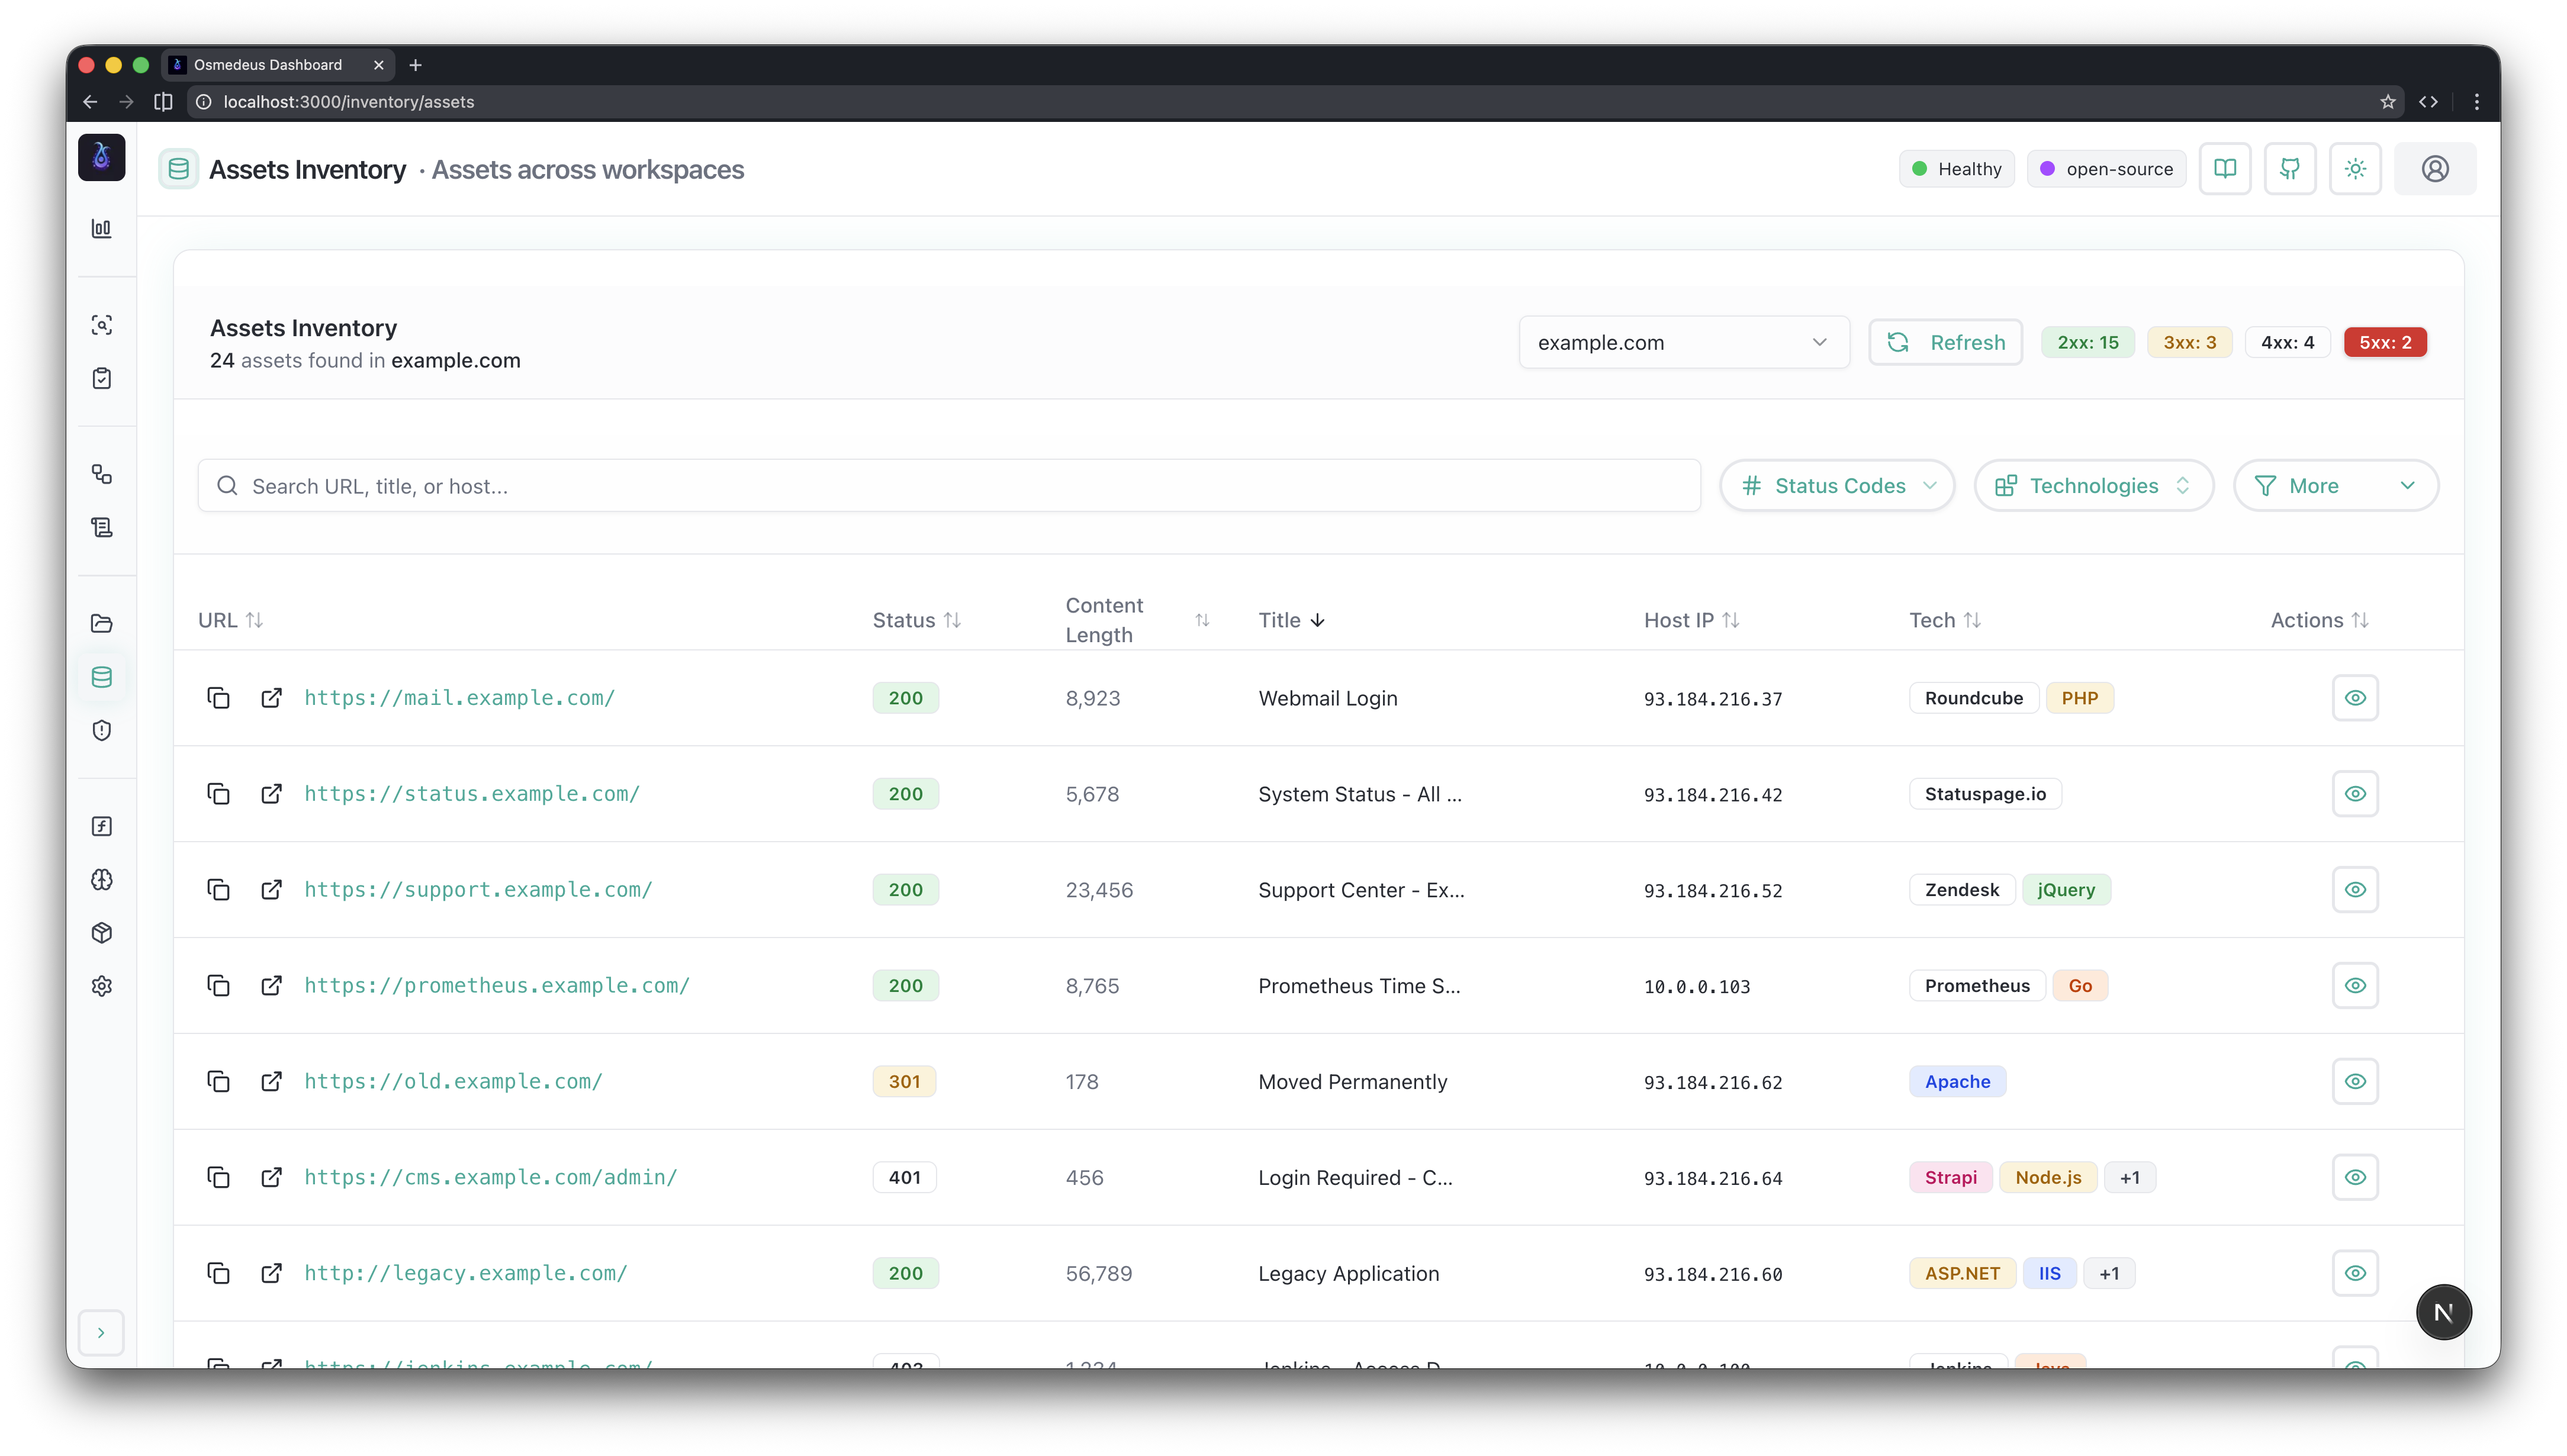
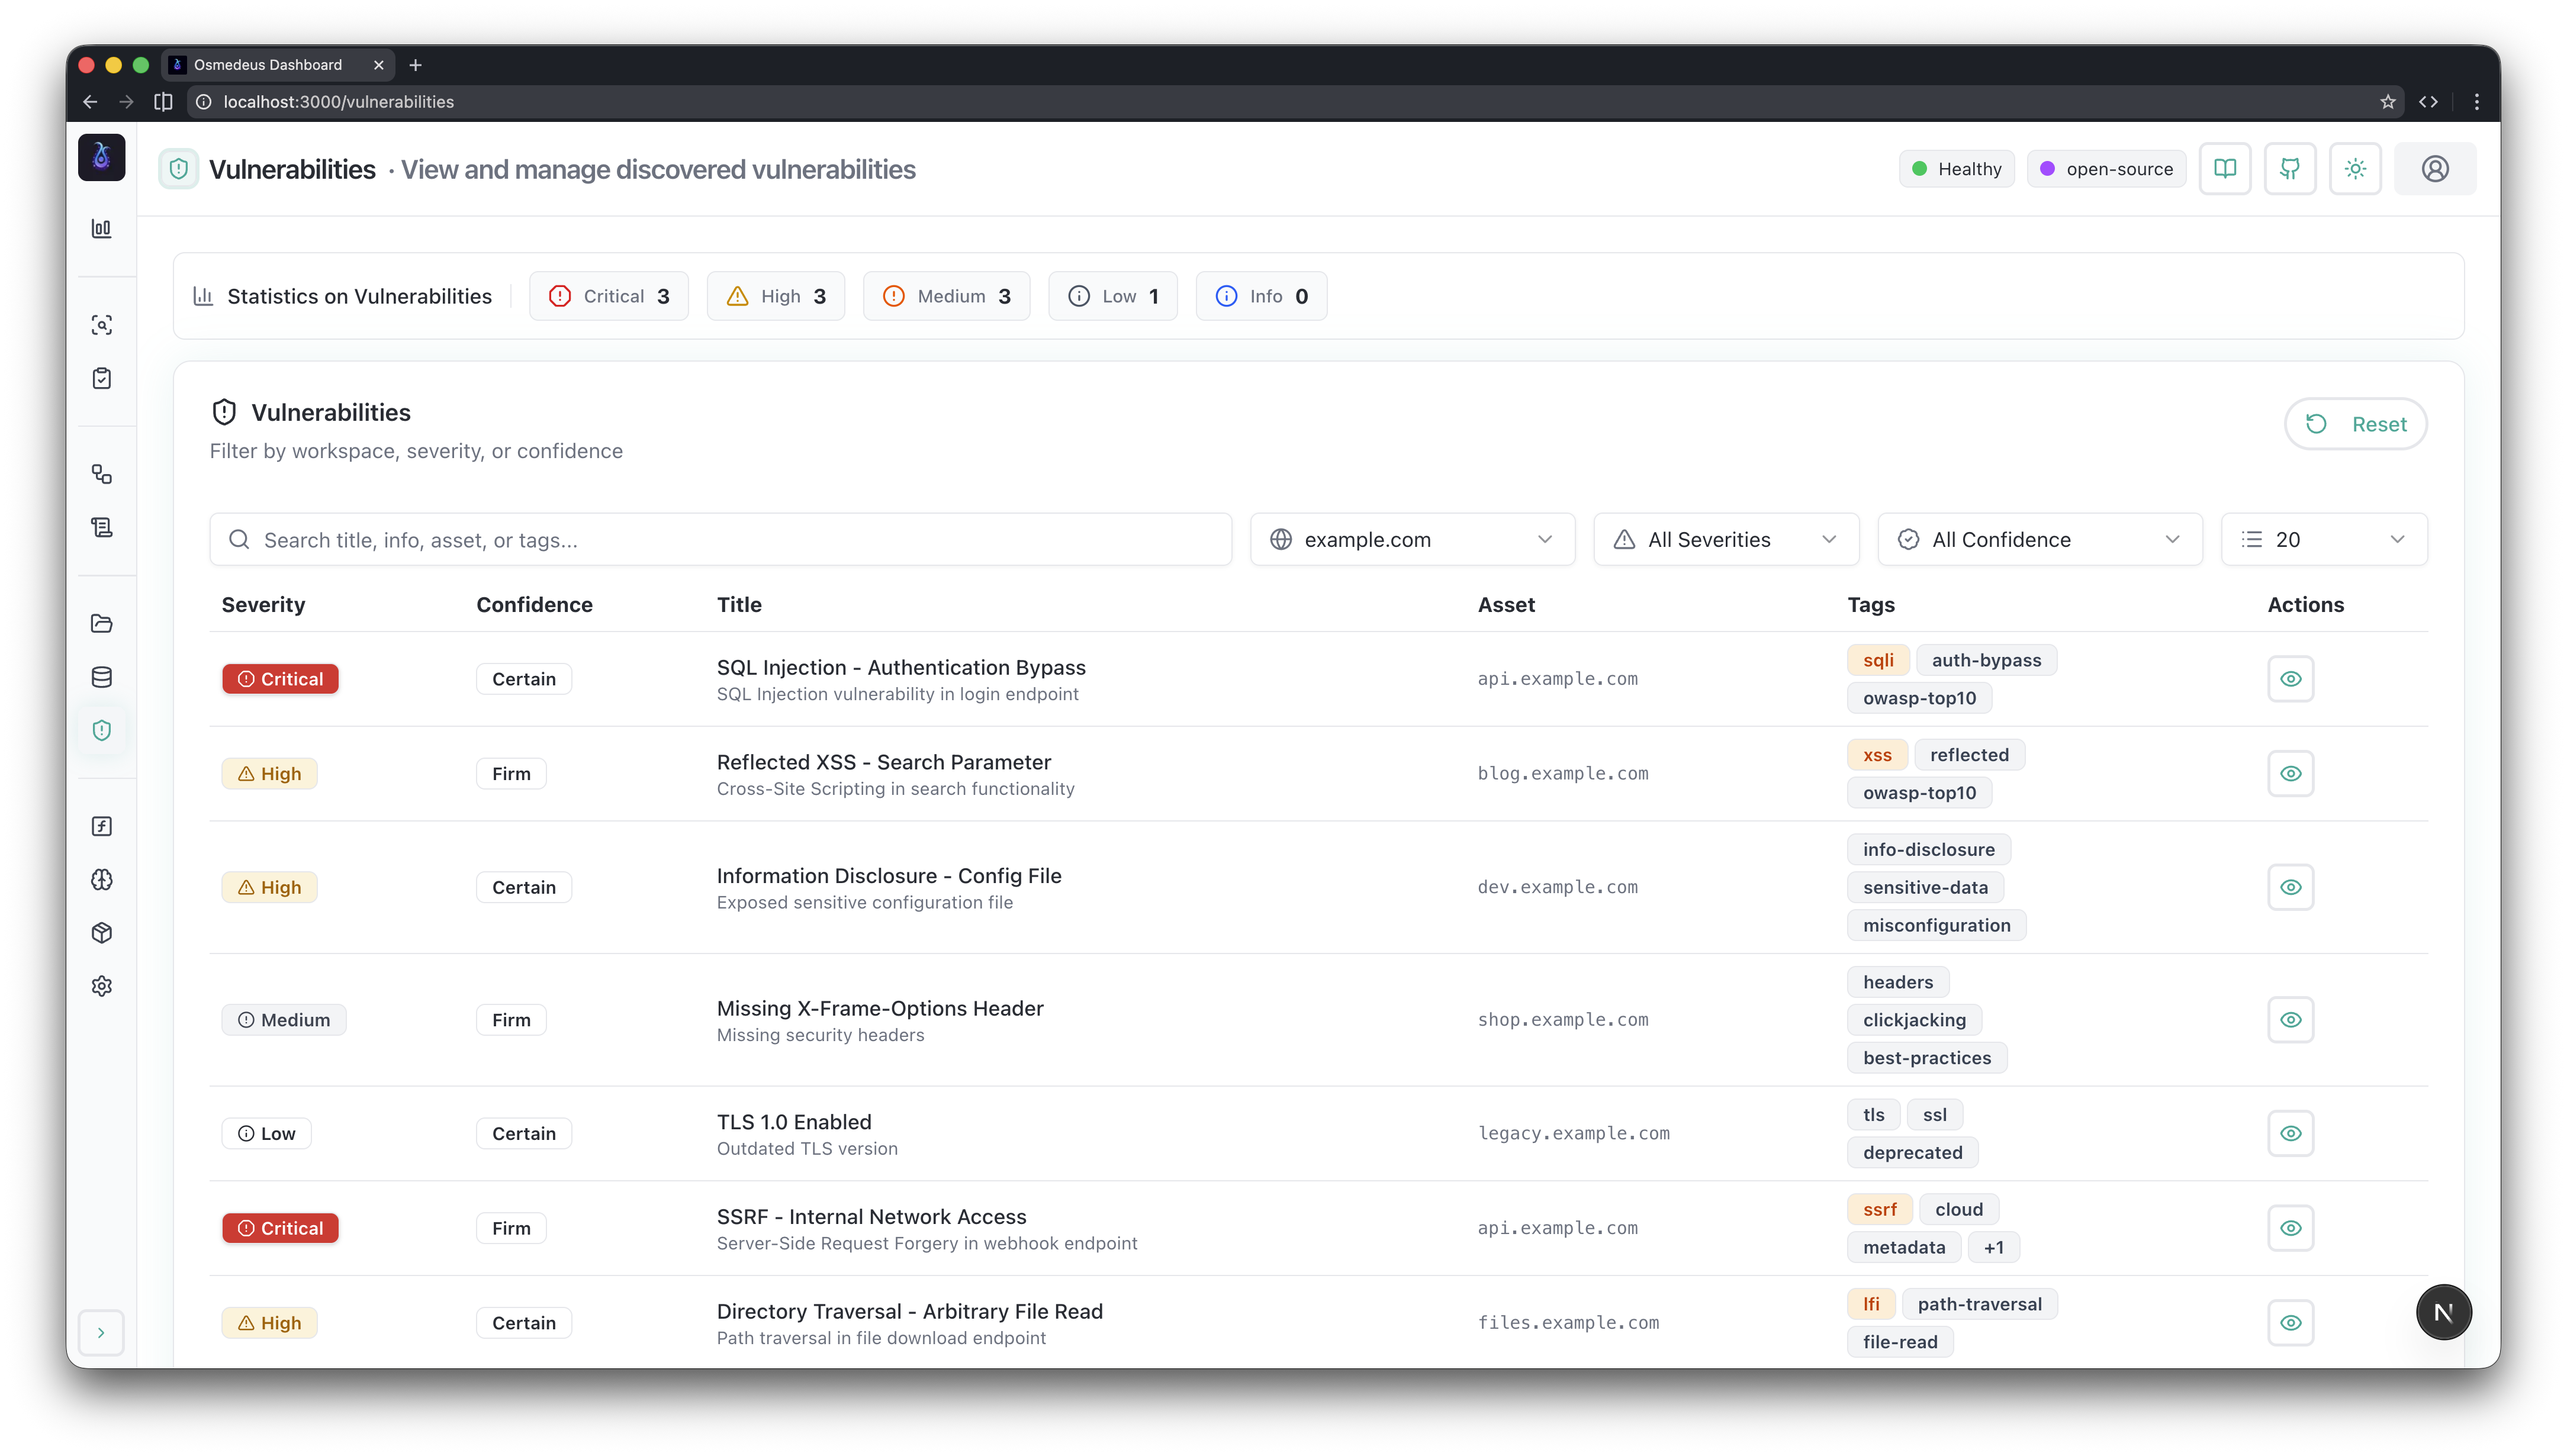
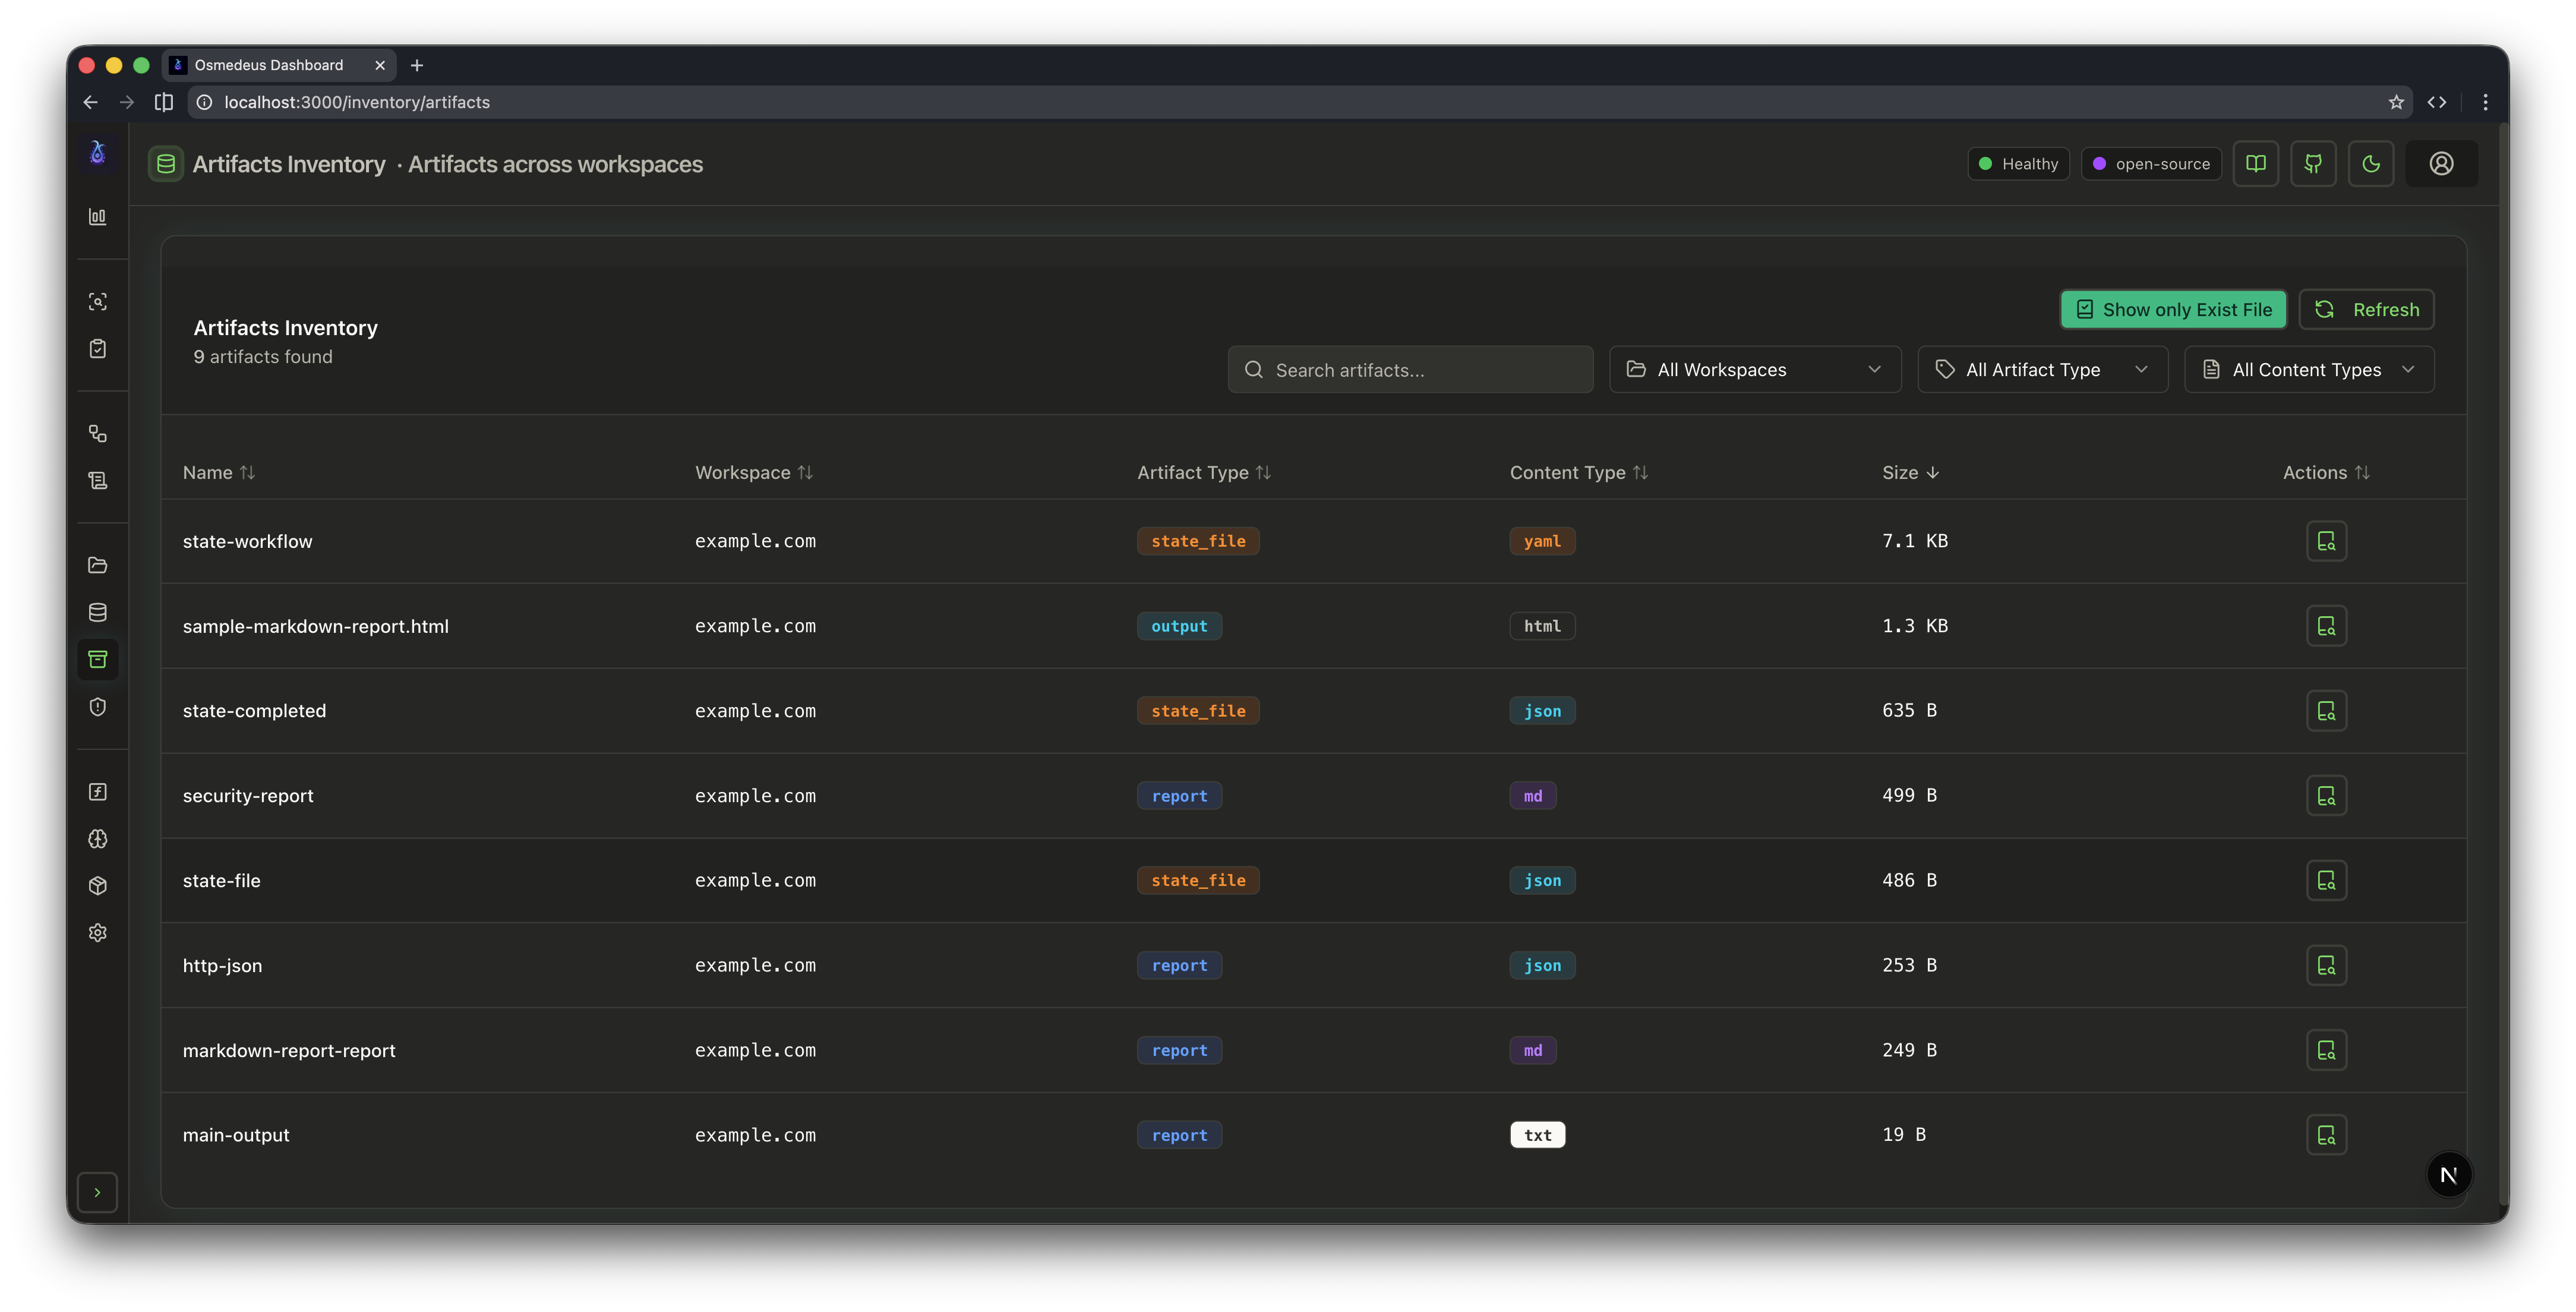
This is the main page of the web UI where you can view and manage your assets, workspaces, vulnerabilities, and artifacts which will be generated by the workflows.
Your default password is in `$HOME/osmedeus-base/osm-settings.yaml`
You can view the default credentials by running the following command as it is auto-generated:
```bash theme={null}
osmedeus config view server.username
osmedeus config view server.password
```
Many API endpoints are intentionally designed to execute code on your machine, so ensure your web UI and API endpoints are protected with strong credentials. See [security-warning](/others/security-warning) for more details
You can also change the default password and set API key authentication by running the following command:
```bash theme={null}
osmedeus config set server.username "osmedeus"
osmedeus config set server.password "$(openssl rand -hex 12)"
# api key auth requires a jwt secret signing key
osmedeus config set server.jwt.secret_signing_key "$(openssl rand -hex 32)"
osmedeus config set server.enabled_auth_api true
osmedeus config set server.auth_api_key "$(openssl rand -hex 24)"
## API Key Authentication Settings
# server:
# enabled_auth_api: true
# auth_api_key: "your-secure-api-key"
```
***
## All Web UI Pages
The web UI consists of the following pages that allow you to view and manage your assets, workspaces, vulnerabilities, and other utilities.
### 1. Assets and Workspace
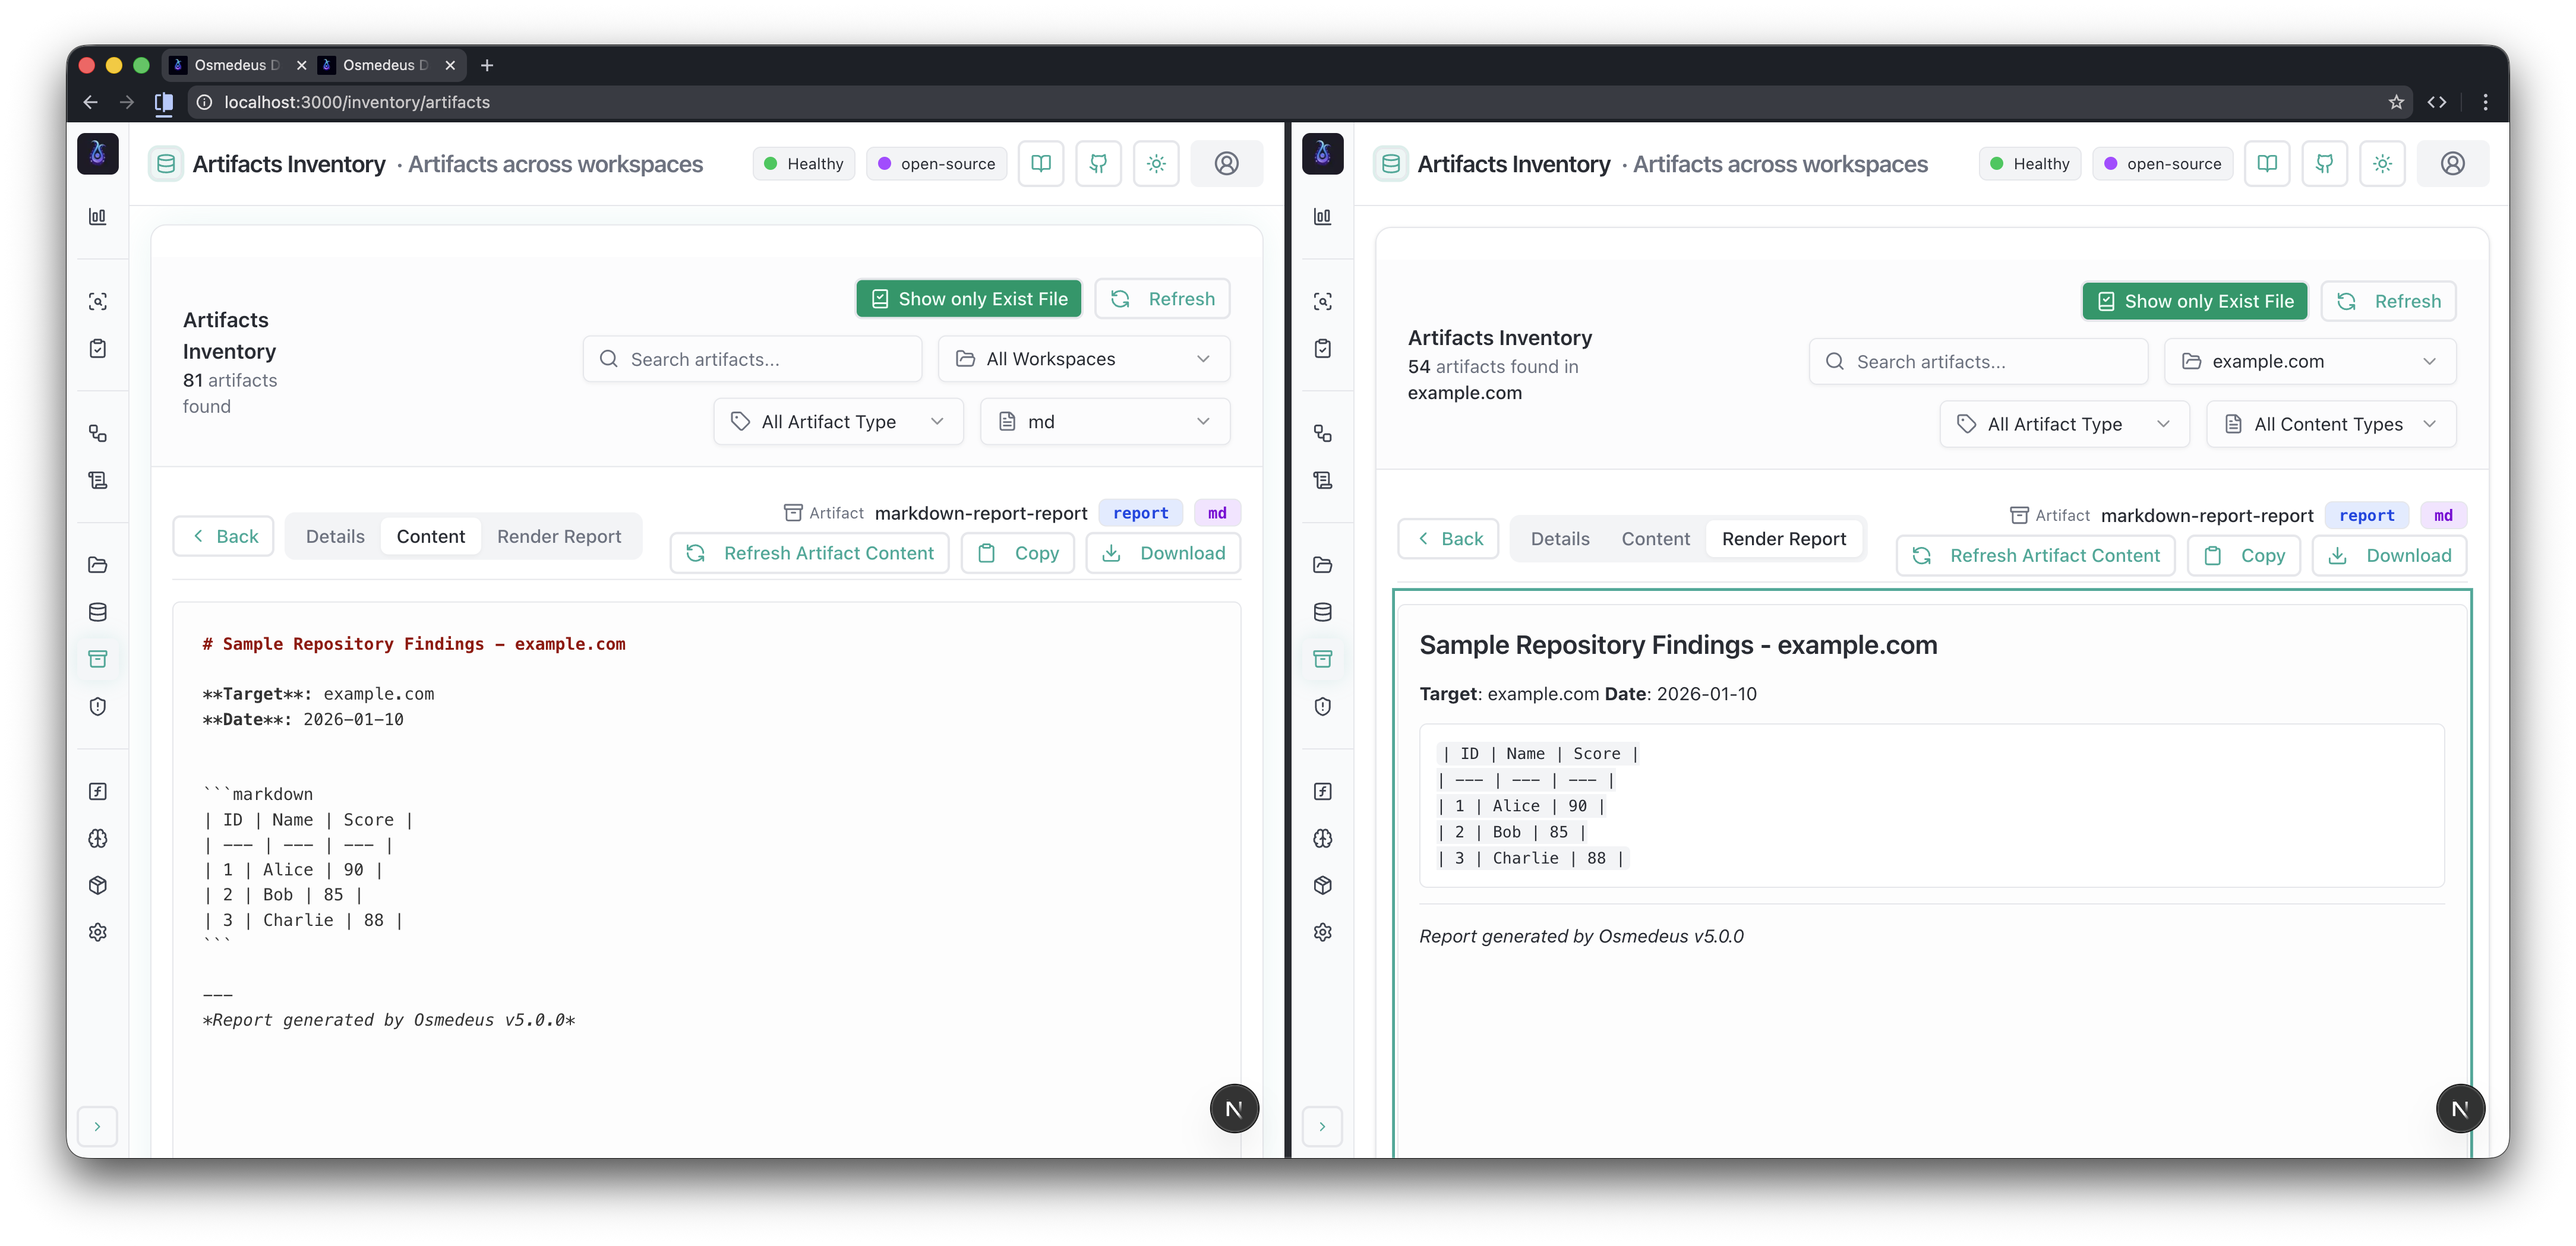
This is the main page of the web UI where you can view and manage your assets, workspaces, vulnerabilities, and artifacts which will be generated by the workflows.
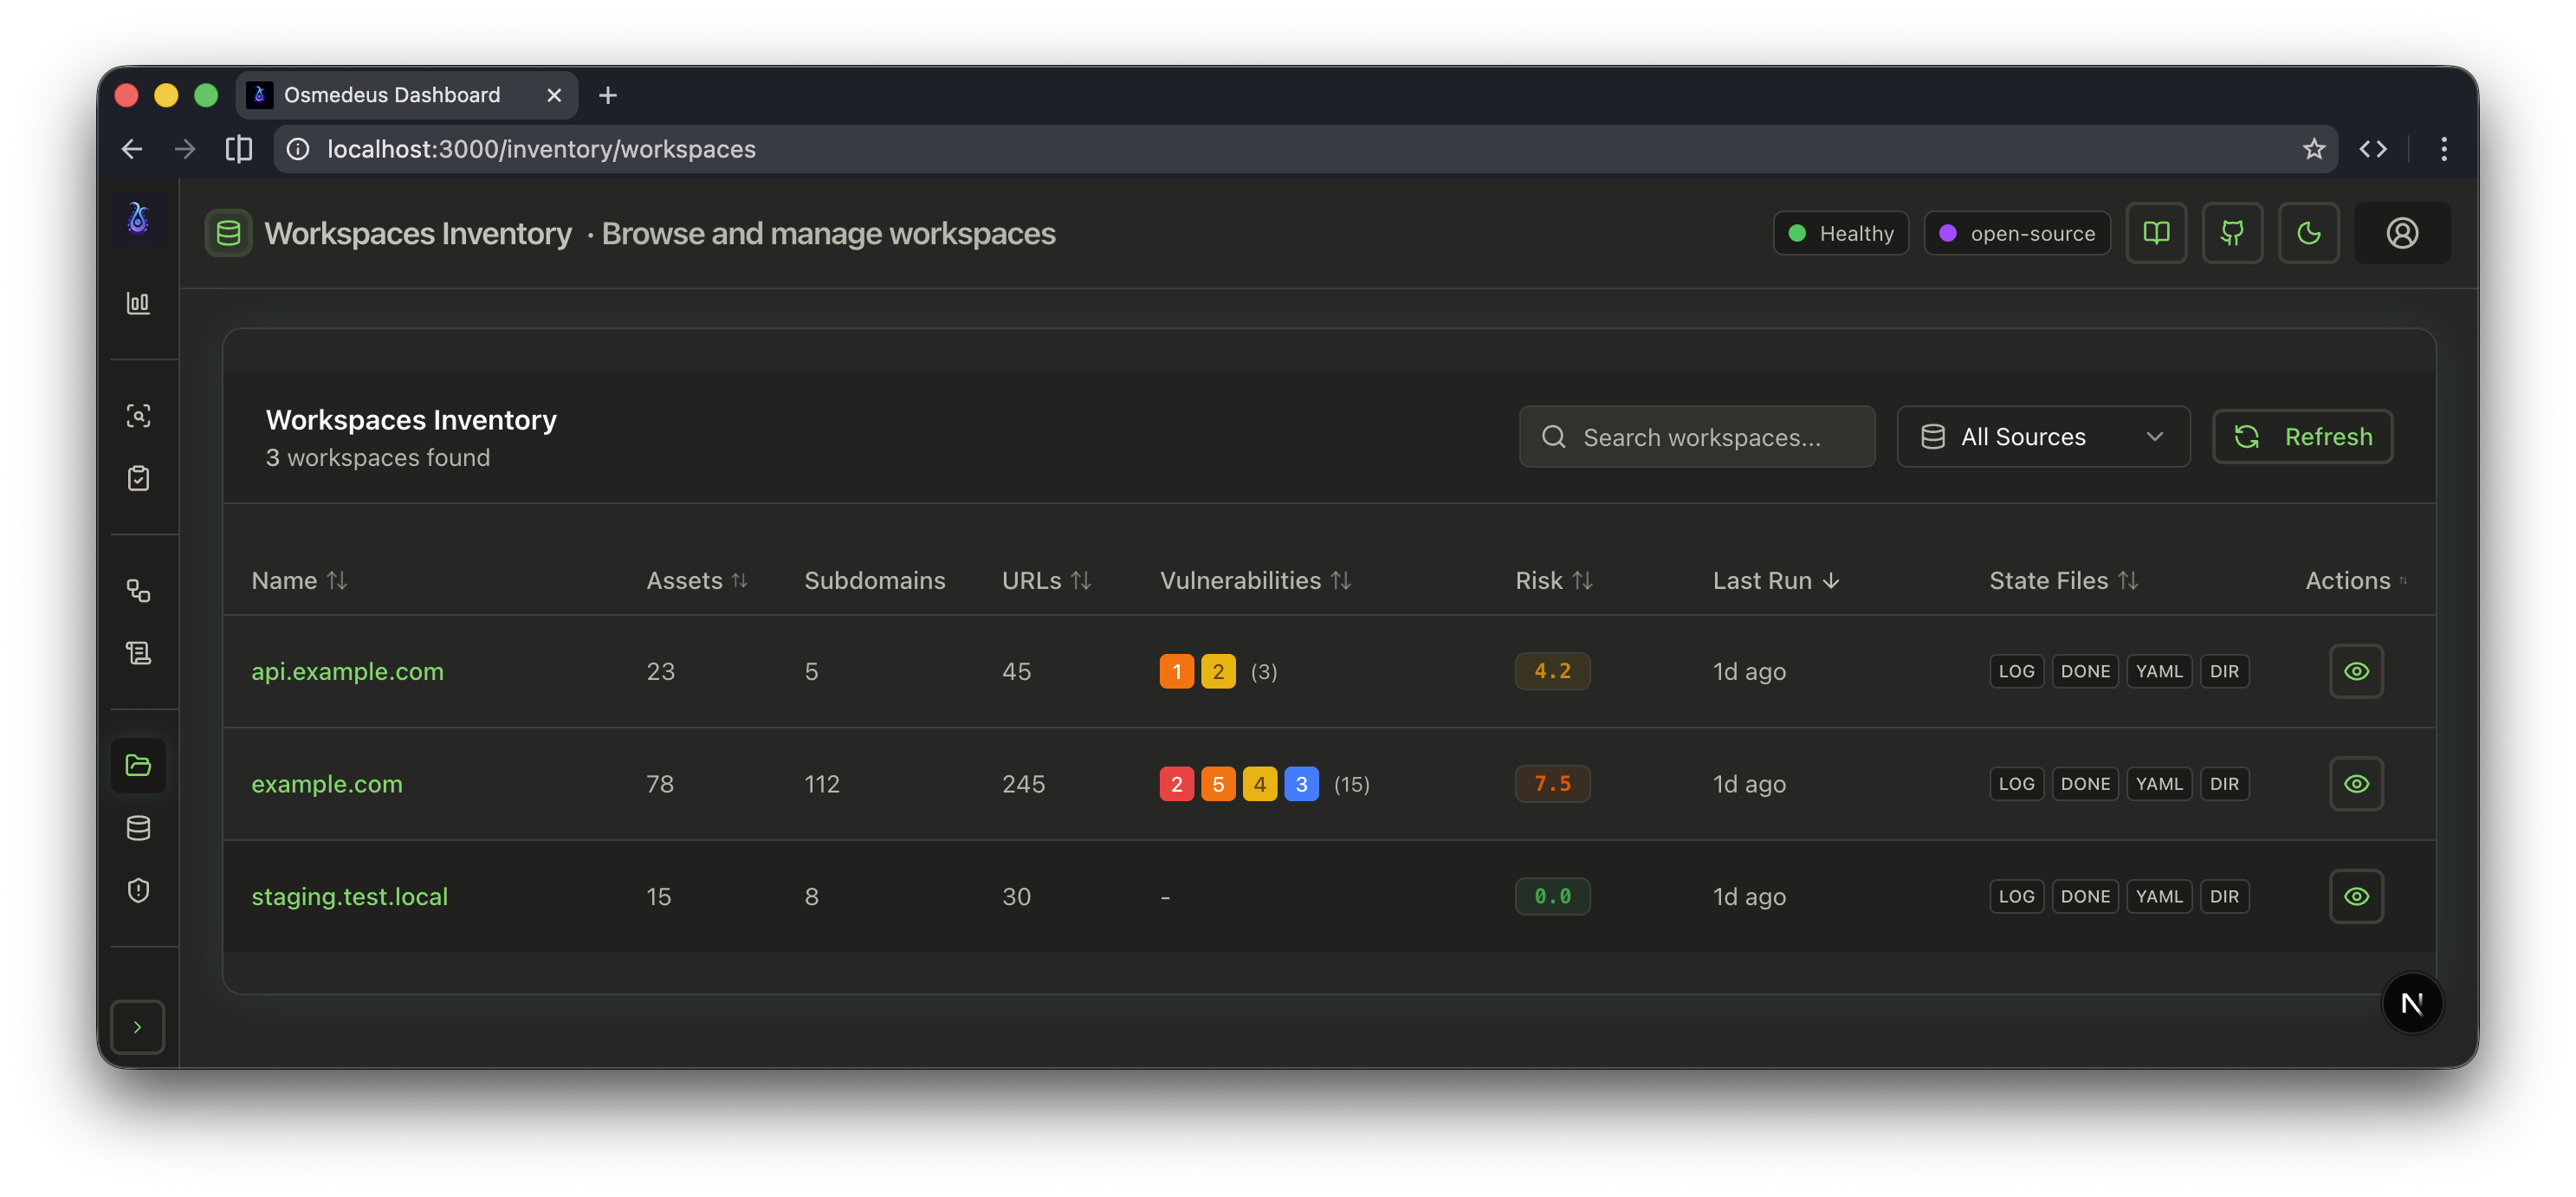
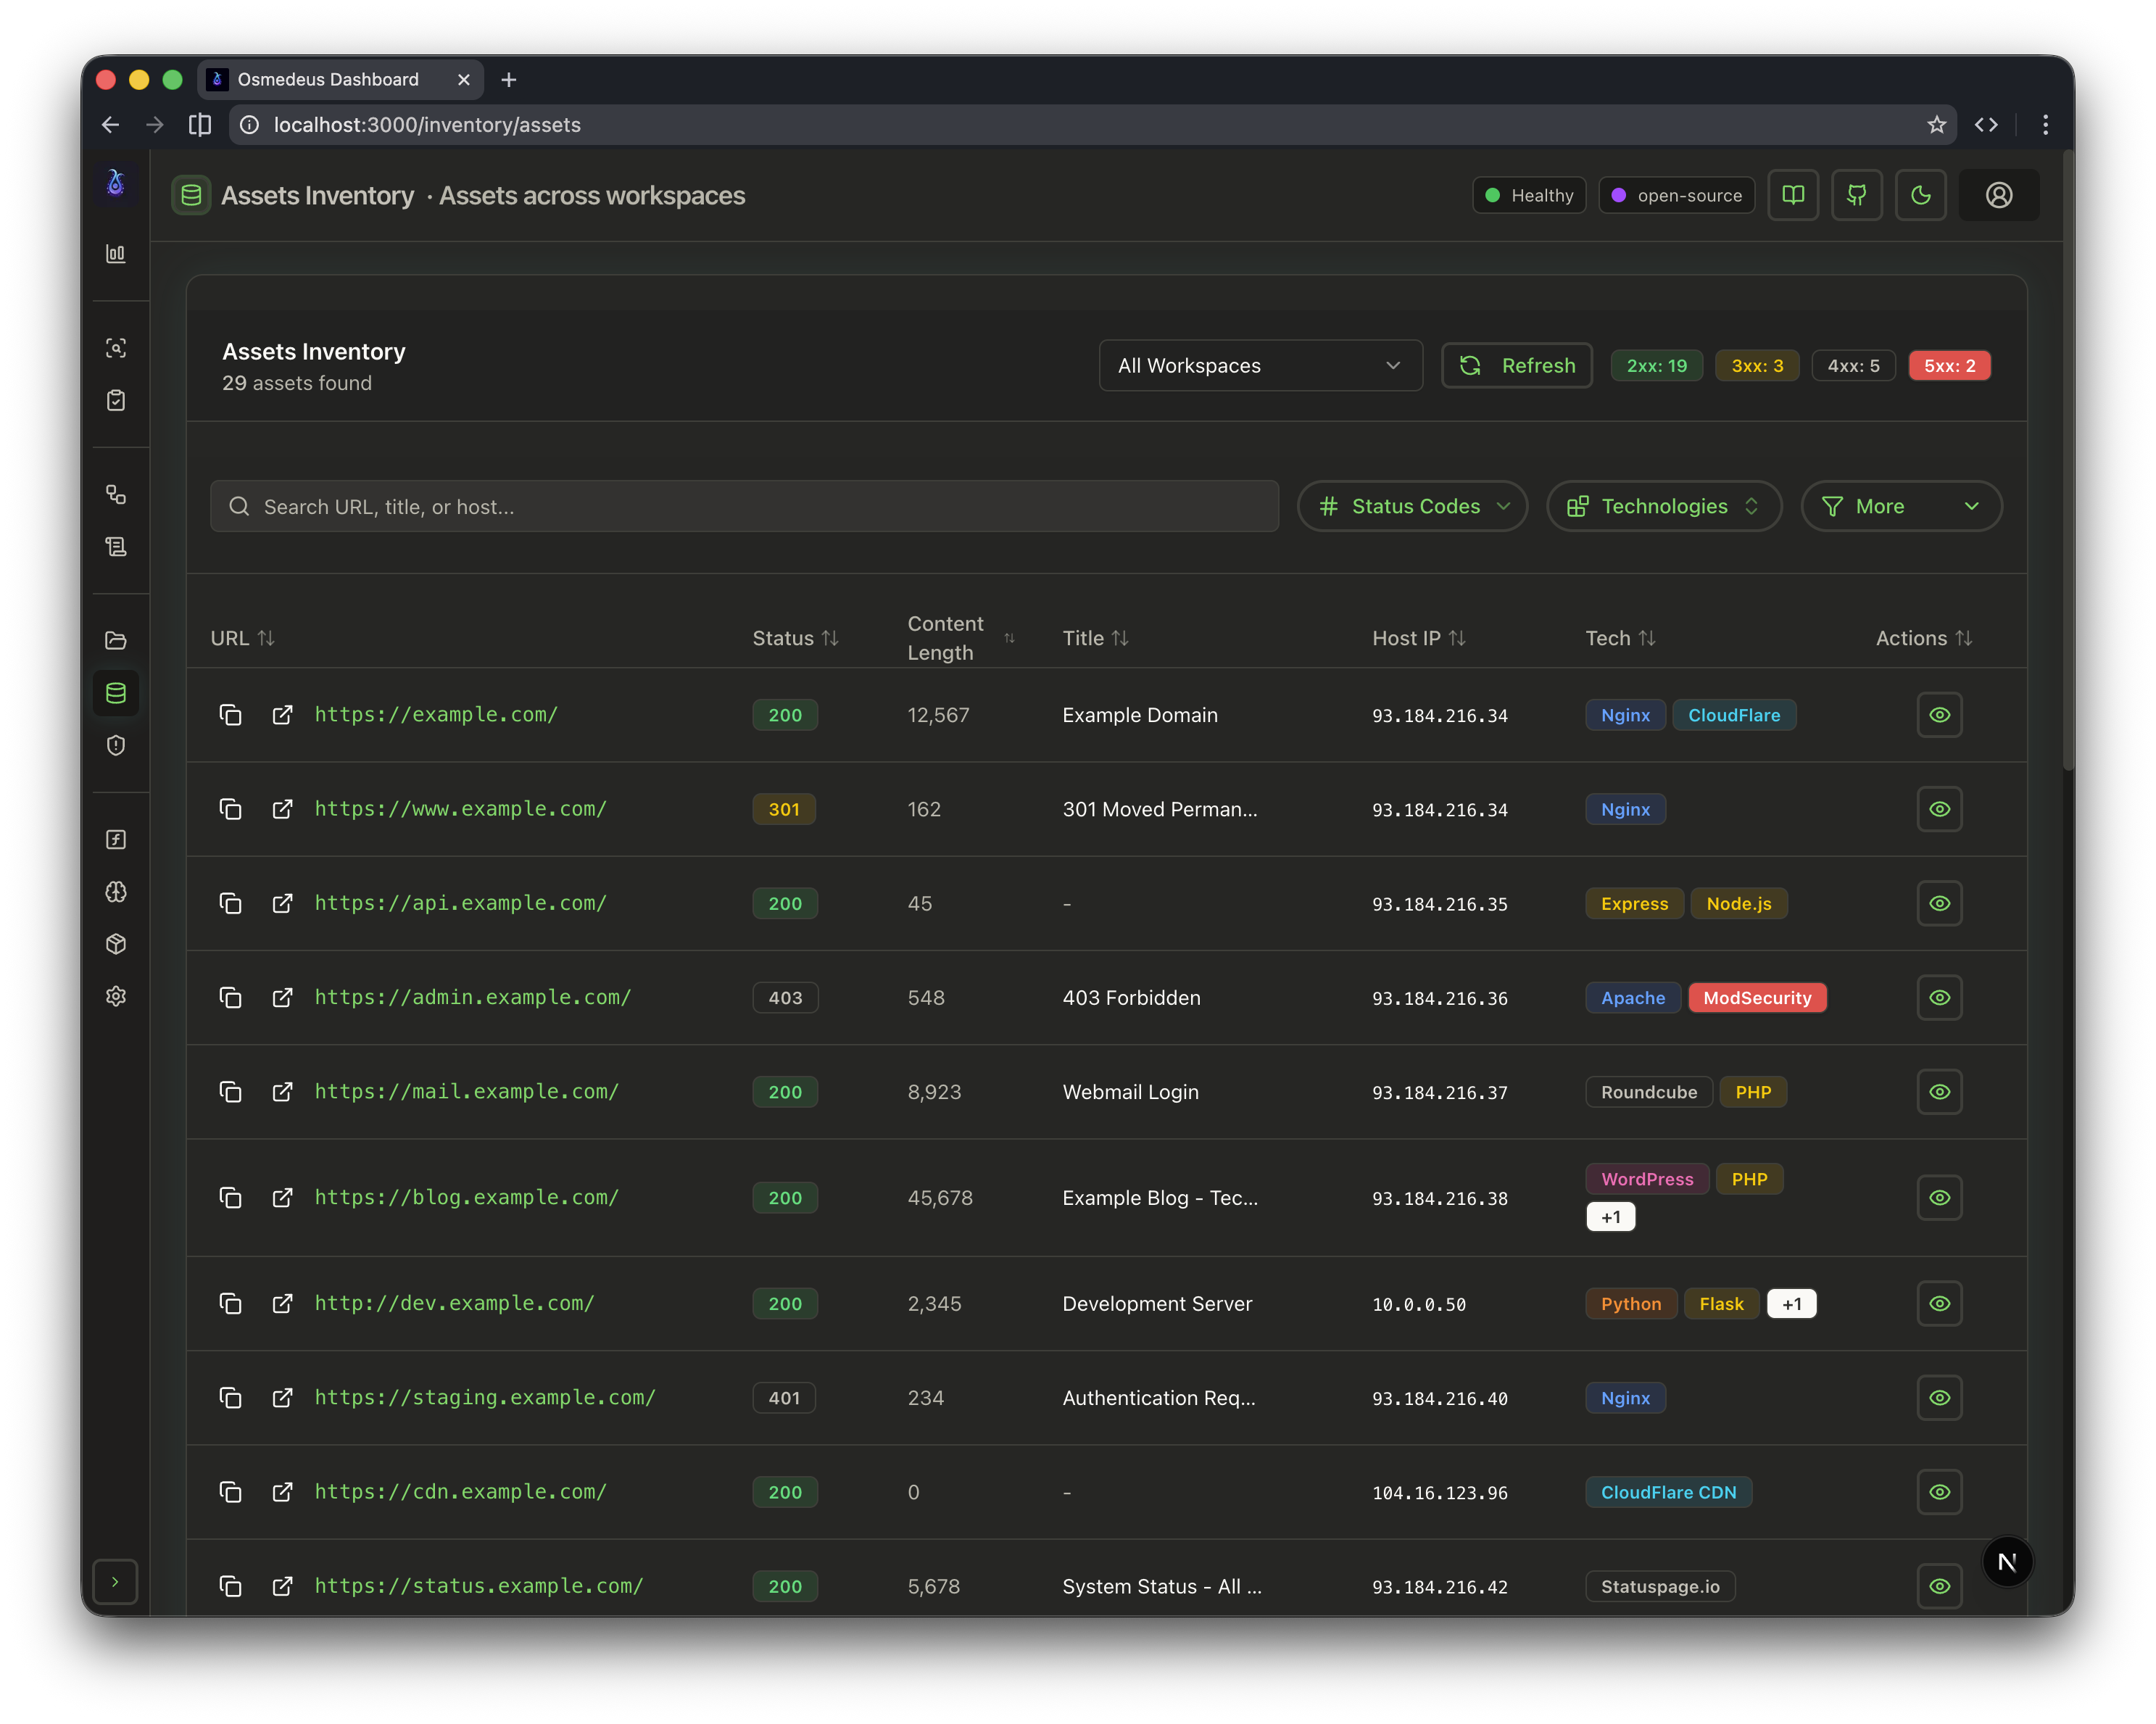
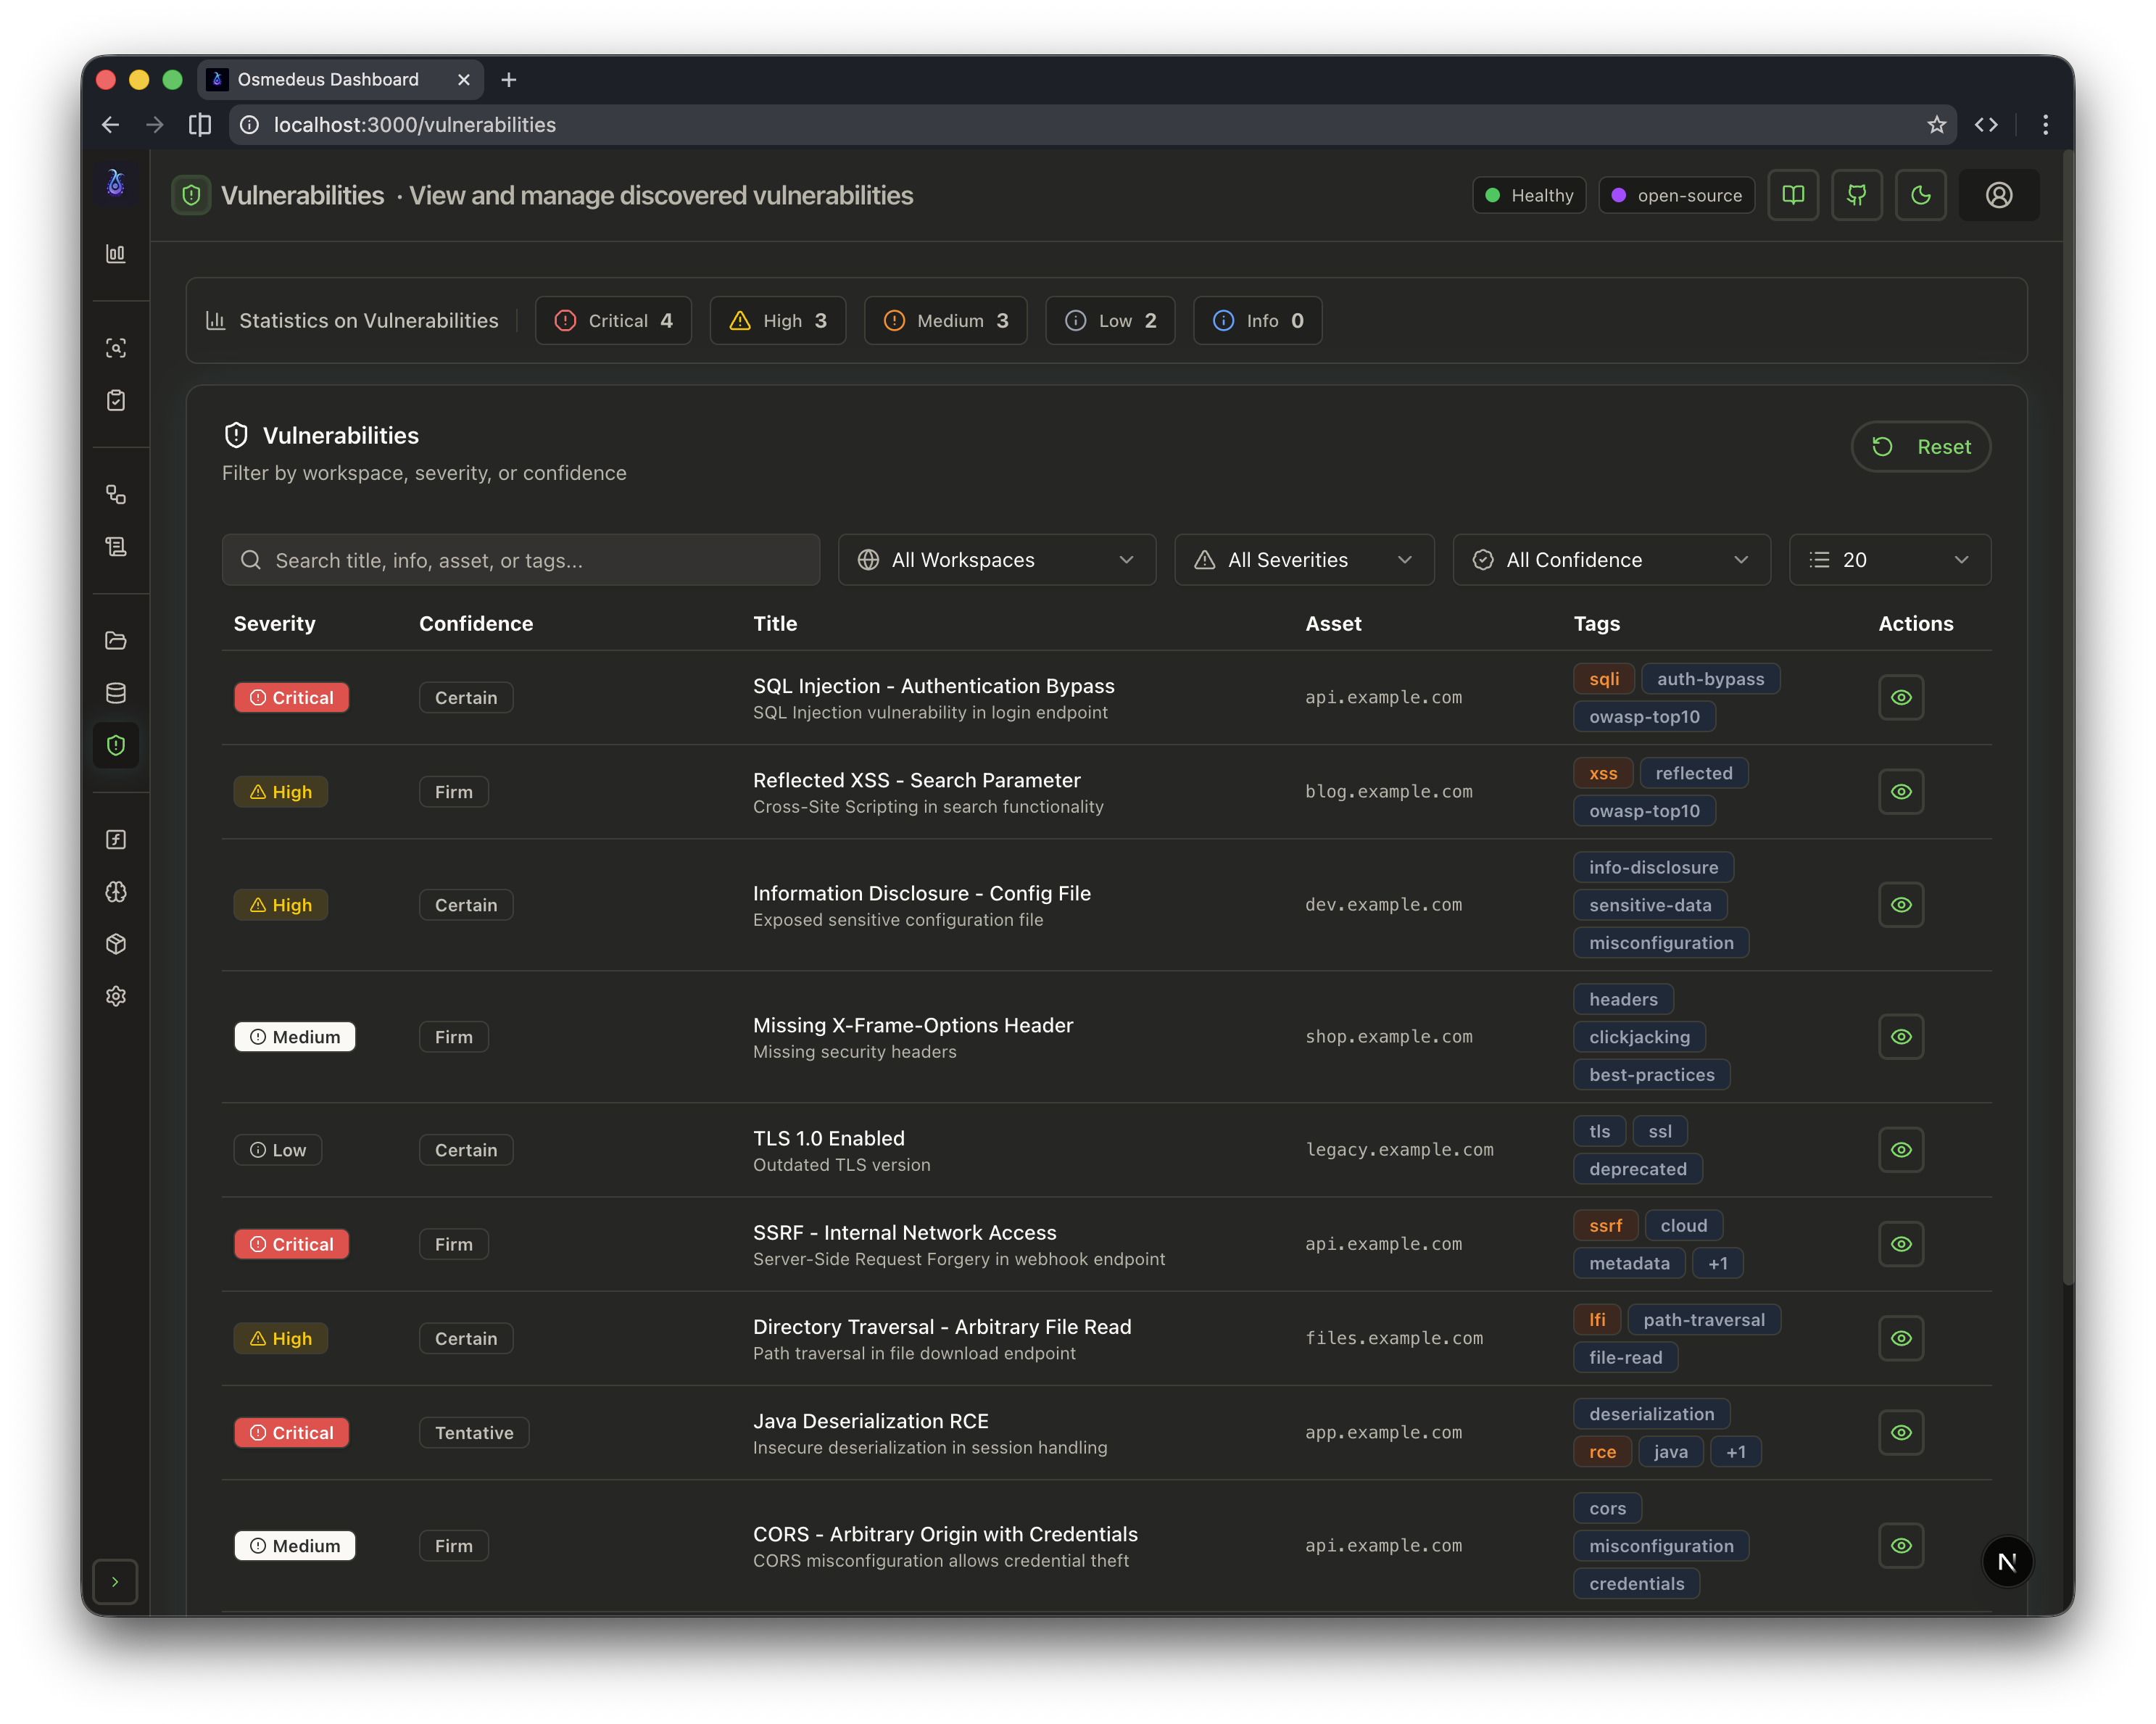
 You also have the option to enhance the UI, displaying artifacts in a cleaner, syntax-highlighted layout—ideal for reviewing markdown or HTML reports.
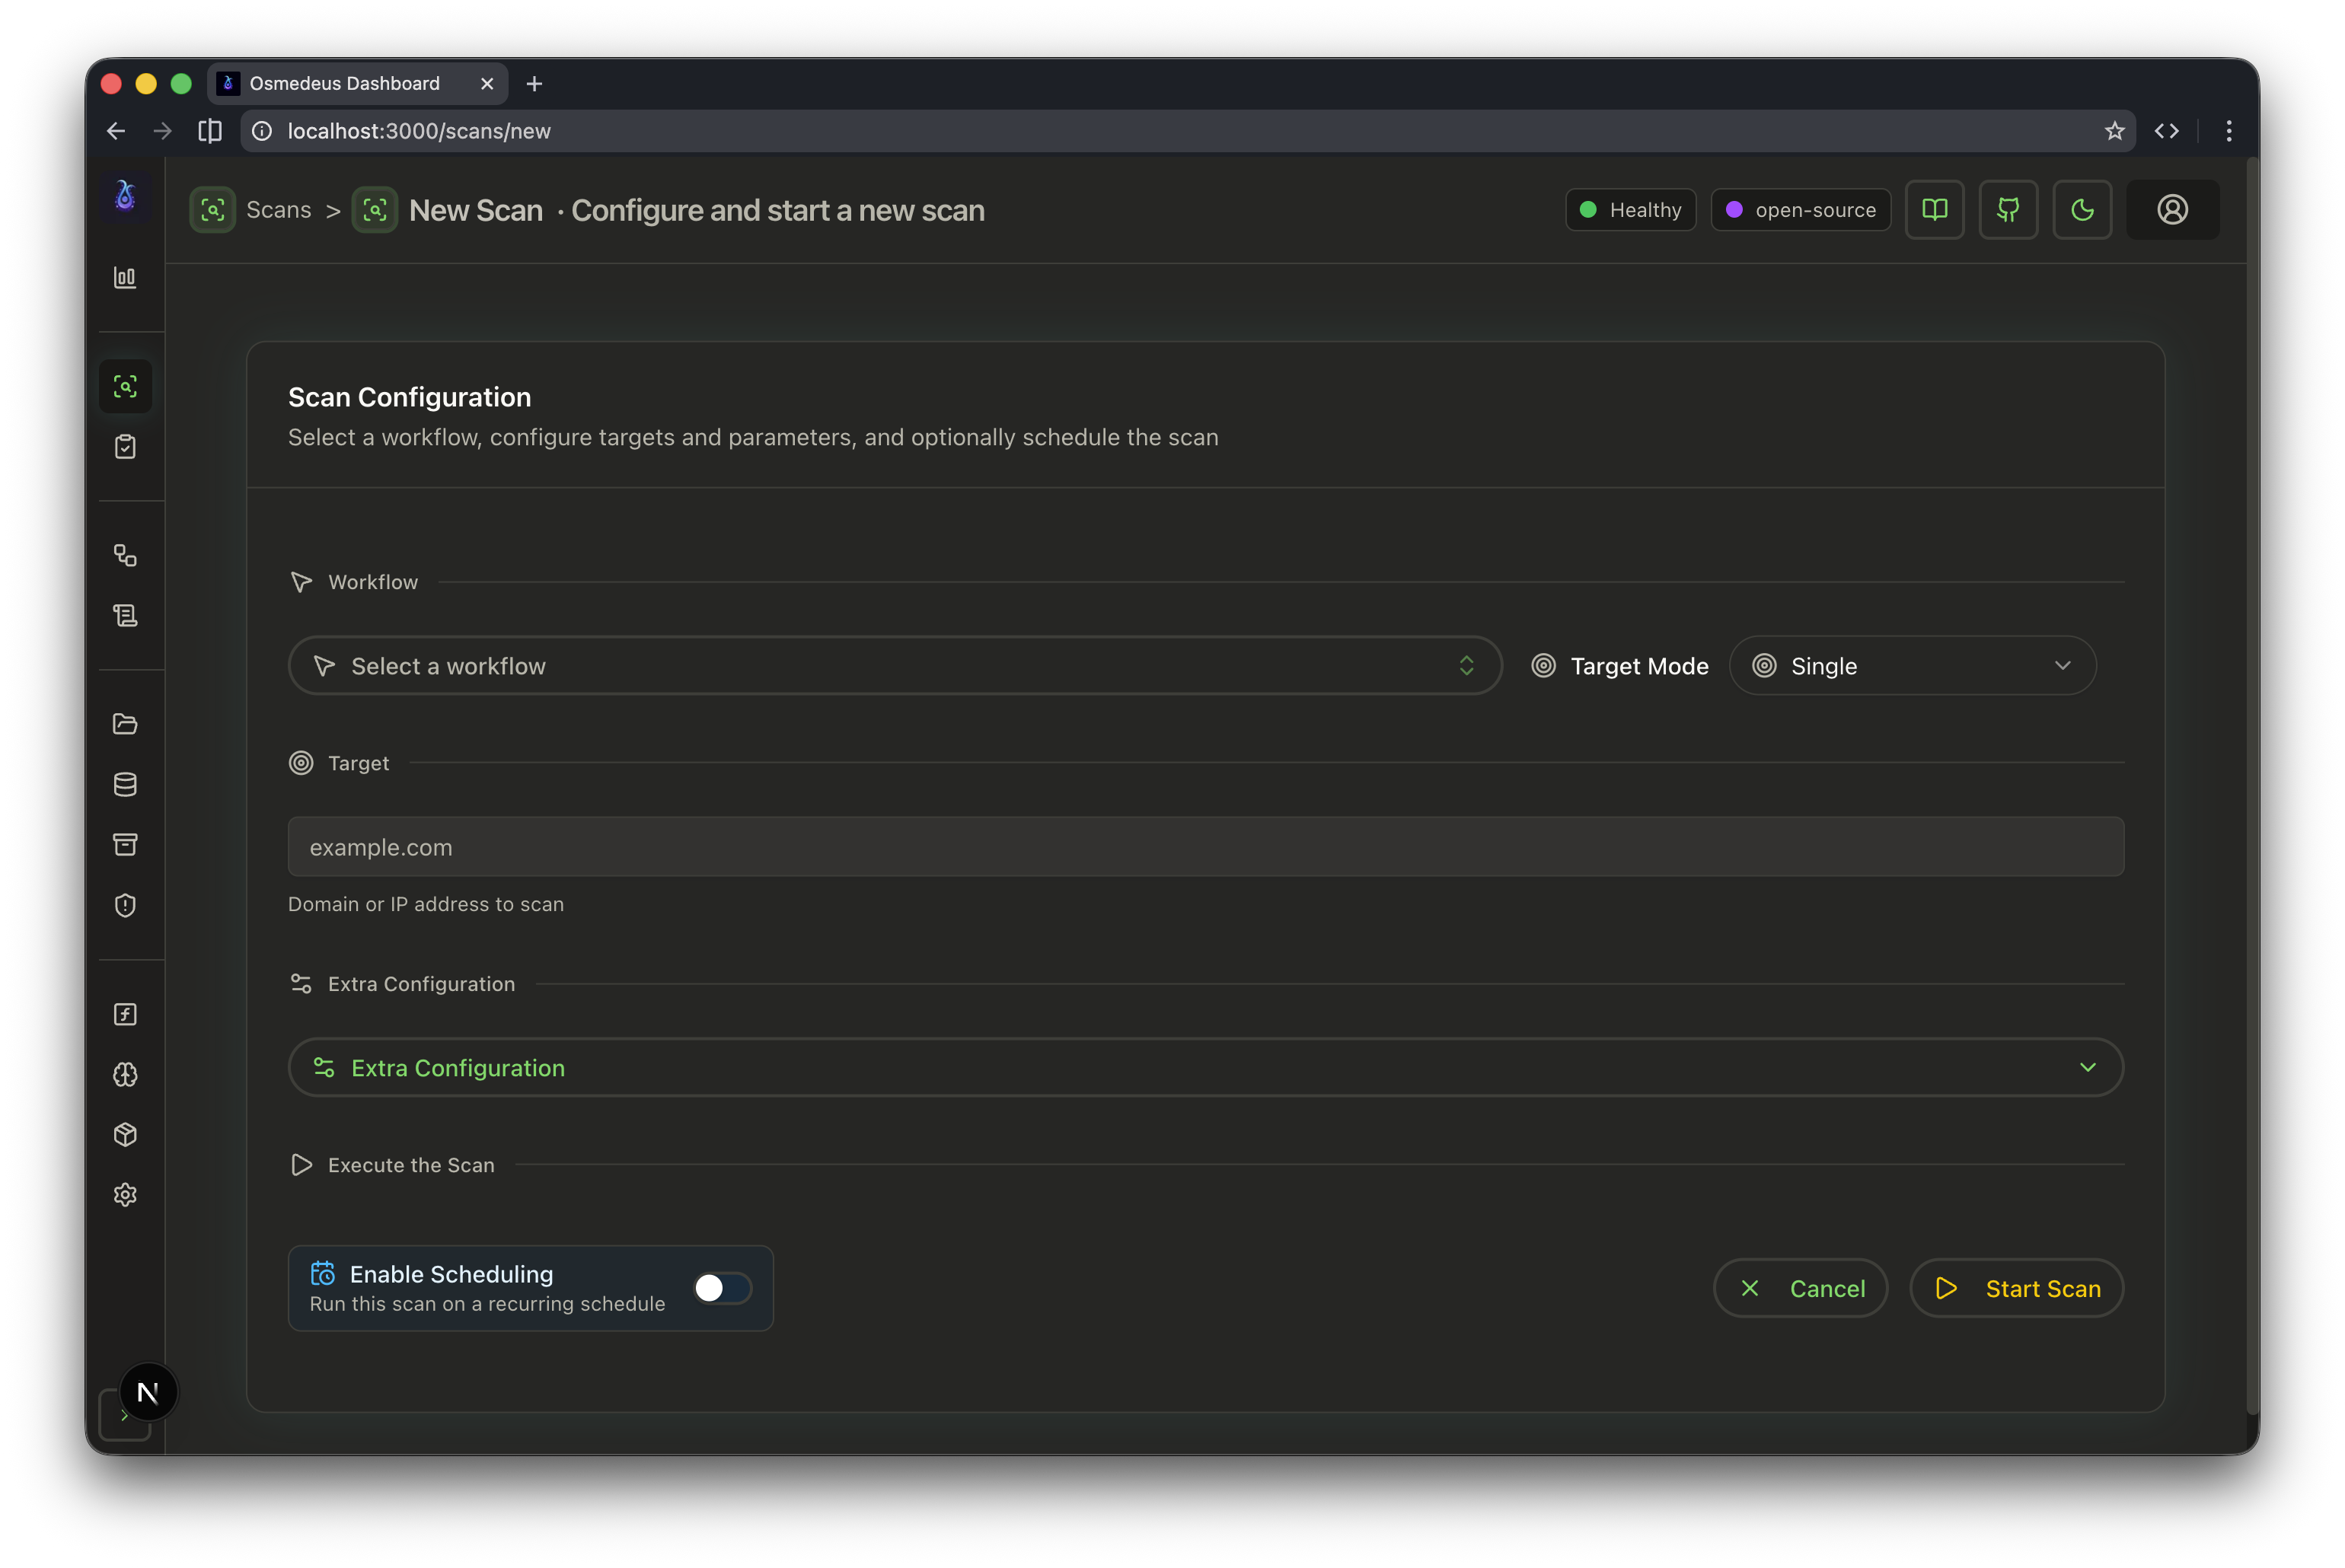
 ### 2. Start New Scan (Simple Run & Scheduled)
This is where you can start a new scan by selecting the workflow and the target asset with all the extra parameters and scheduling options.
### 2. Start New Scan (Simple Run & Scheduled)
This is where you can start a new scan by selecting the workflow and the target asset with all the extra parameters and scheduling options.
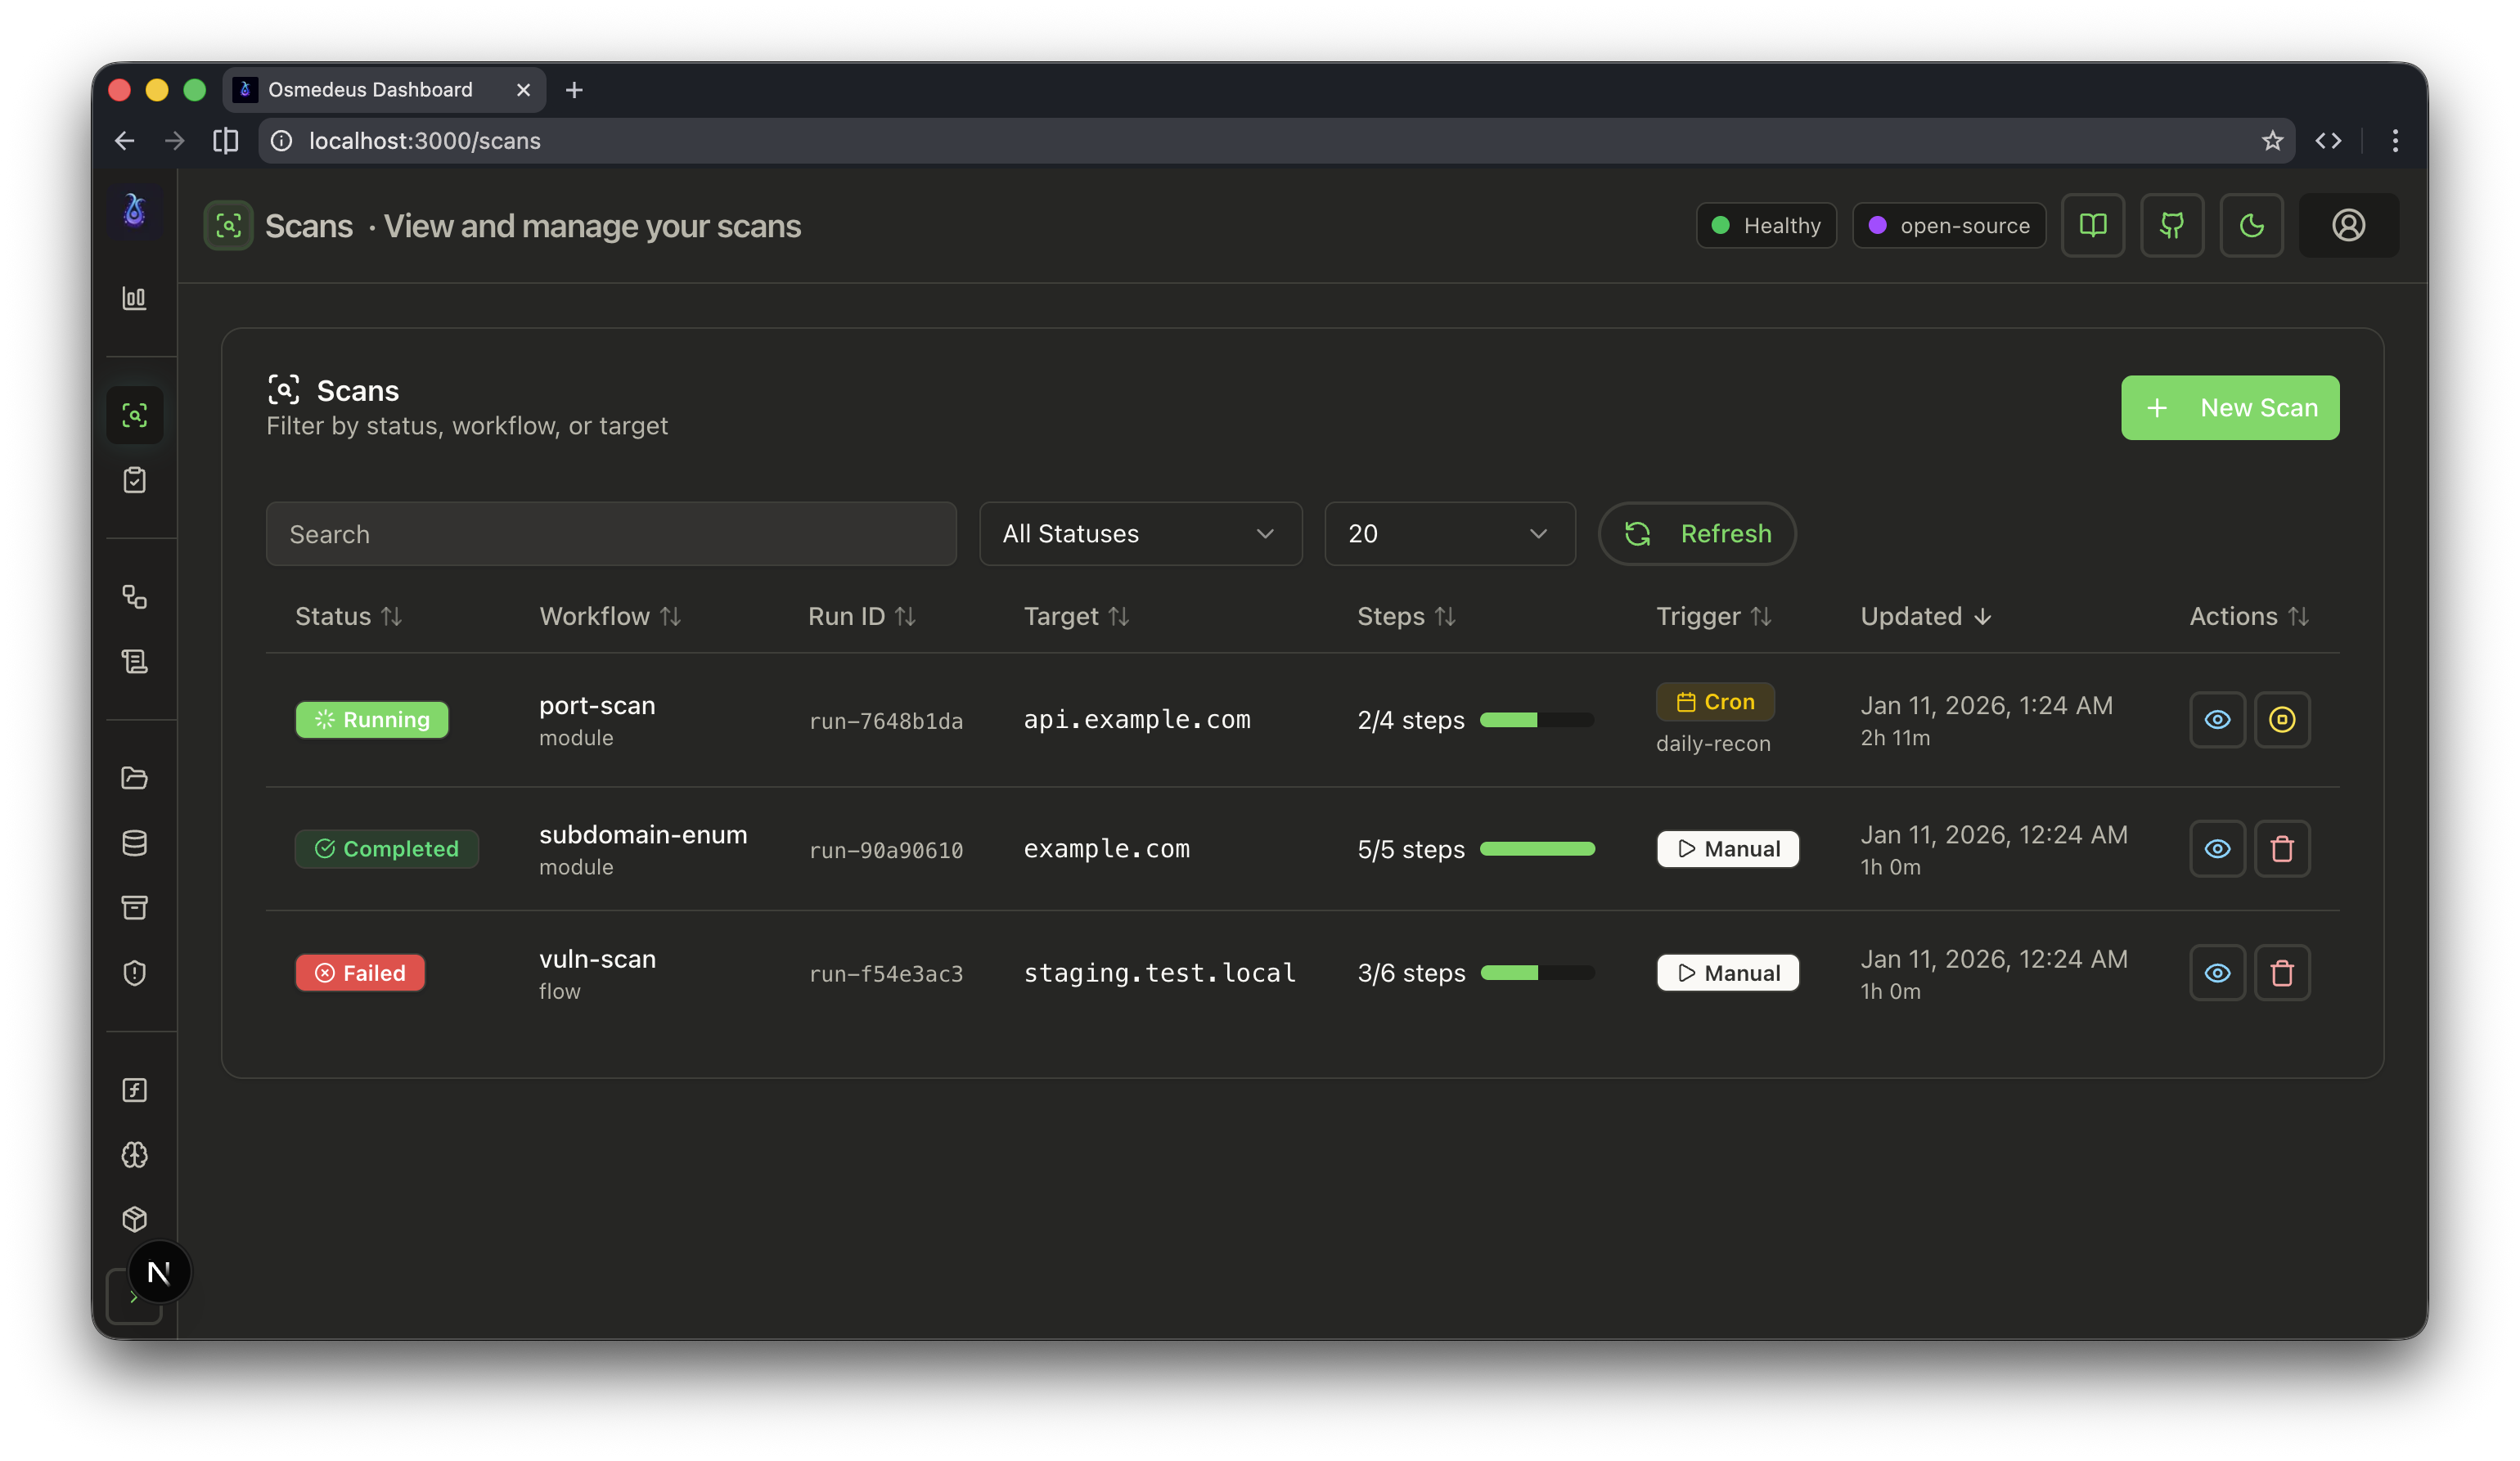
 After you start a new scan, you can view the progress and results in the list of scans.
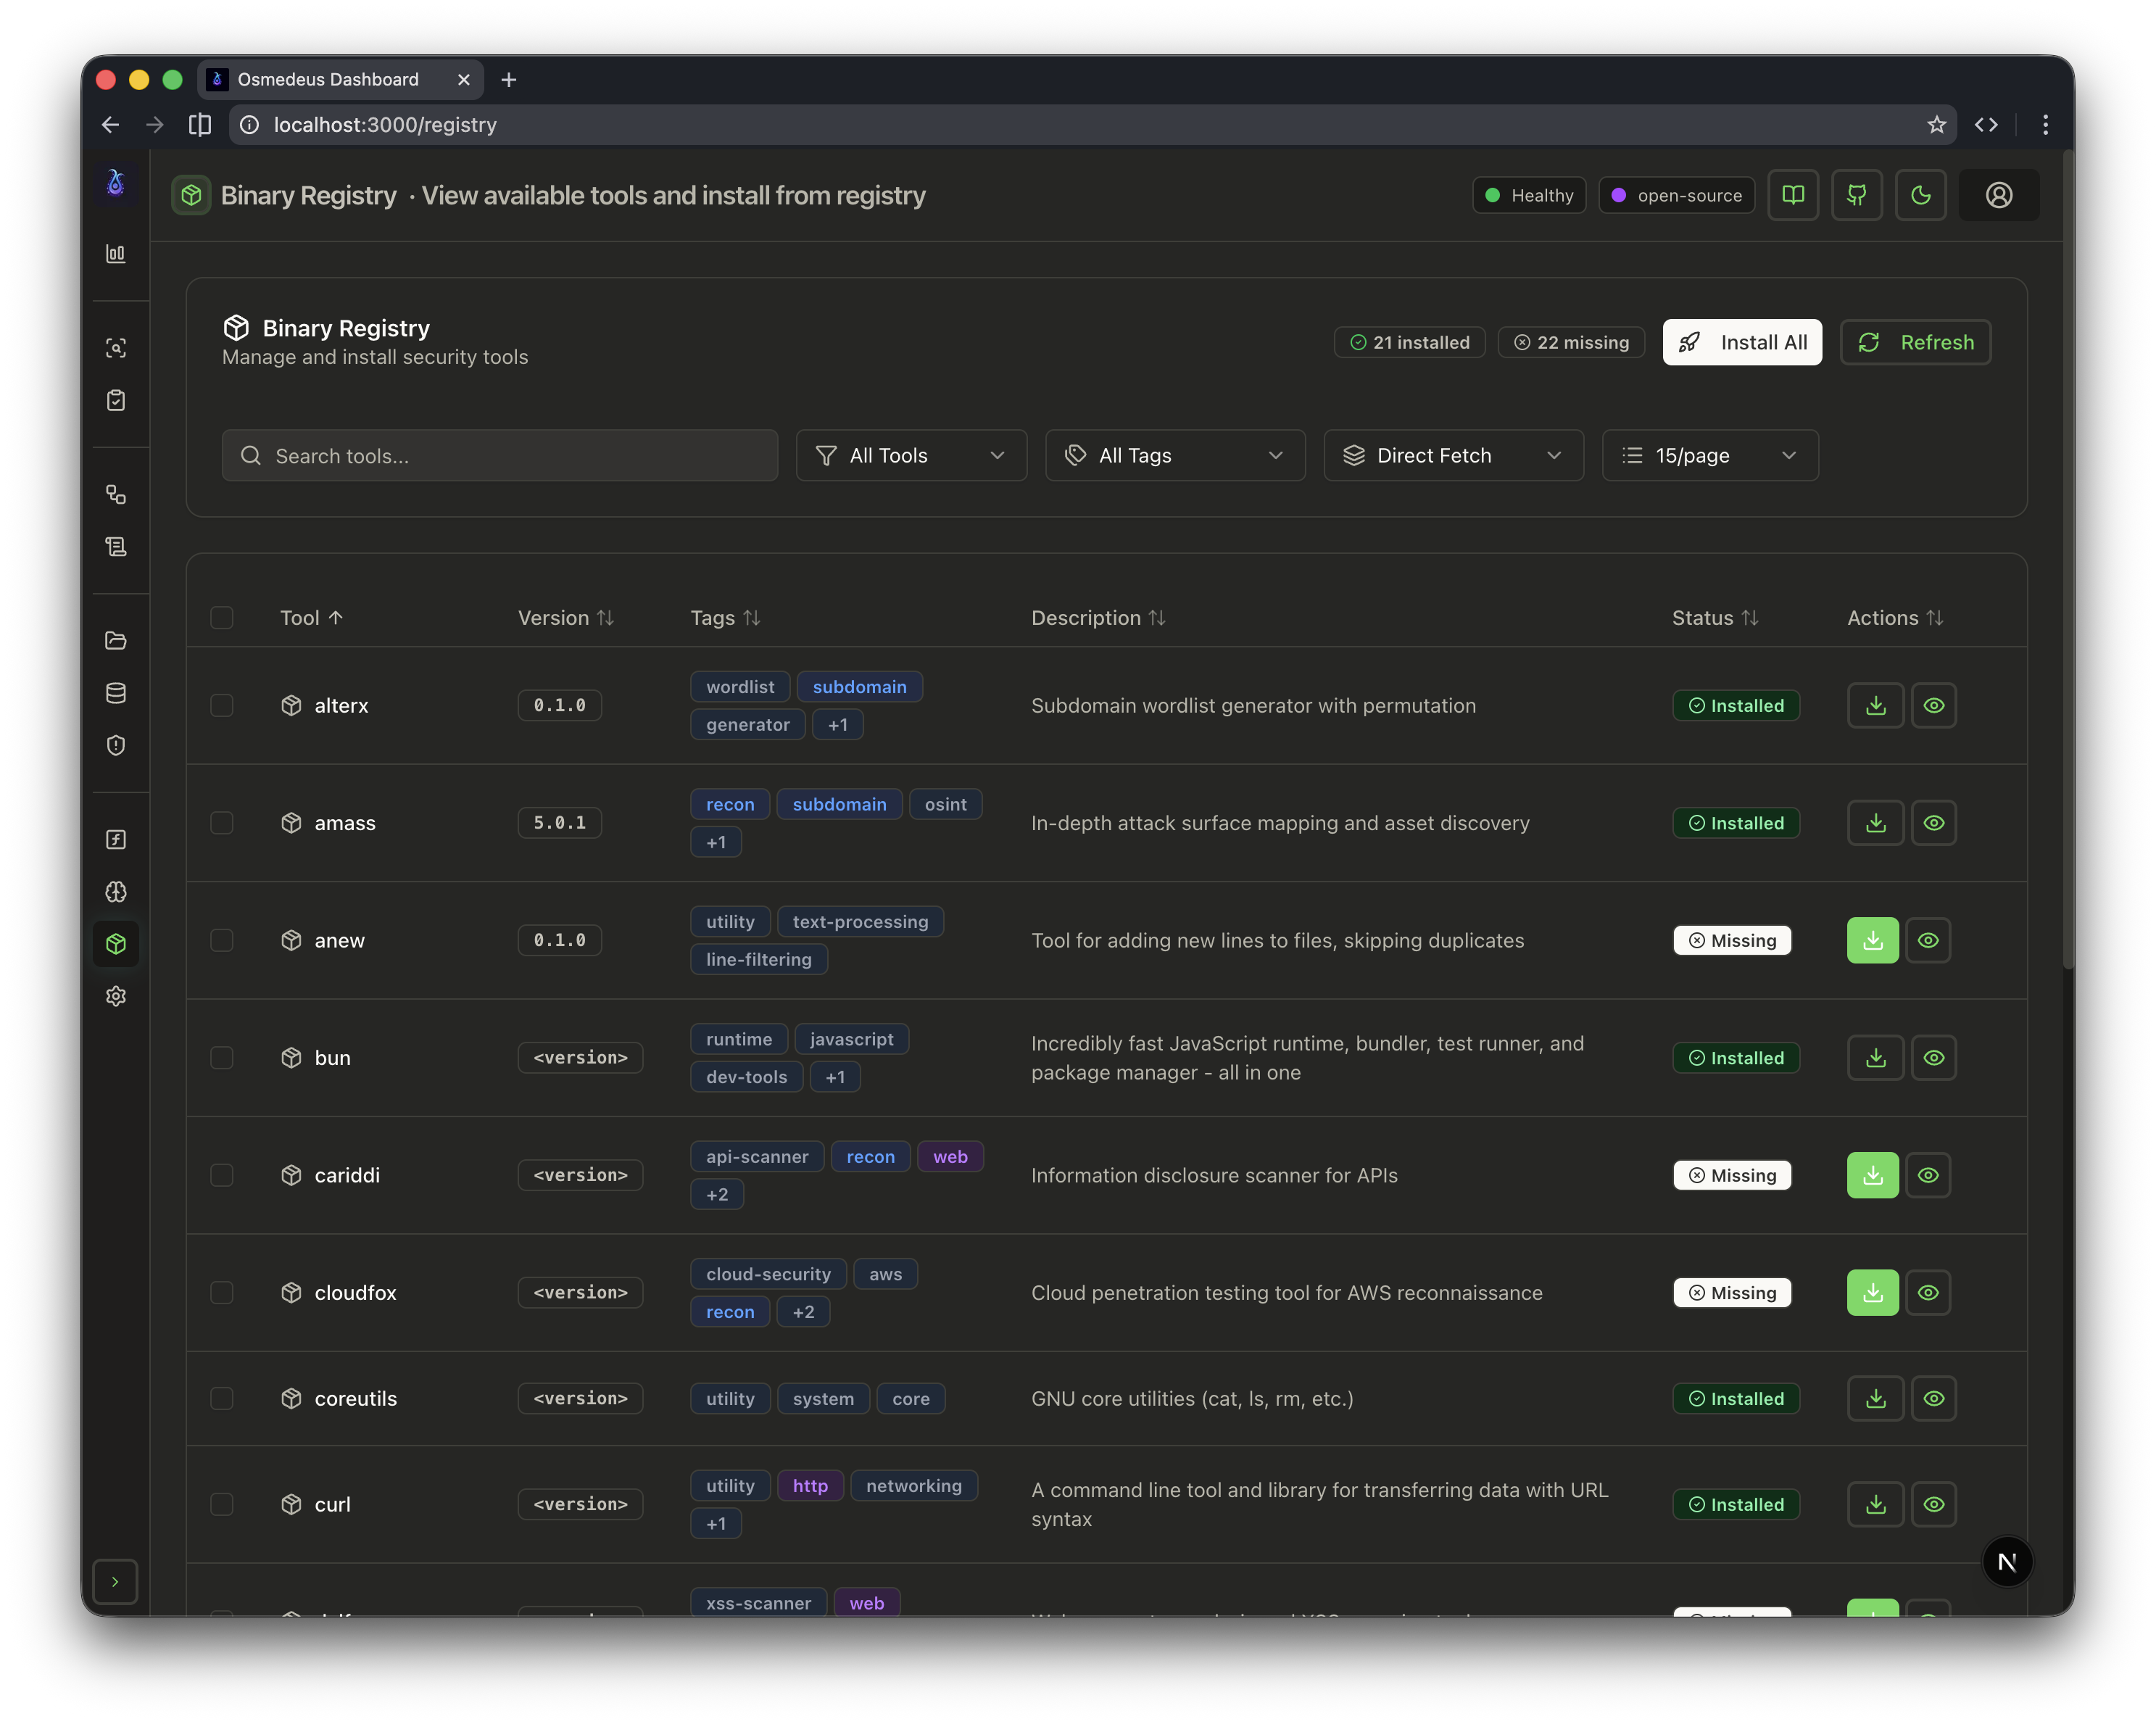
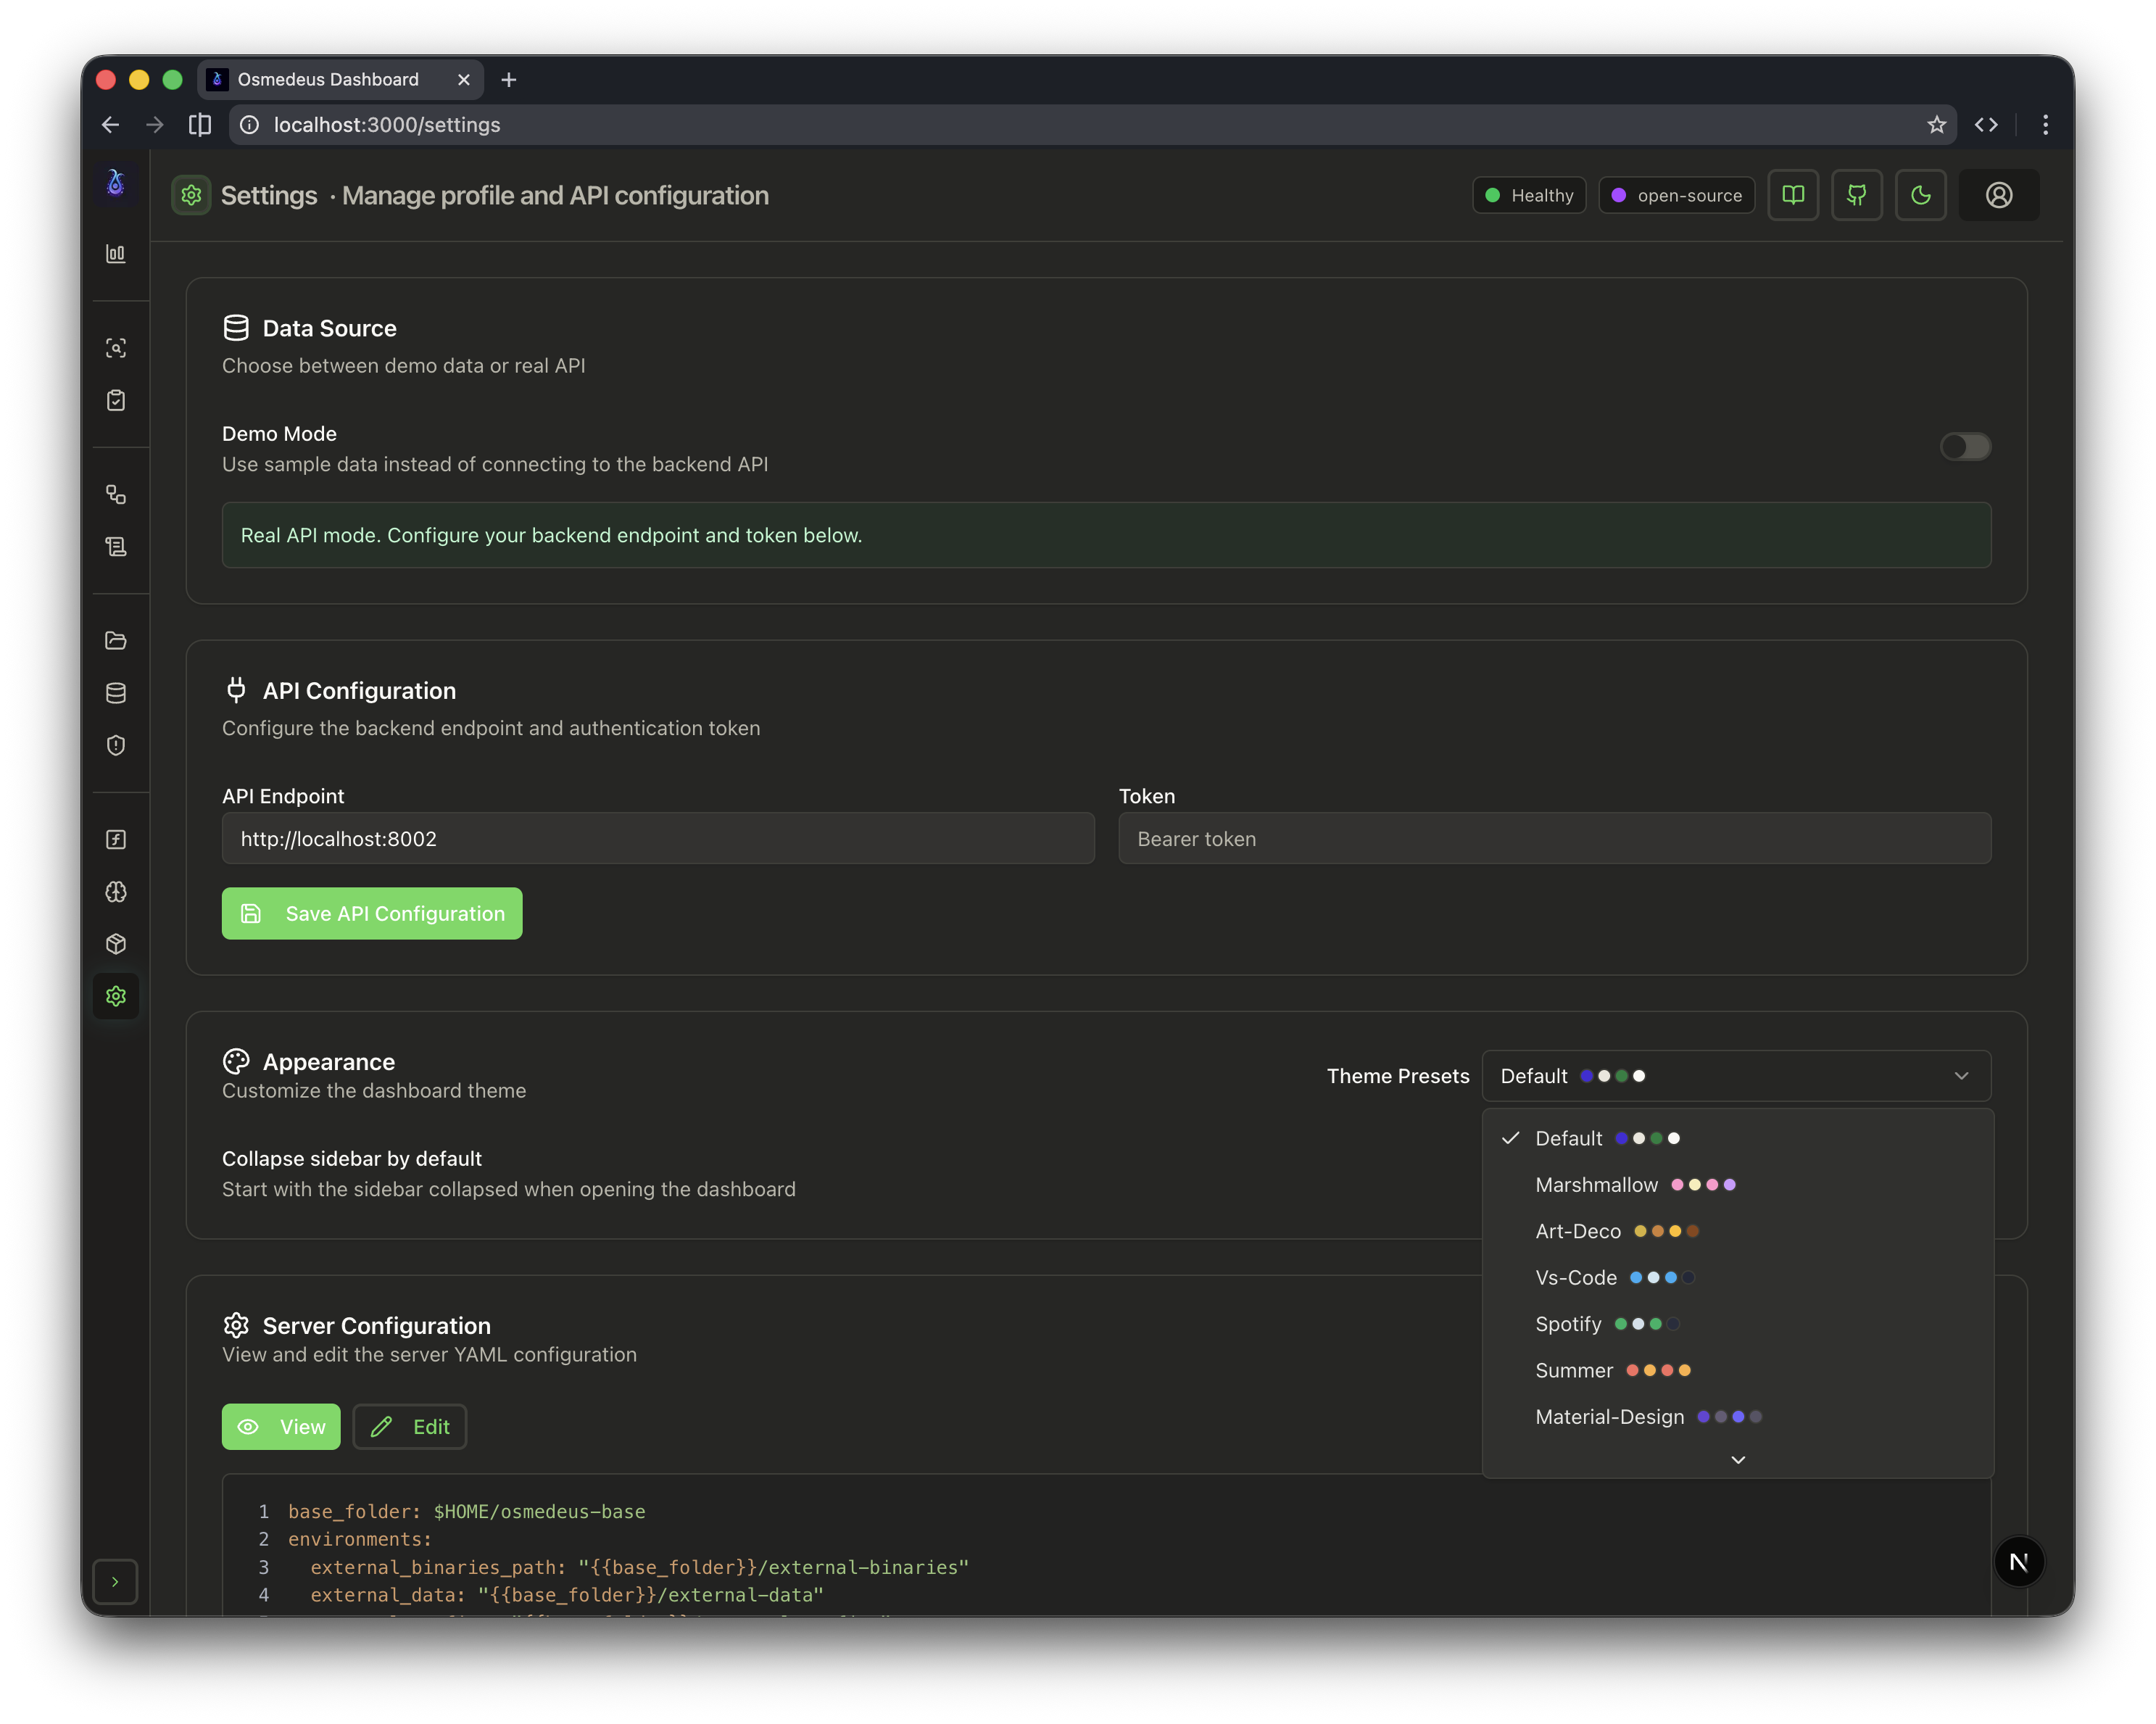
 ### 3. Settings, Install Registry
This is where you can configure the settings and install the registry for Osmedeus.
### 3. Settings, Install Registry
This is where you can configure the settings and install the registry for Osmedeus.
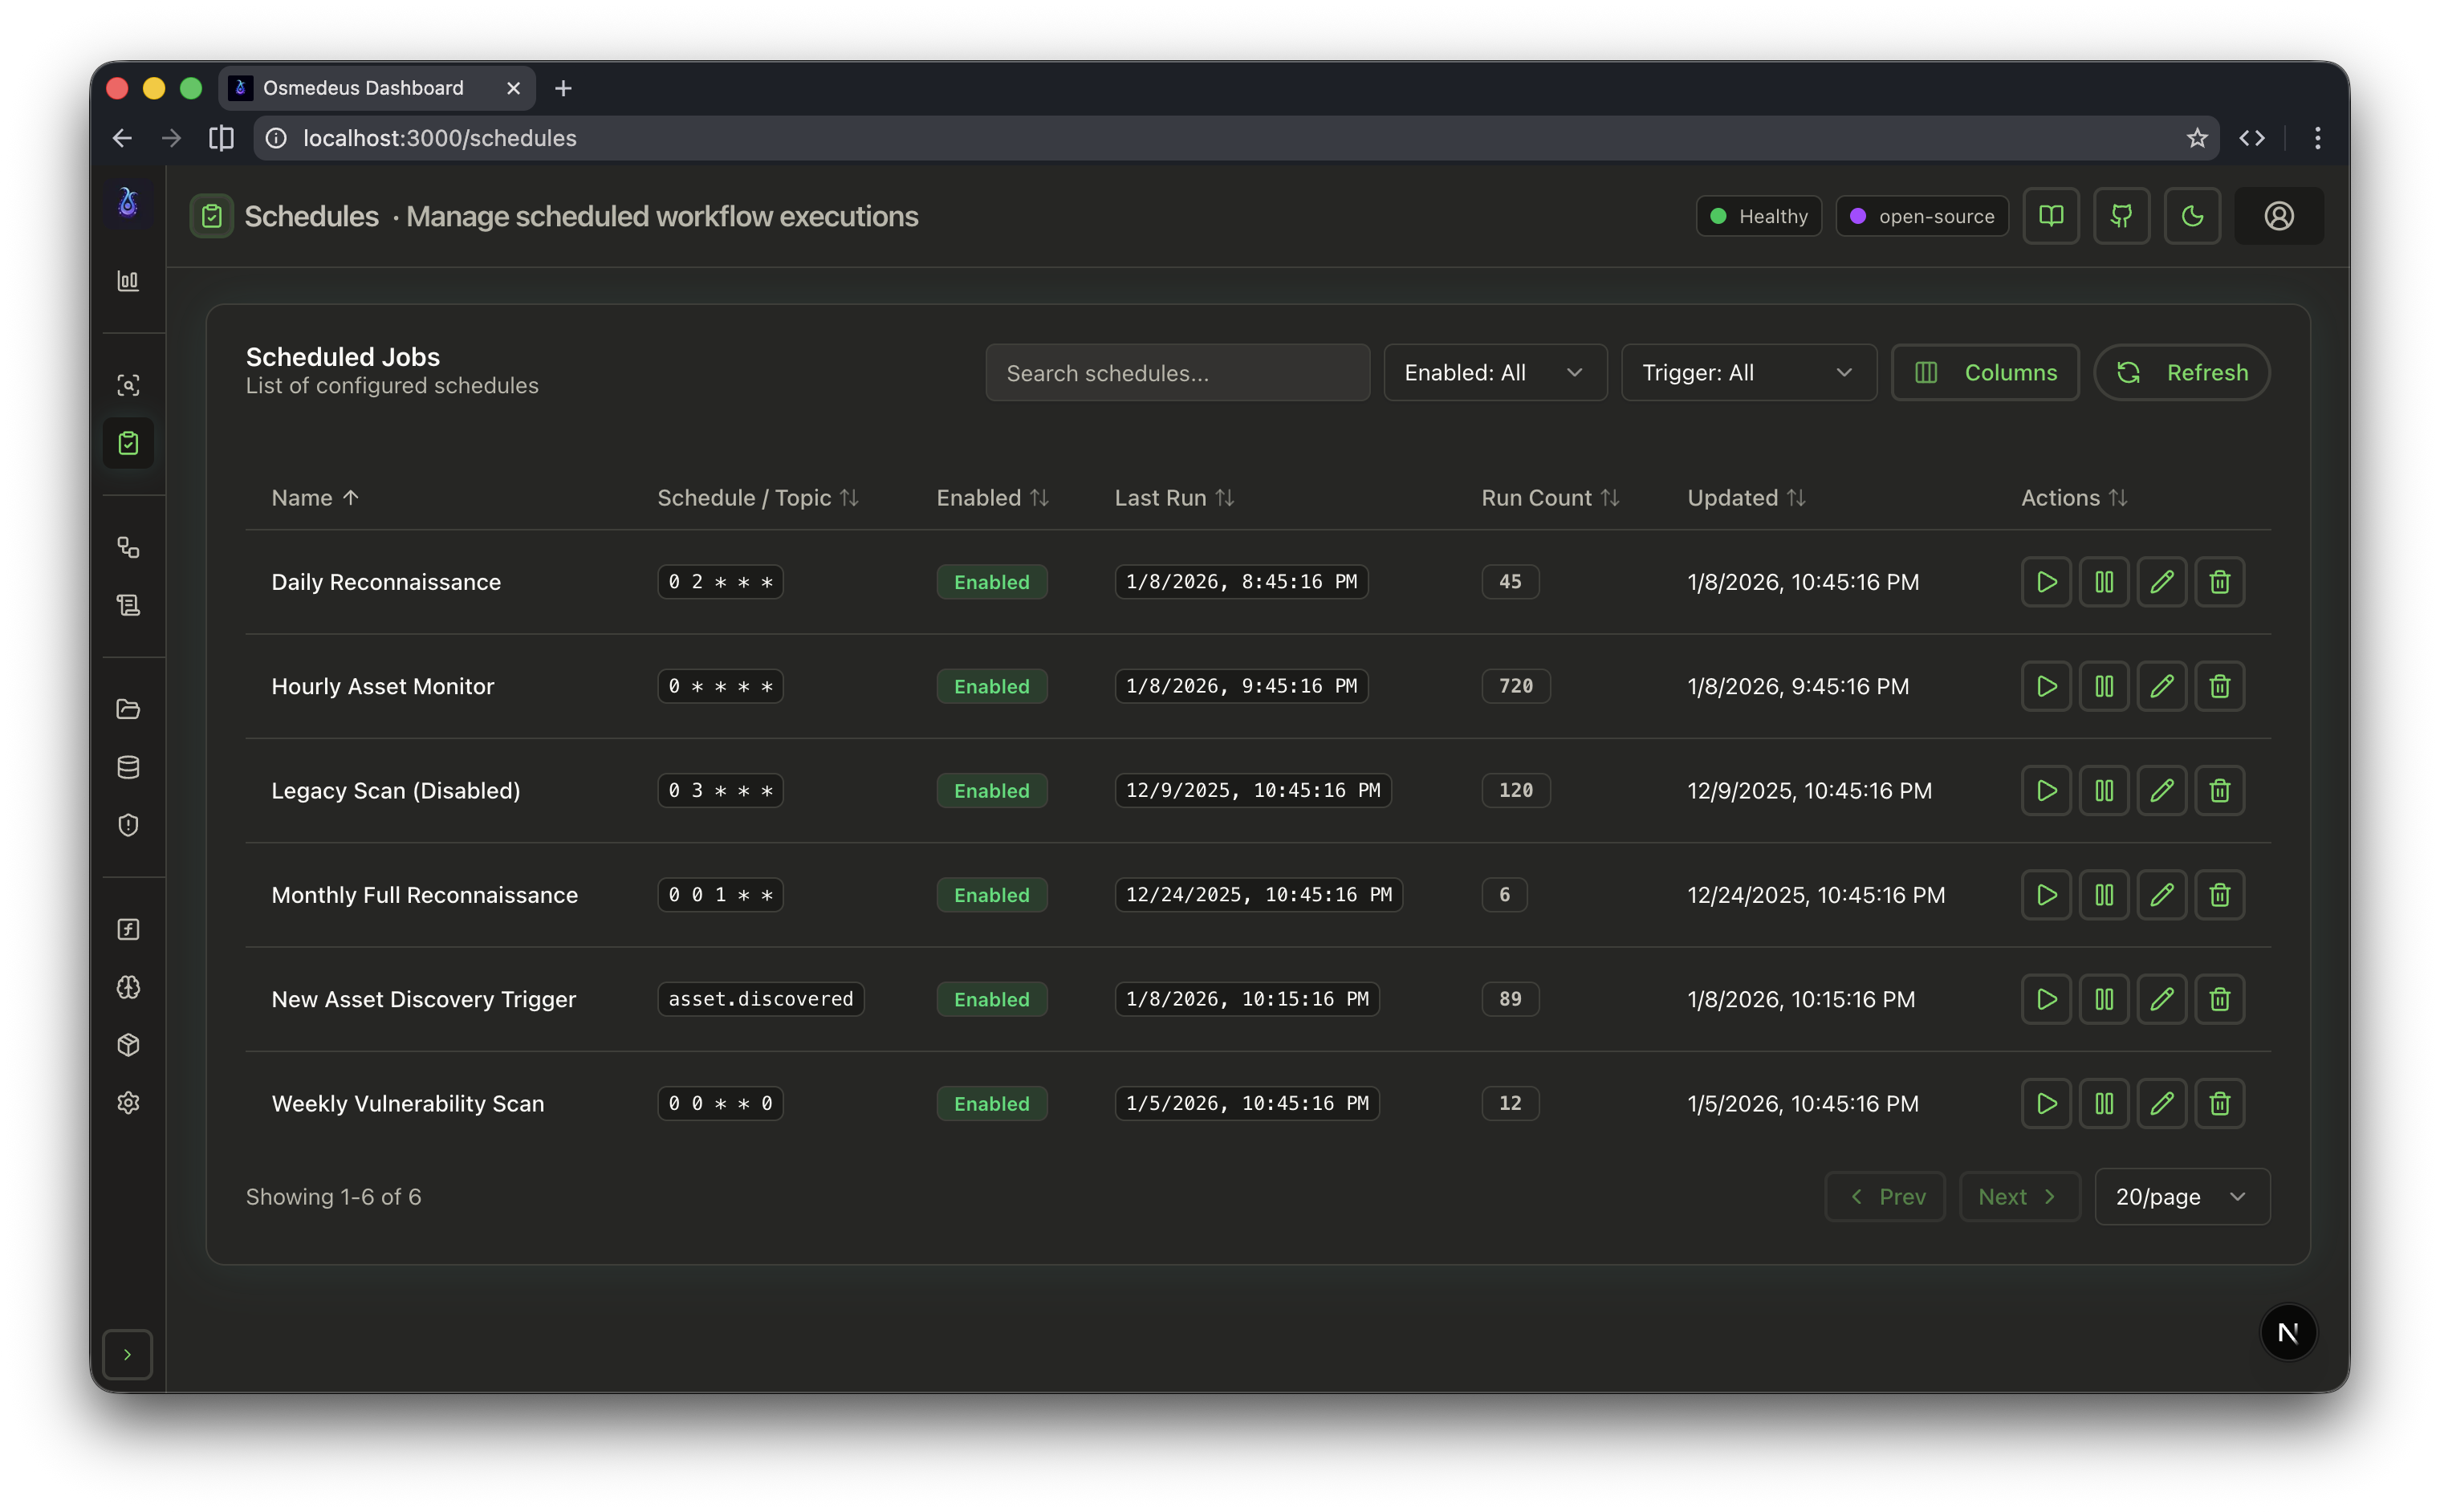
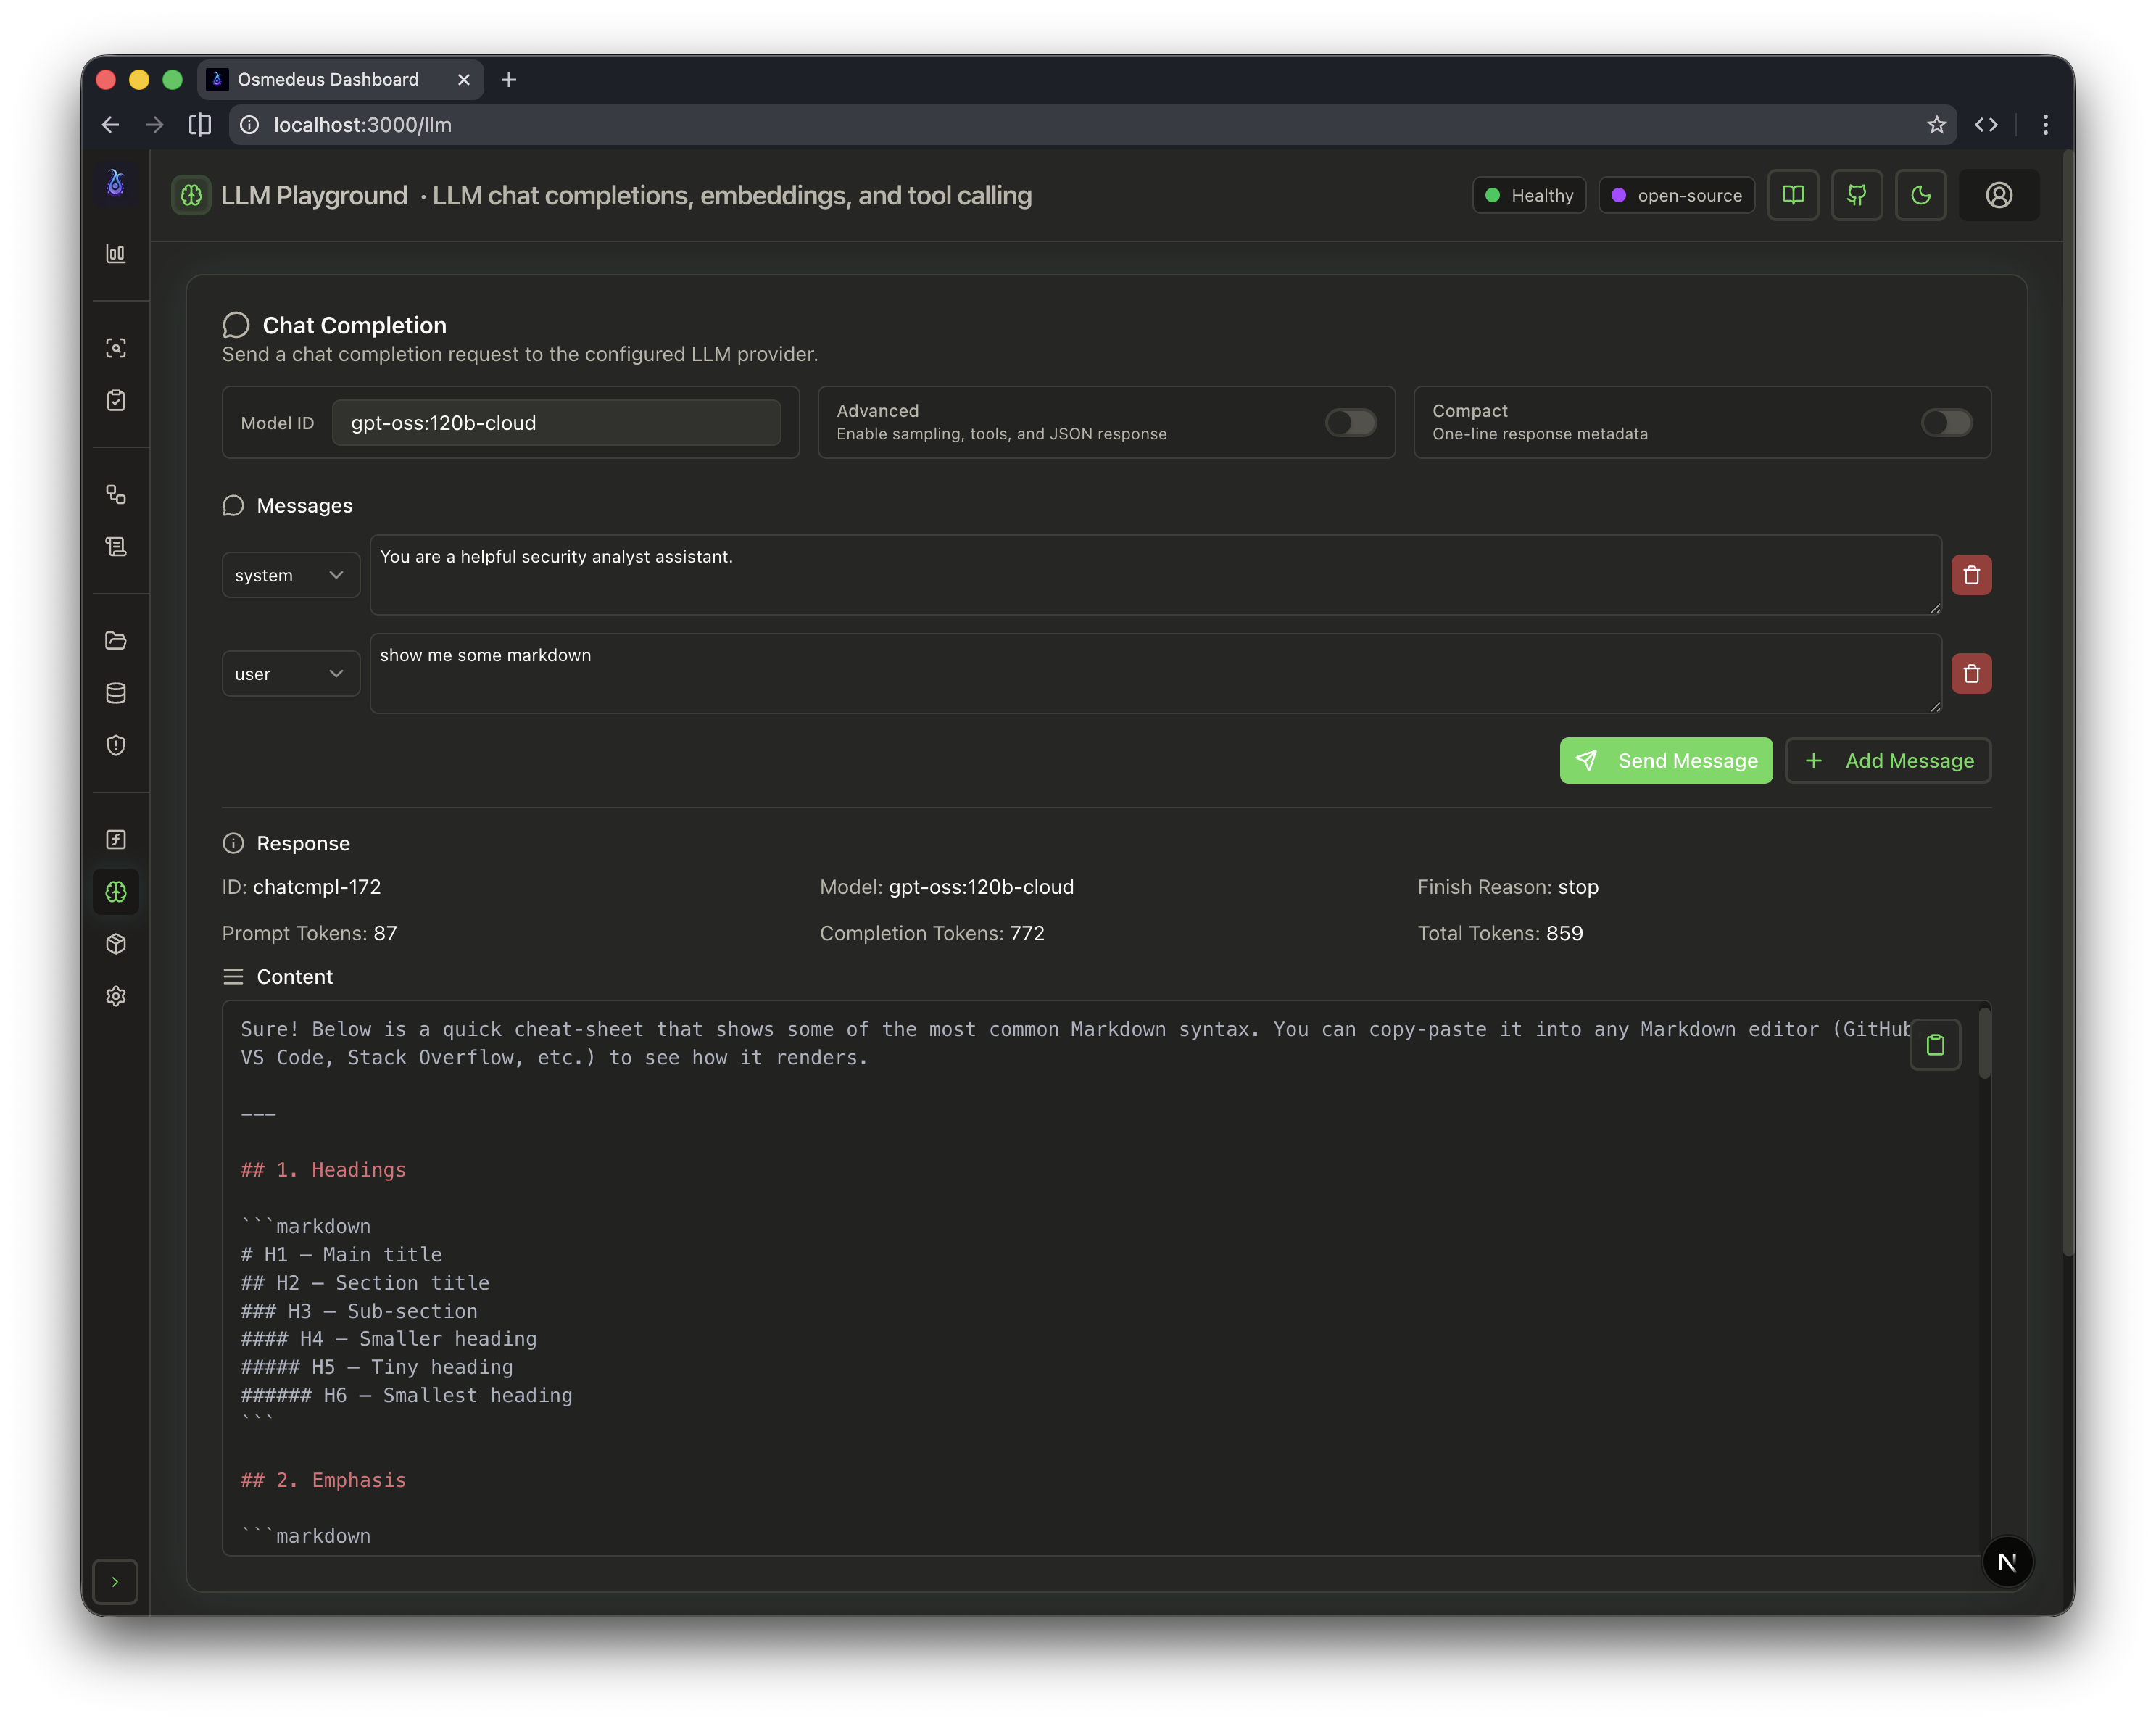
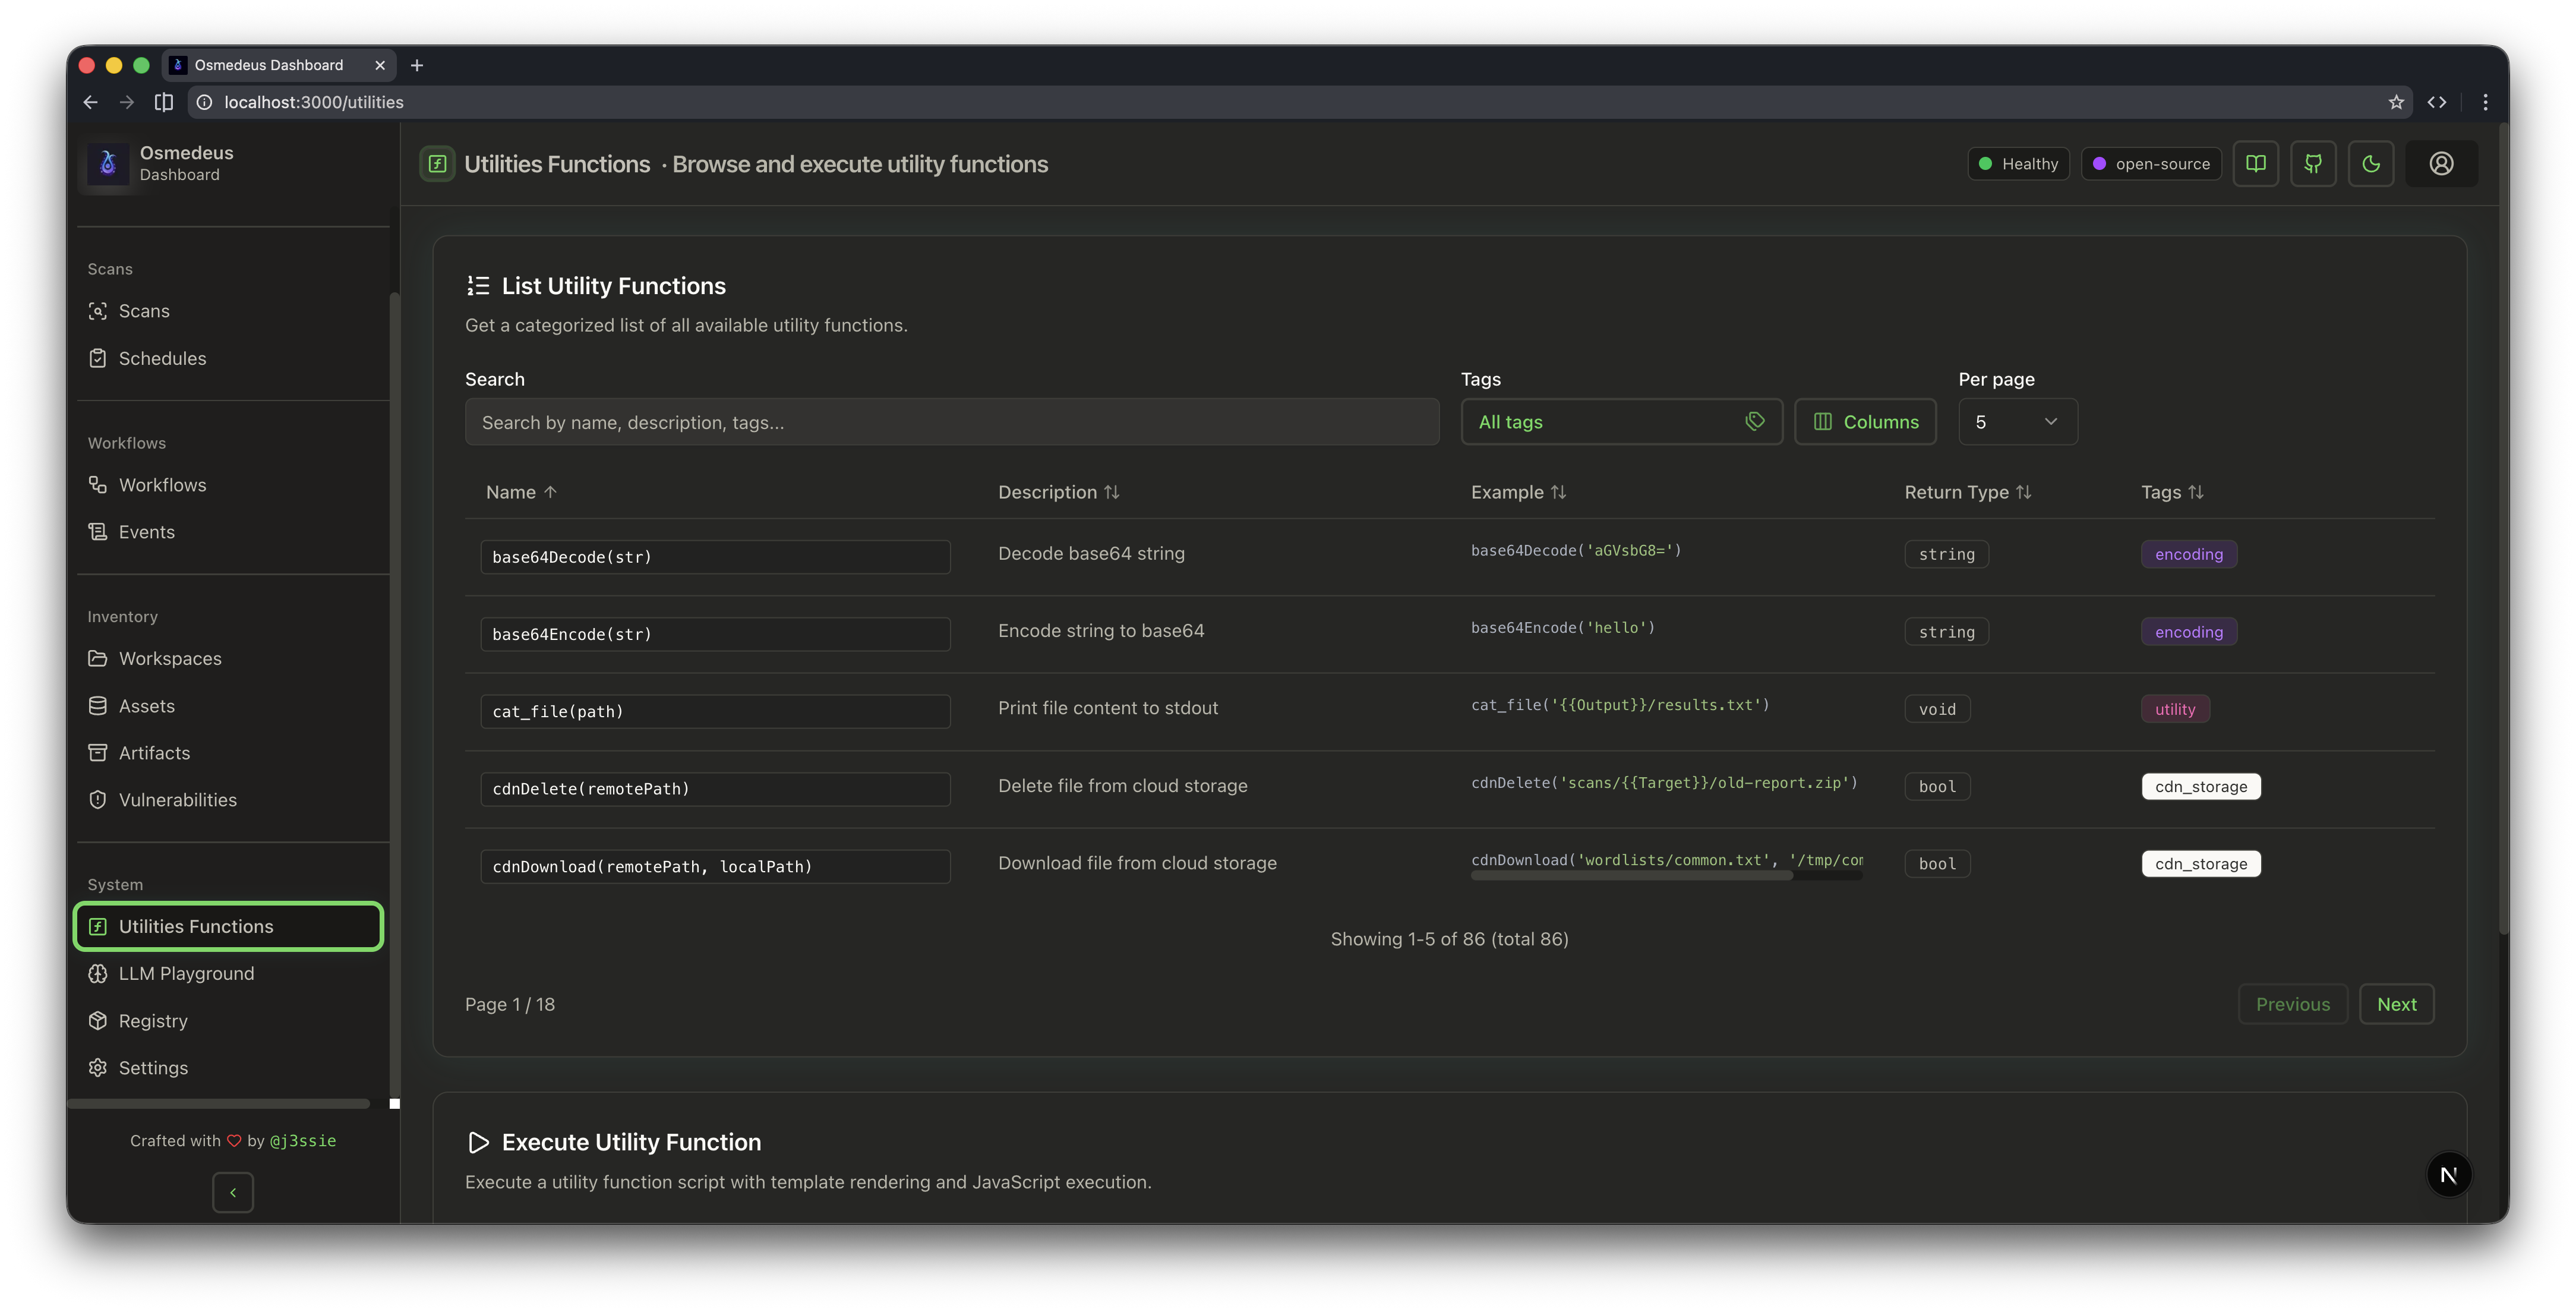
 ### 4. Utilities Functions & Scheduling
This is where you can schedule the workflows to run at specific times or intervals, and also use the LLM chat to get help with your workflows.
### 4. Utilities Functions & Scheduling
This is where you can schedule the workflows to run at specific times or intervals, and also use the LLM chat to get help with your workflows.
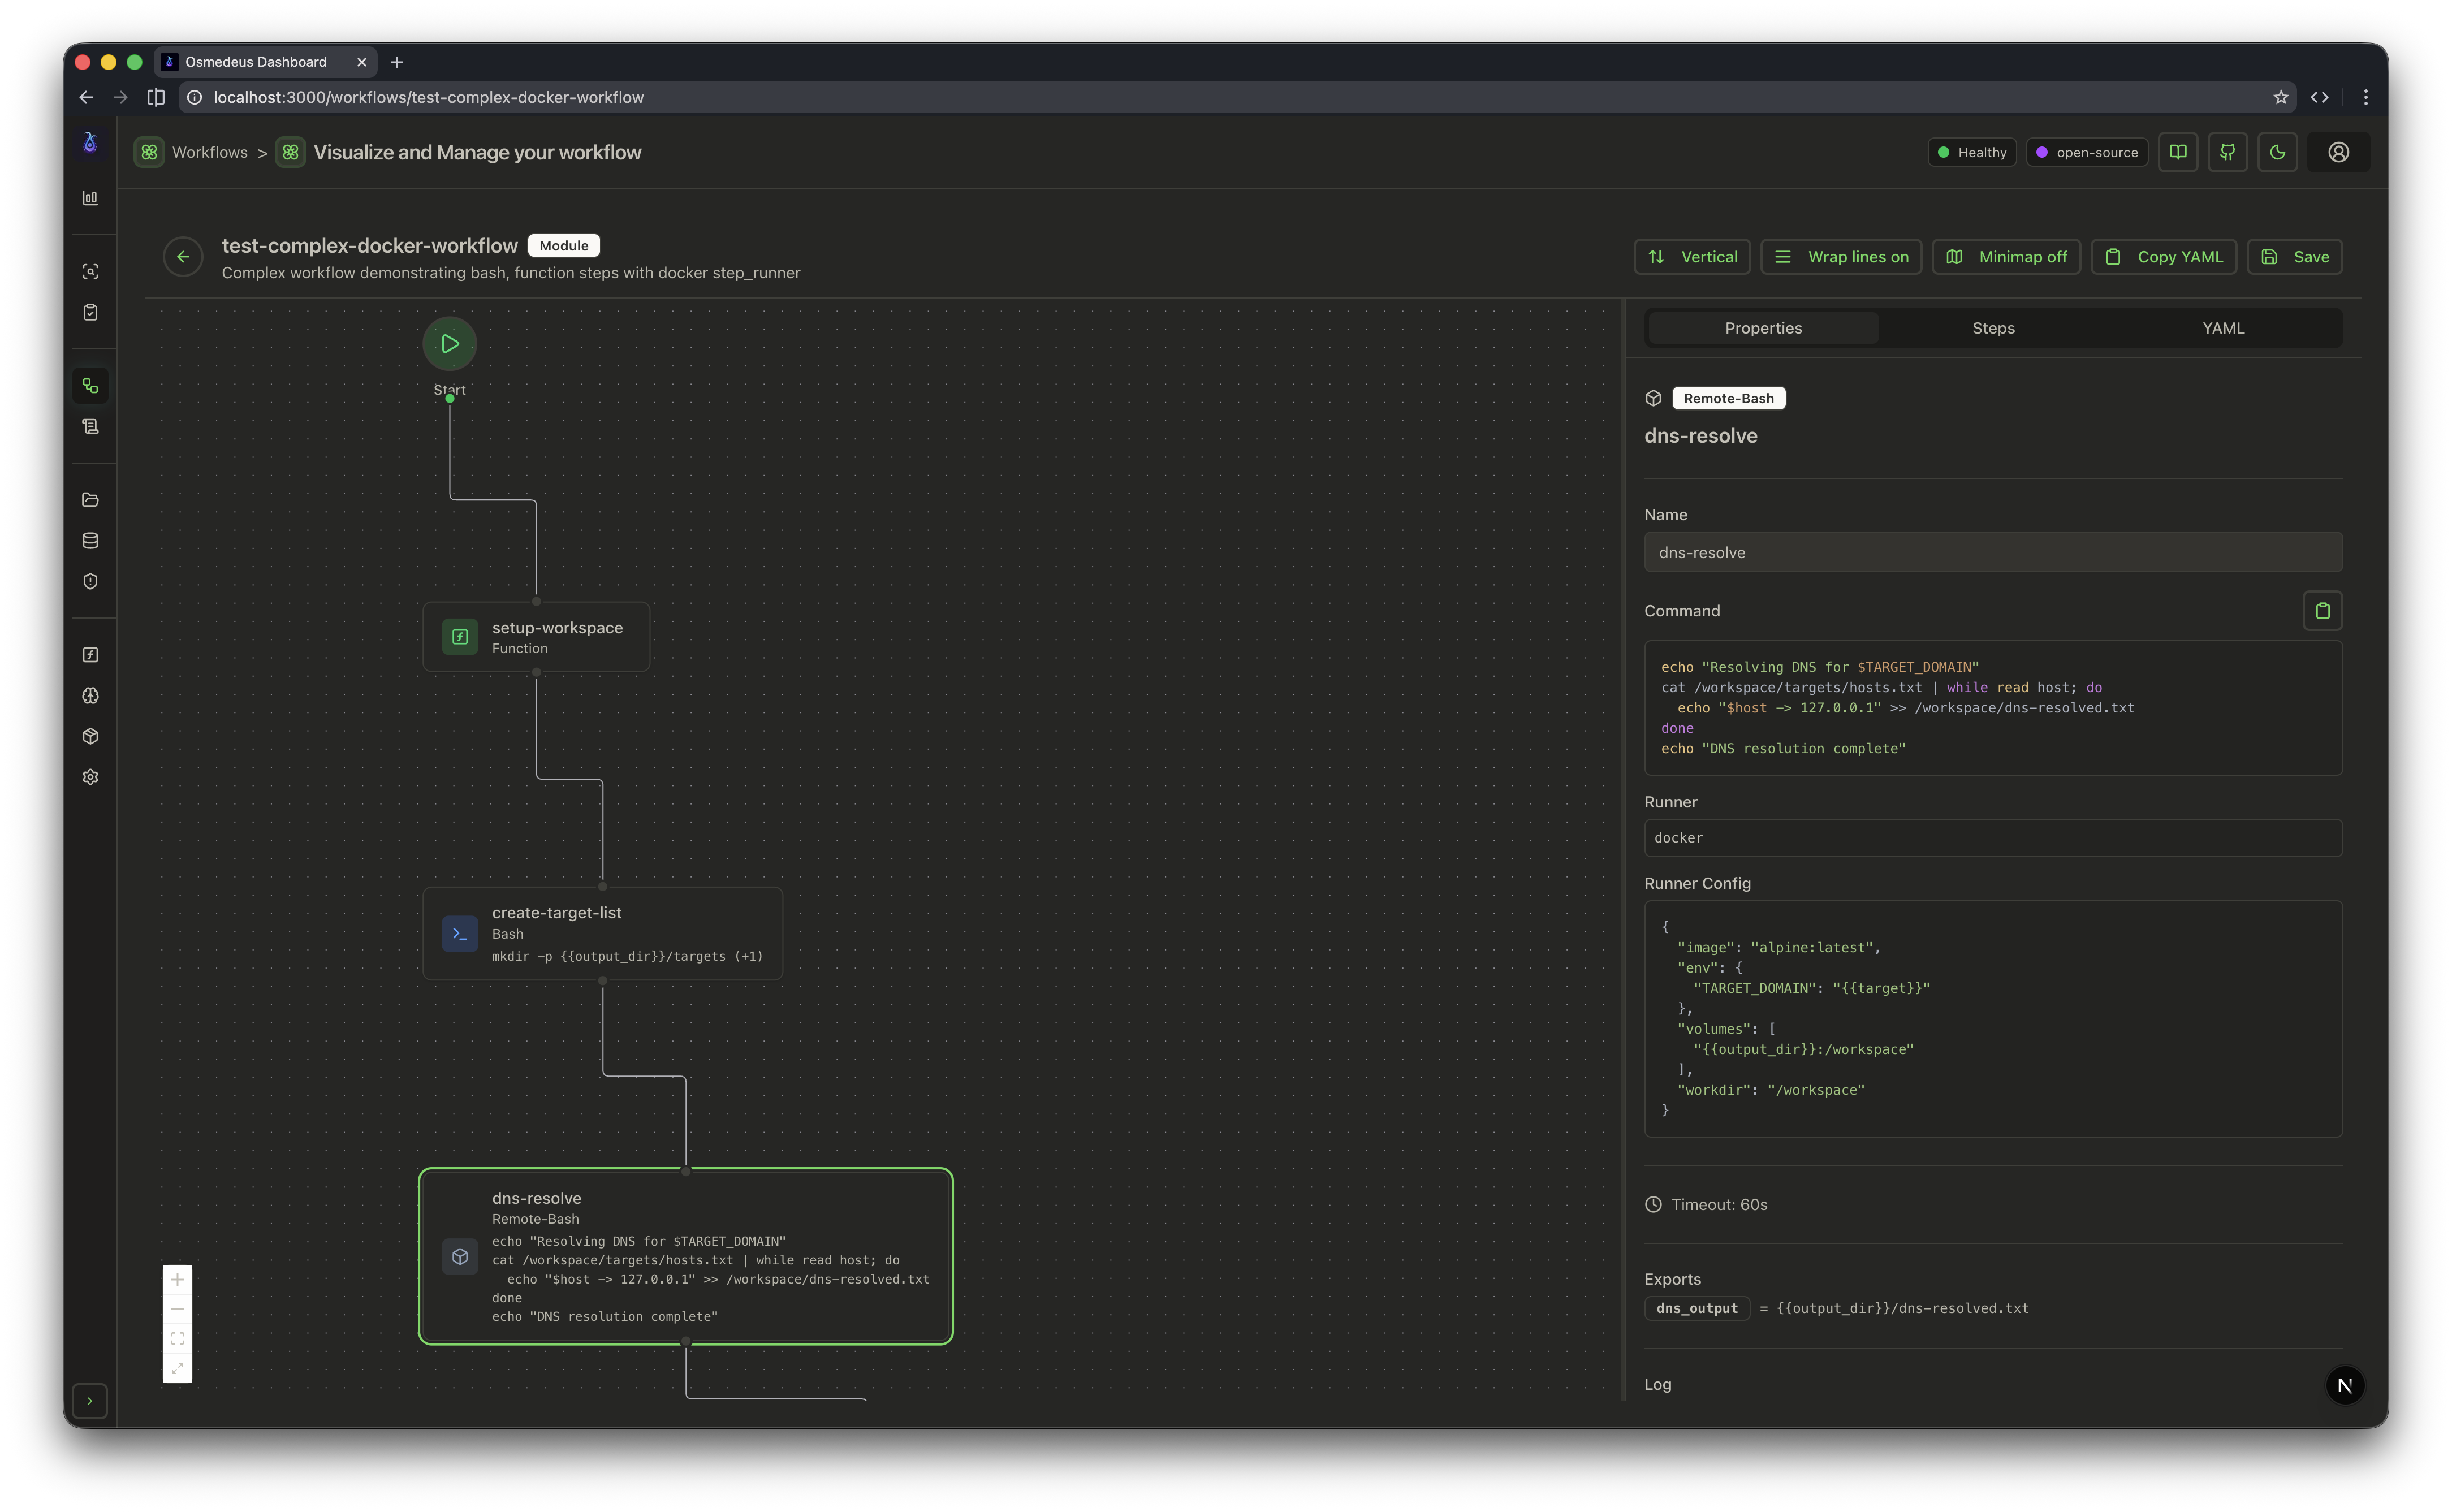
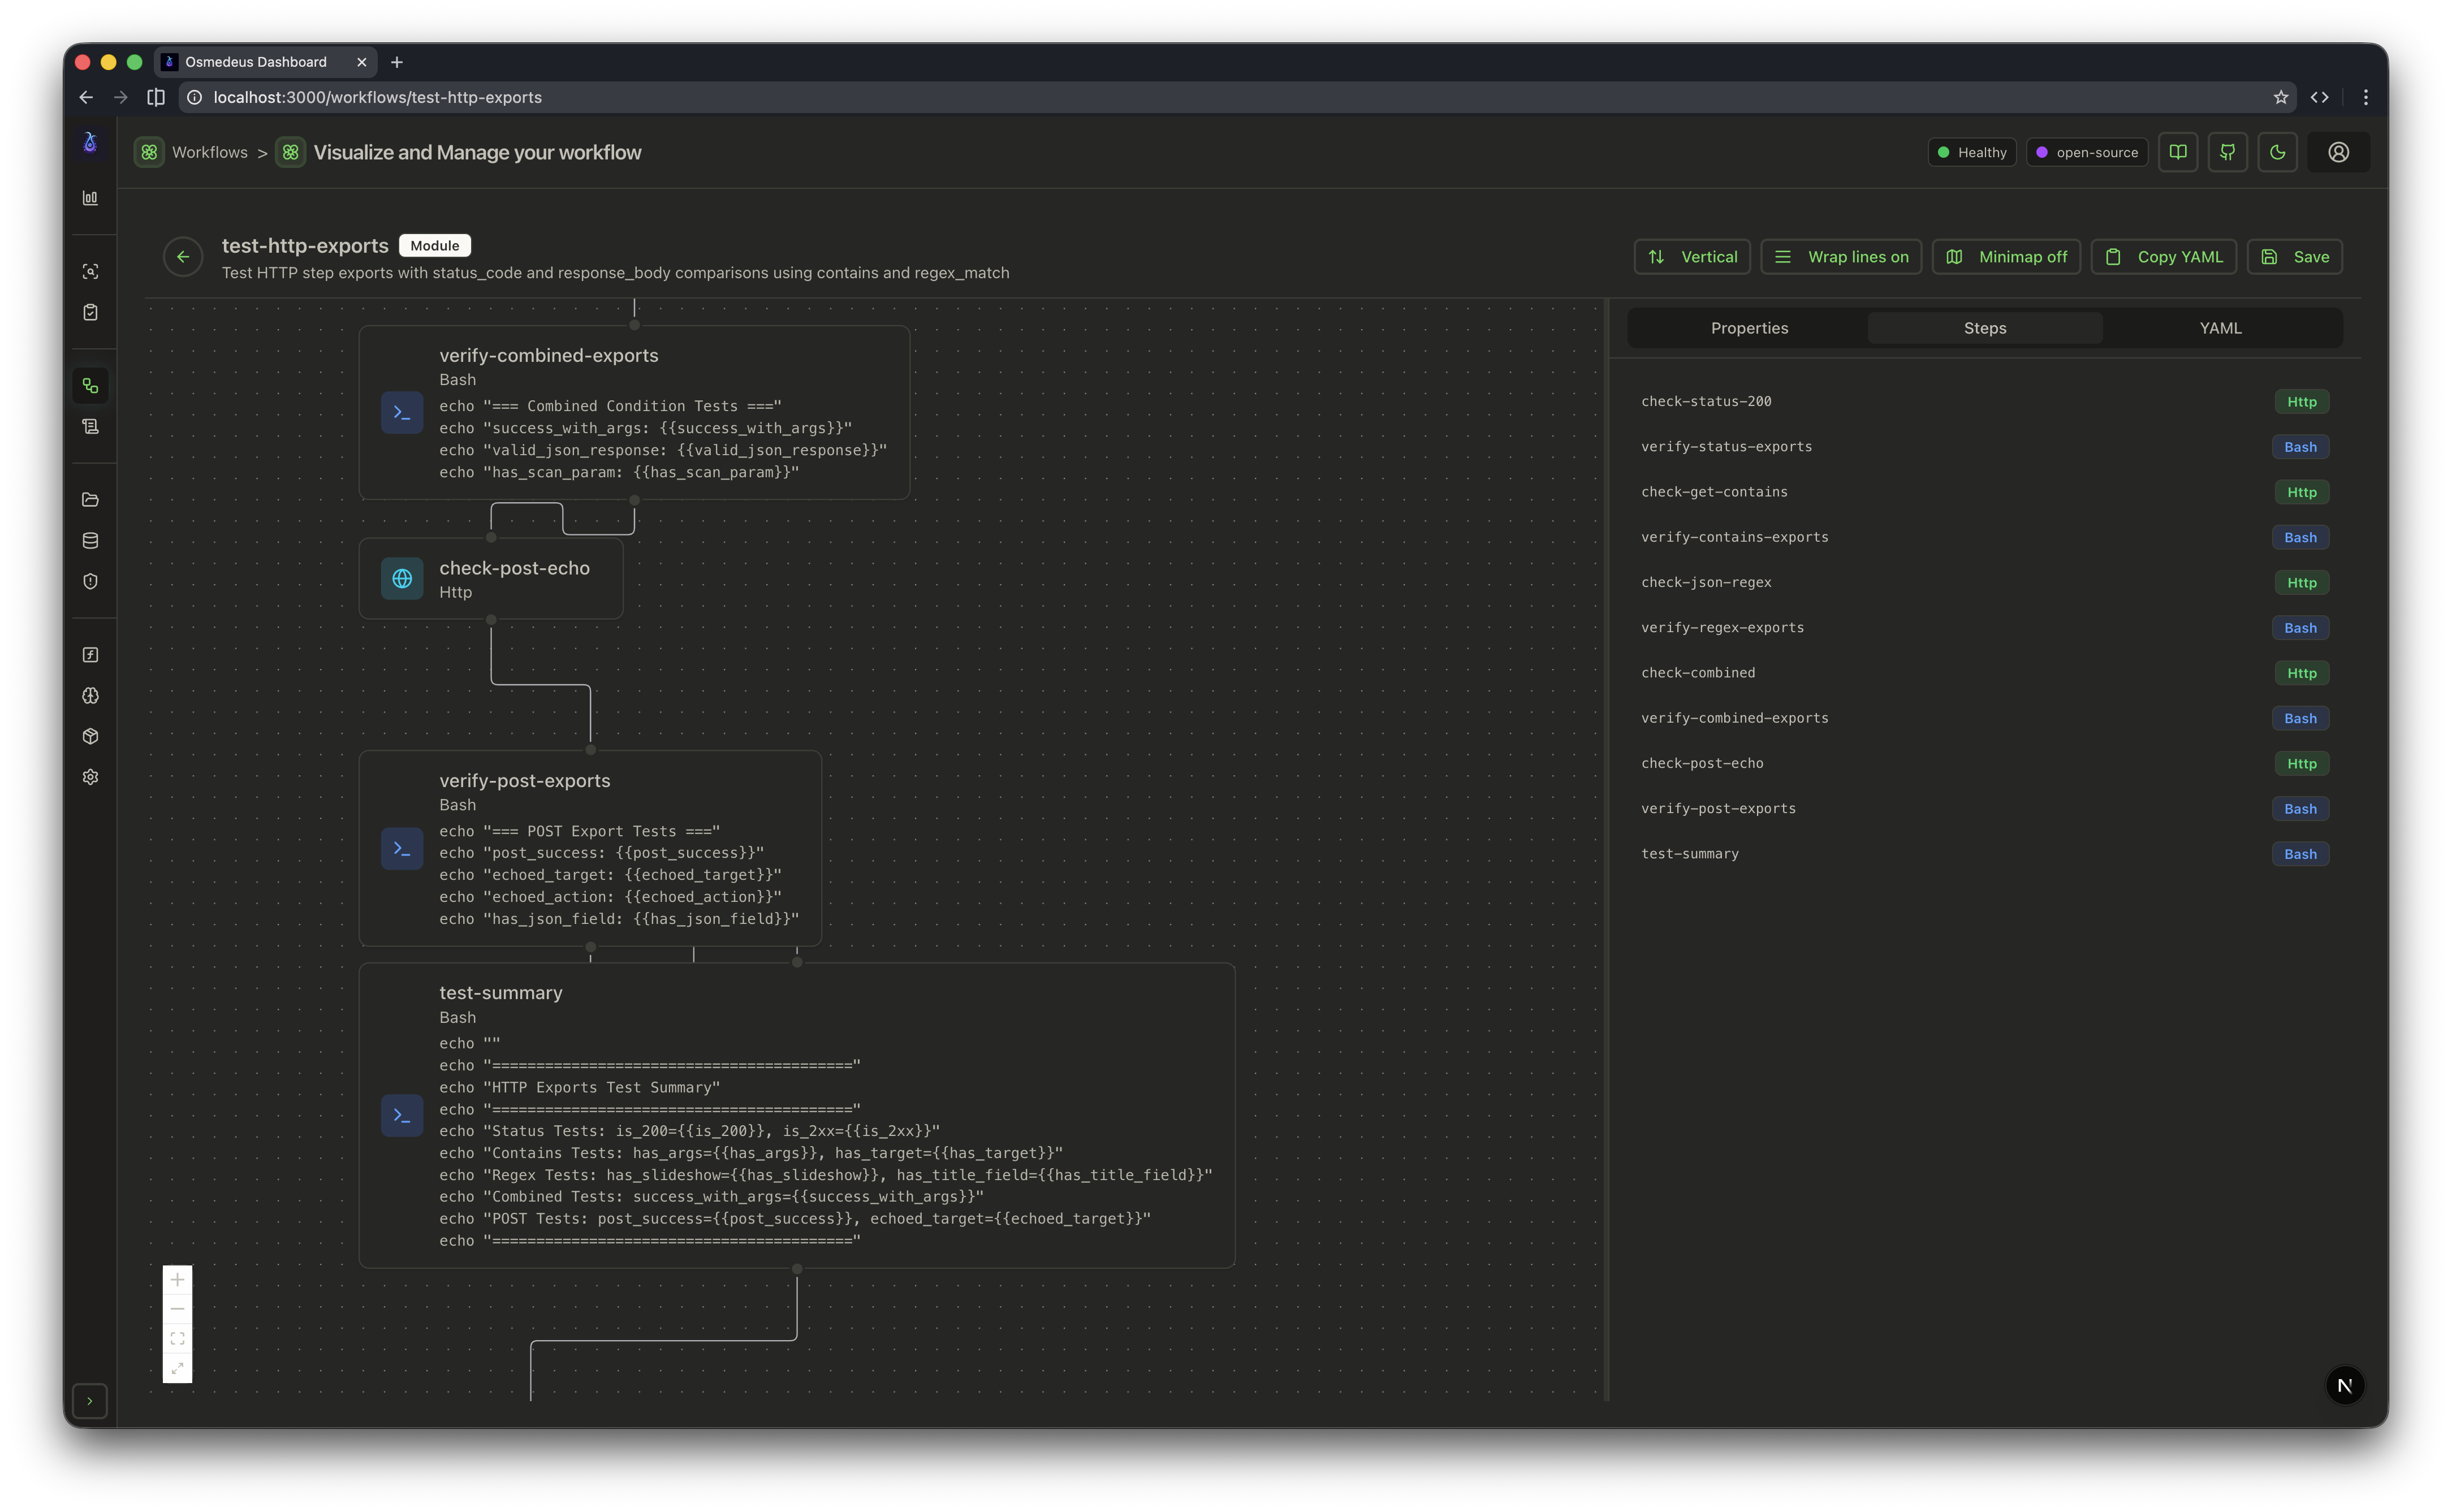
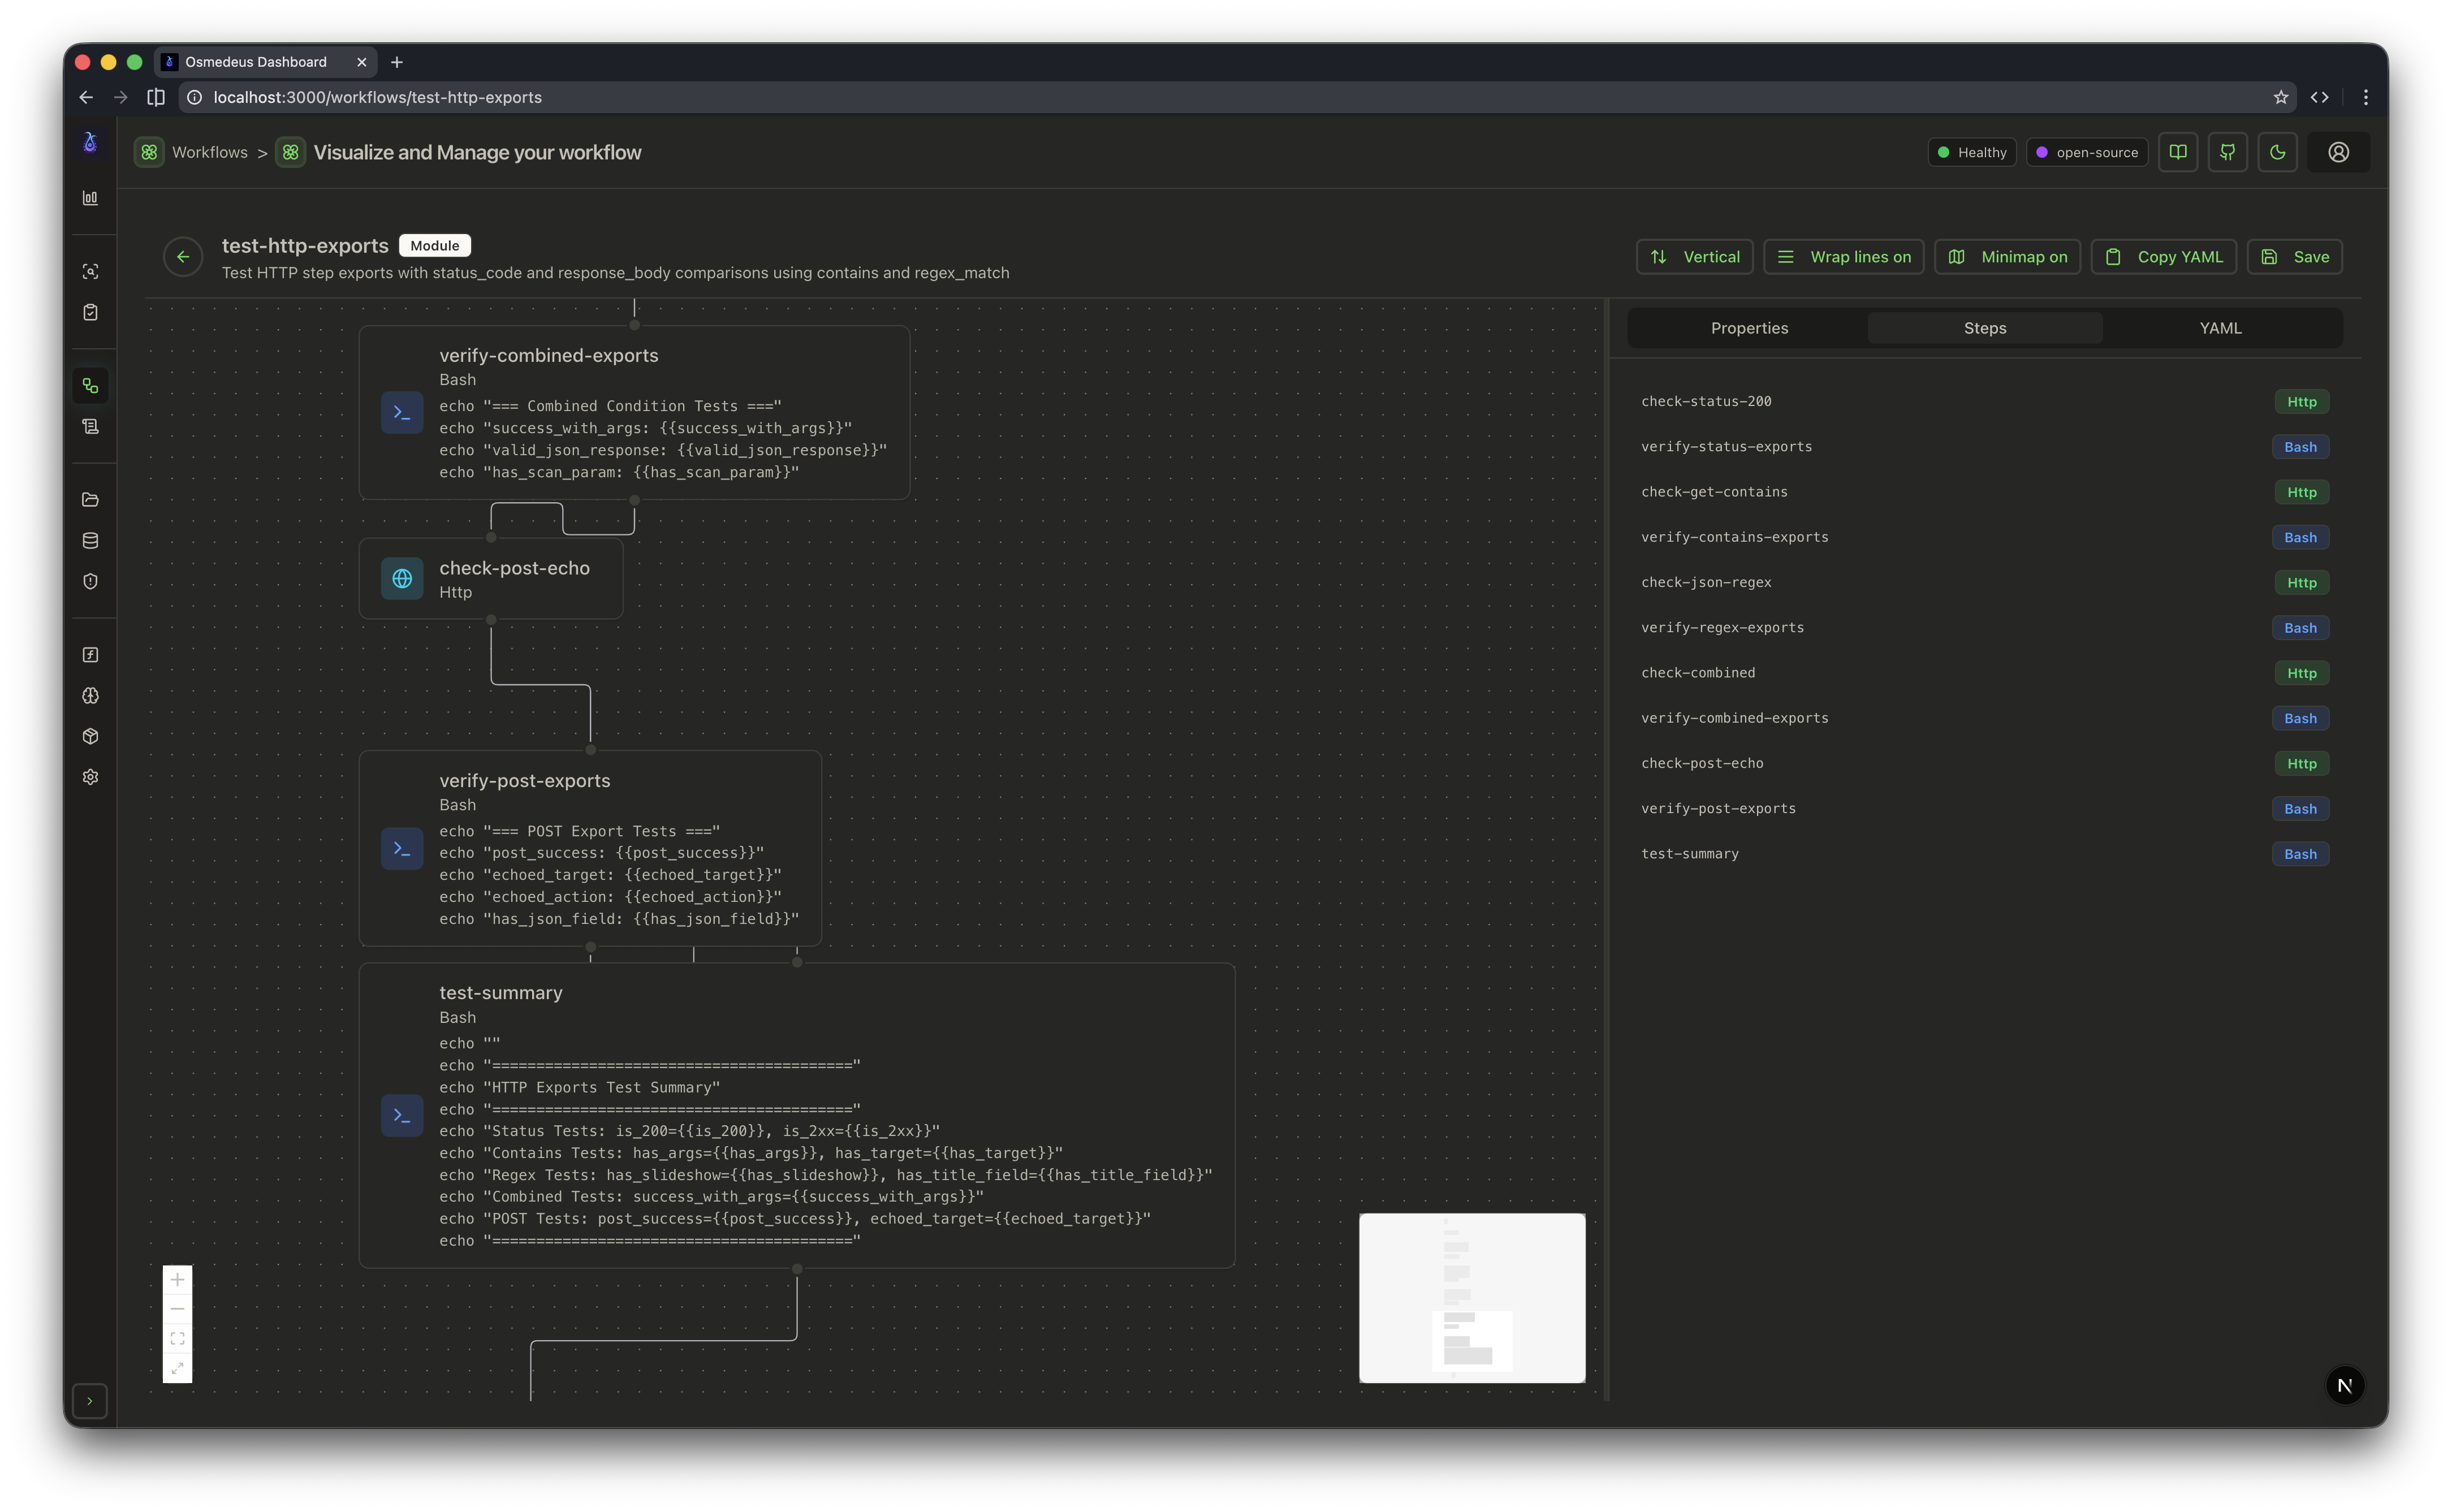
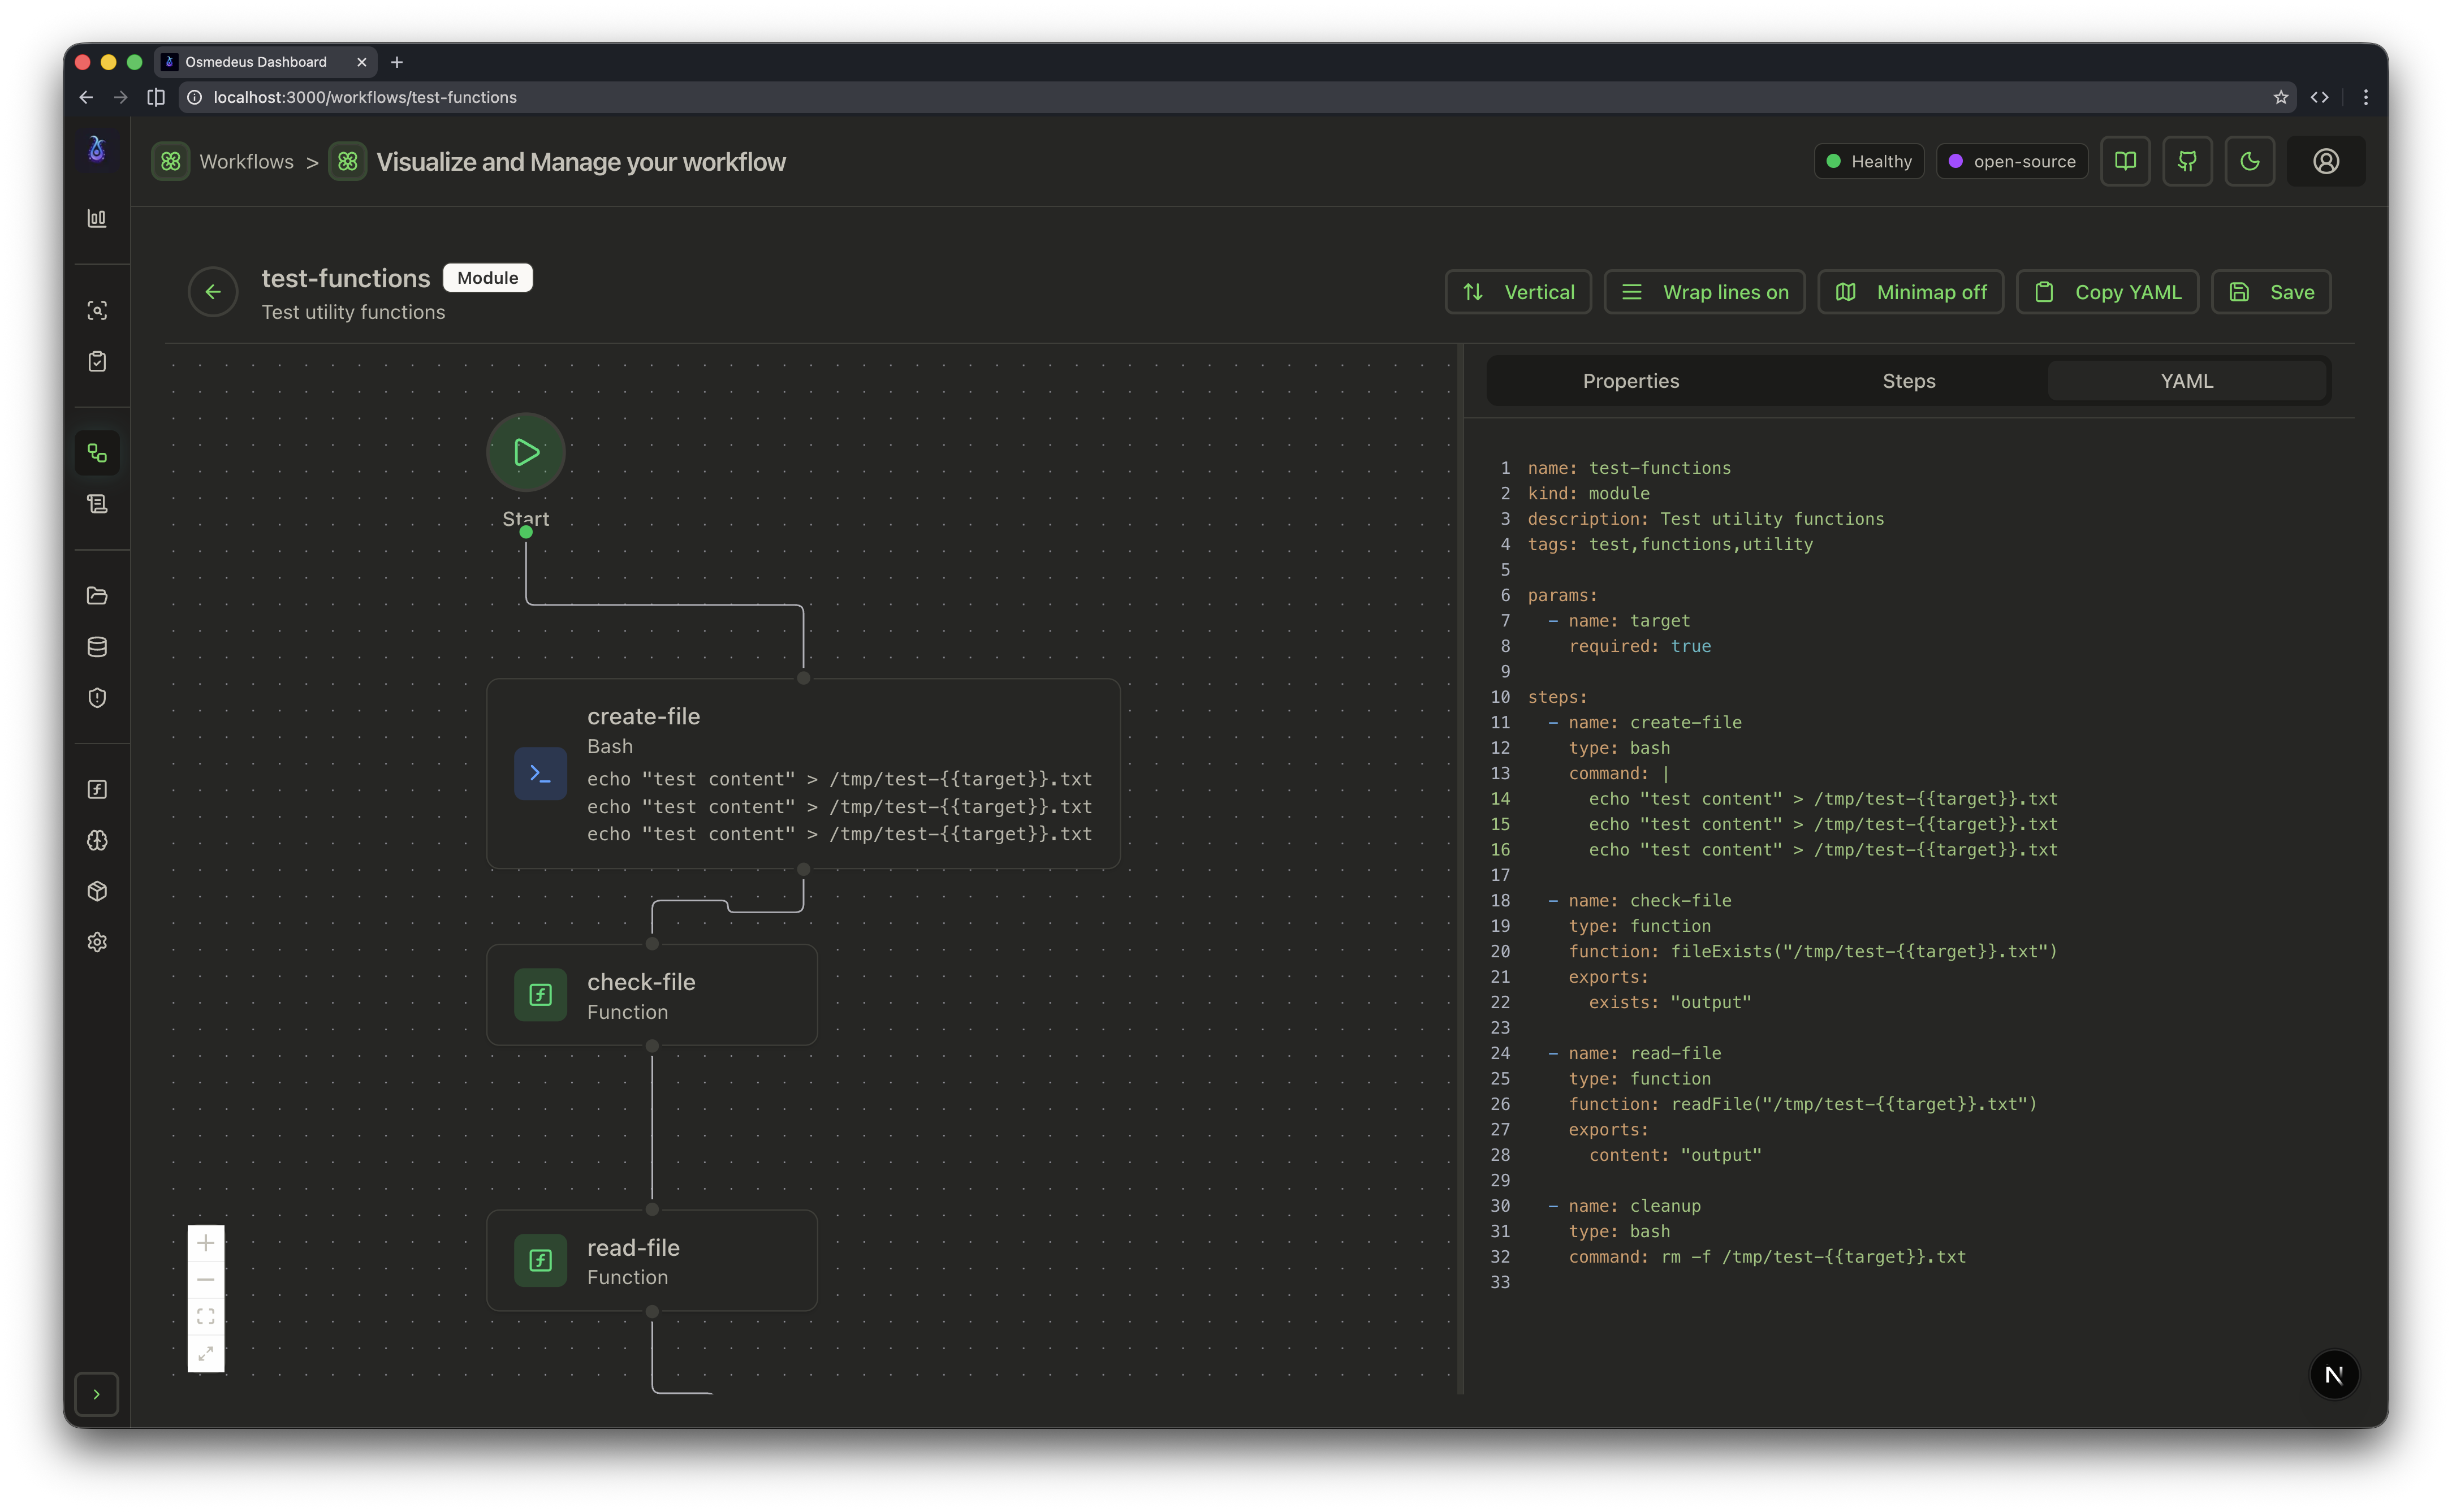
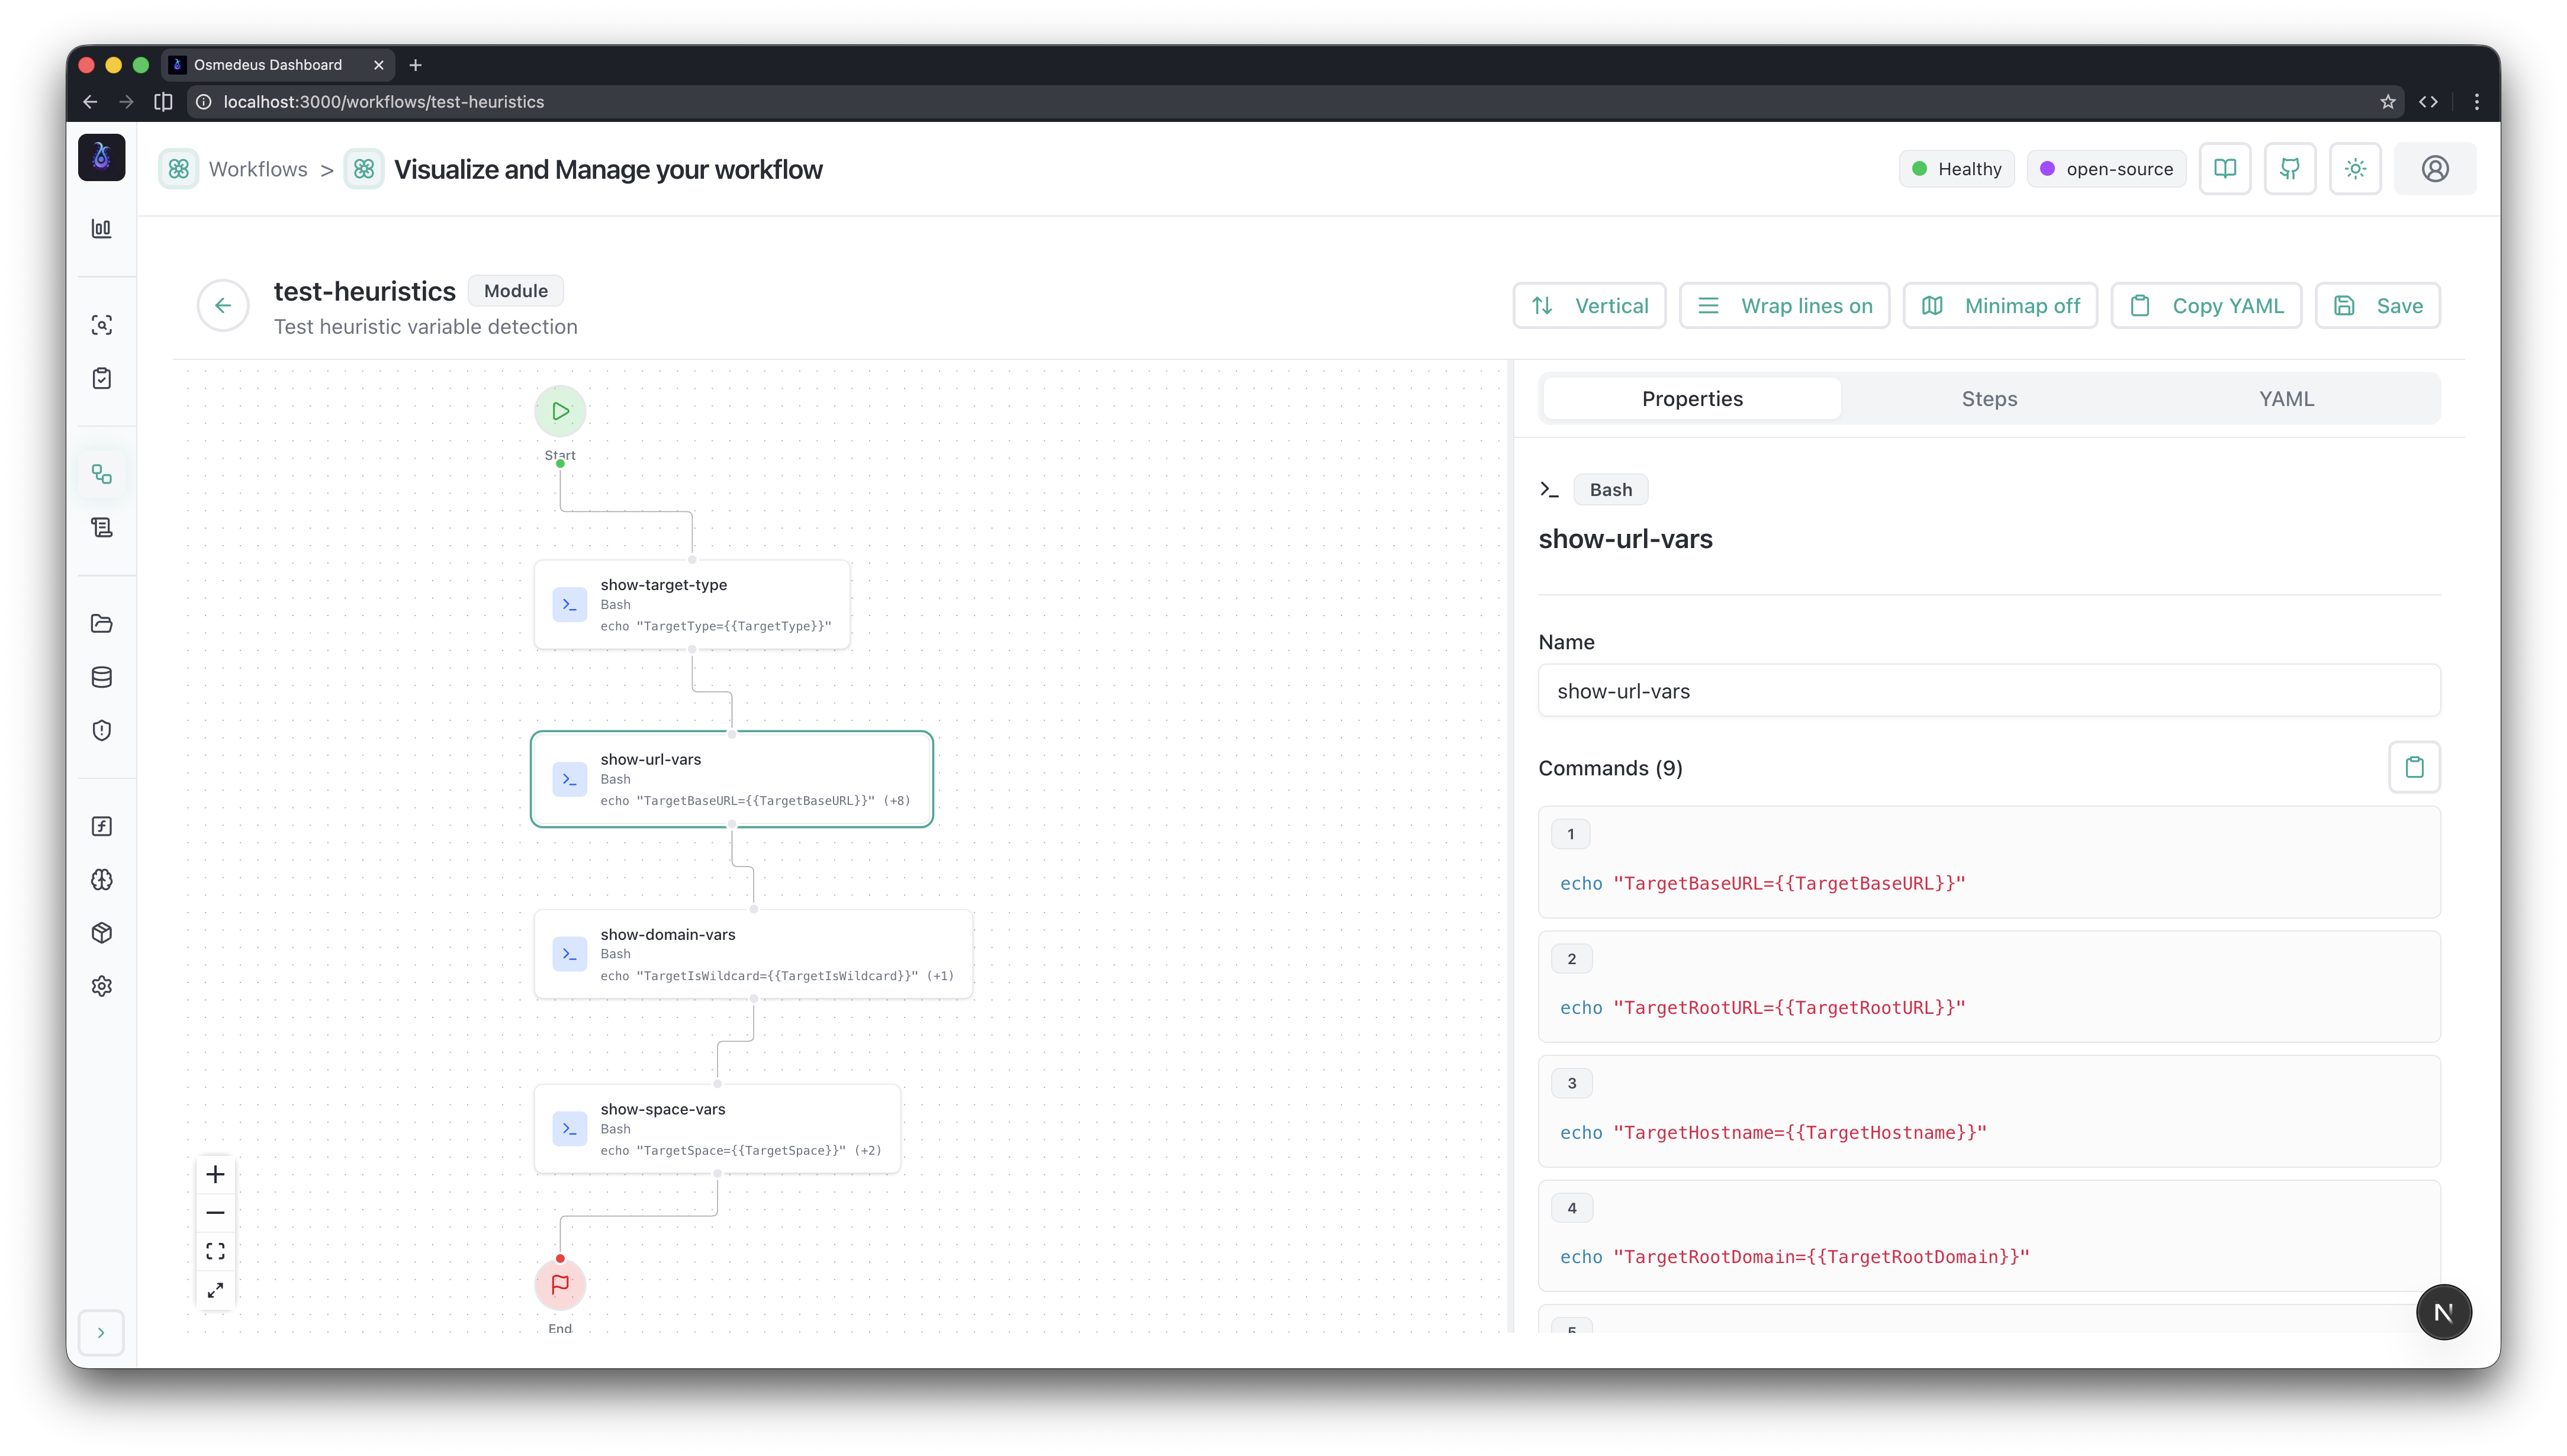
 ## Workflow Visualization and Editor
Visualization and editor for workflows in the web UI through the beautifl representation of the workflow via xyflow.
## Workflow Visualization and Editor
Visualization and editor for workflows in the web UI through the beautifl representation of the workflow via xyflow.
 ## Communication with Web UI
Once you have logged in, you can use the web UI to run workflows, view the results, and manage your Osmedeus installation.
```bash Request theme={null}
curl --request POST \
--url https://localhost:8002/osm/api/runs \
--header 'Authorization: Bearer $TOKEN' \
--header 'Content-Type: application/json' \
--data '{"flow": "general", "target": "example.com", "distributed": true}'
```
## Communication with Web UI
Once you have logged in, you can use the web UI to run workflows, view the results, and manage your Osmedeus installation.
```bash Request theme={null}
curl --request POST \
--url https://localhost:8002/osm/api/runs \
--header 'Authorization: Bearer $TOKEN' \
--header 'Content-Type: application/json' \
--data '{"flow": "general", "target": "example.com", "distributed": true}'
```